FL Studio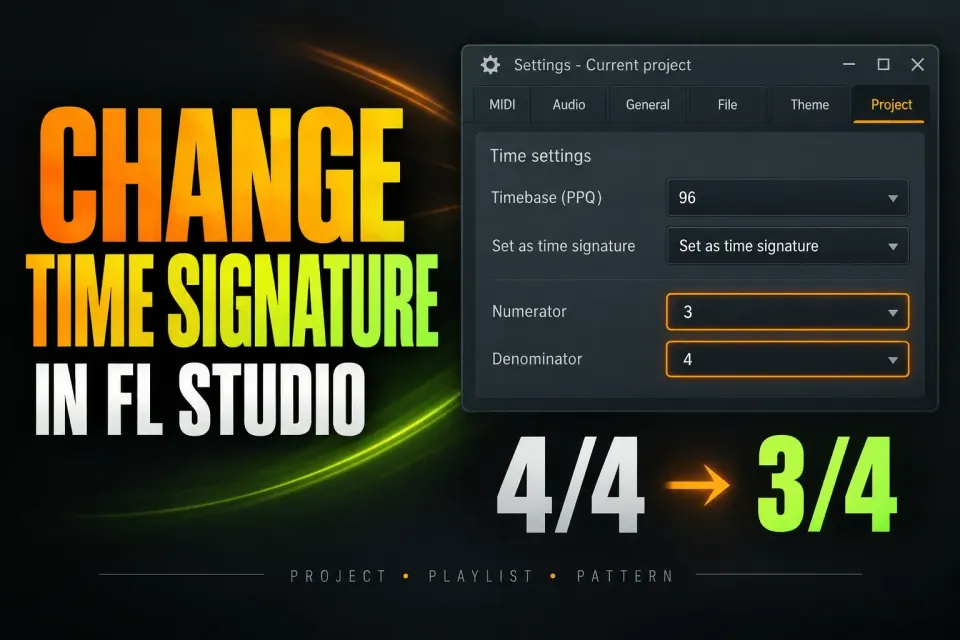
To change time signature in FL Studio, open Options > Project general settings, choose Set as time signature under Time settings, then set Numerator and Denominator. For 3/4, enter 3 and 4. For a change halfway through the song, use a Playlist time-signature marker instead. A Pattern can also have its own meter.
First decide what you are changing: the project’s base meter, one section of the arrangement, or the grid inside a Pattern. Each is a separate decision. A bass Pattern in 3/4 will not quietly turn the Playlist around it into 3/4 as well.
What a time-signature change actually changes
A time signature groups the timeline into bars without rewriting the music. Existing MIDI notes stay where they are, and a four-beat performance does not become a three-beat one. The Piano Roll manual confirms that Pattern time signatures change the grid rather than the notes. The metronome follows the meter, and changing the denominator can also change its tick rate at the same BPM.
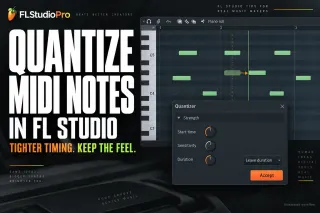
This matters most in an existing project. Switch the grid from 4/4 to 3/4 and the clips and notes keep their time positions while the bar lines are redrawn around them. The song may suddenly look misaligned because the old arrangement was built on four-beat bars. FL Studio has not “converted” your composition into a waltz. If what you actually want is to move performed notes rather than redefine the bars, use the quantize workflow and audition the timing change.
Tempo is a separate setting. The Project Time Settings reference explains that FL Studio’s BPM stays a quarter-note rate even in 6/8. So if the click speeds up after you change the denominator, the audio has not sped up with it. Check the BPM display and listen with the metronome off before you touch the song’s tempo.
Change the whole project to 3/4, 5/4 or another meter
Using the Trial? Export any audio you need before the save step below. You can save the FLP, but reopening it requires purchasing and unlocking FL Studio. Keep the current session open while checking the meter.
- Save a new project version before changing a developed arrangement. Keep the previous version intact.
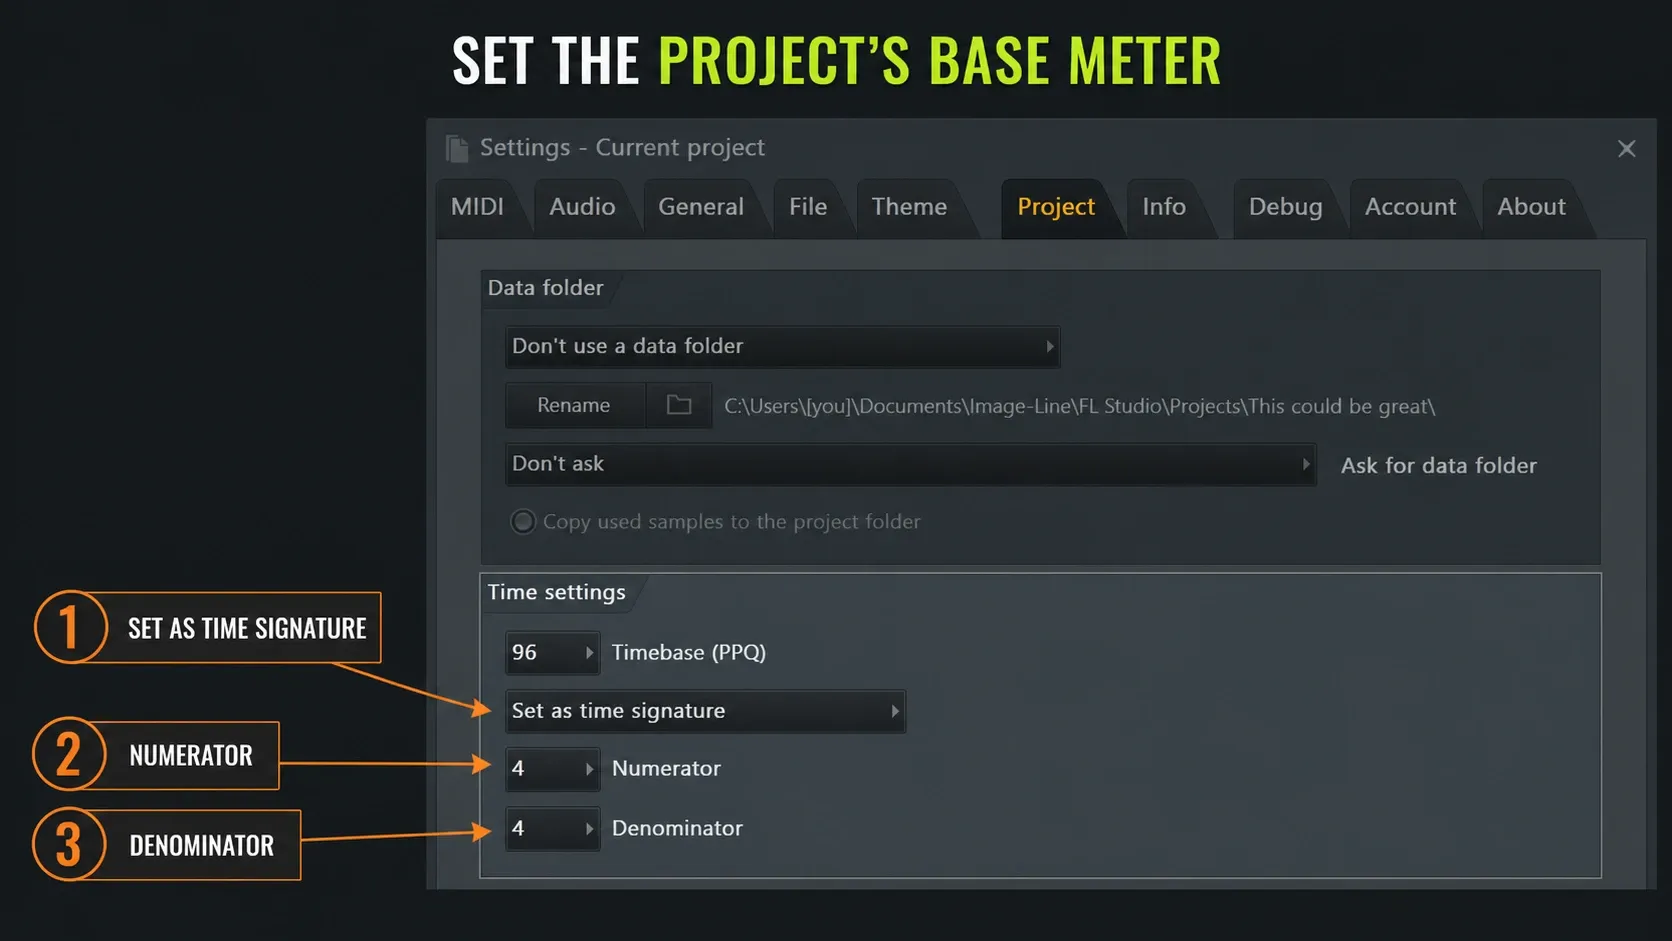
- Open Options > Project general settings, not the separate system General settings. The Options menu reference lists them separately.
- Under Time settings, choose Set as time signature.
- Set Numerator to 3 and Denominator to 4 for 3/4. For 5/4, use 5 and 4; for 6/8, use 6 and 8.
- Leave Timebase (PPQ) alone. It controls event resolution, not the number of beats in a bar.
- Return to the Playlist and Piano Roll. Inspect existing meter markers, Pattern boundaries and the metronome. Explicit Pattern or Playlist markers can define a different meter from the project default.
The numerator counts denominator-sized units in the bar. In 6/8 that means six eighth-note units, which is not the same as six main musical pulses. The section below explains how those subdivisions relate to the two larger pulses you usually hear in compound duple meter.
Do not reduce PPQ to fix a meter problem. Image-Line warns that lowering it mid-project can shift notes and clips that fall between the new resolution points. That is a different operation from changing the time signature.
Set the project meter early if you can. If the arrangement already exists, check every section transition and long clip after the change. The first-song workflow explains how Patterns and Playlist clips fit together before you add a nonstandard grid.
Add a time-signature change in the middle of the song
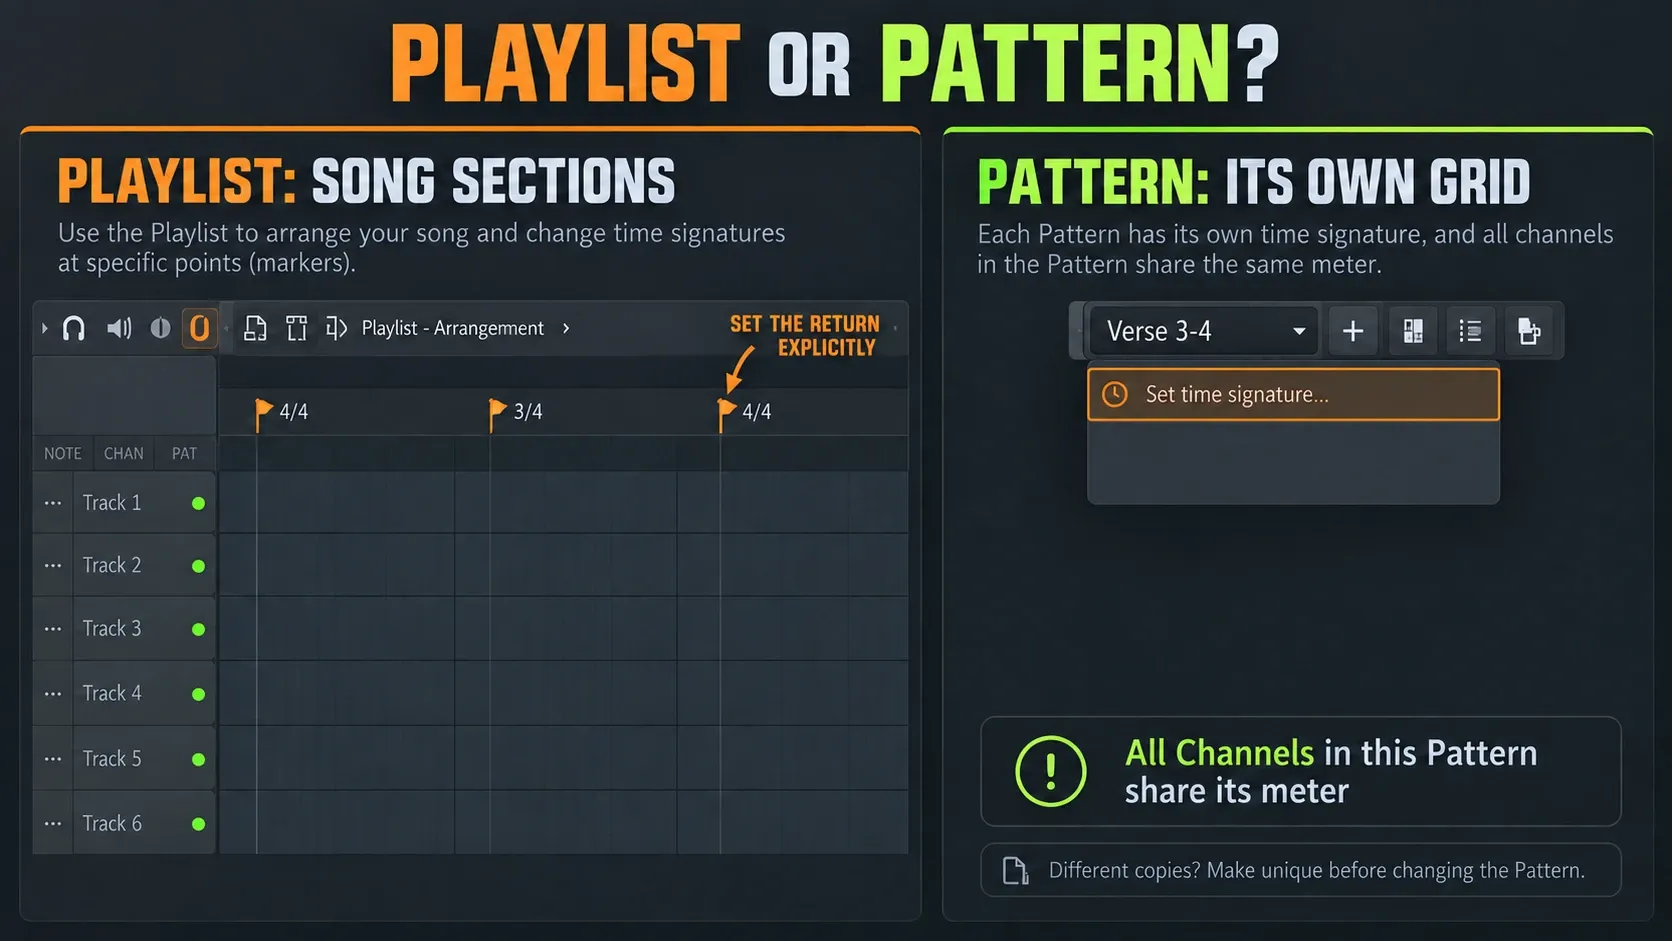
For a 4/4 song with one 3/4 section, keep the project default at 4/4 and work in the Playlist. Clear any unwanted time selection, place the playhead where the new section should begin, then choose Playlist menu > Time markers > Add time signature change. The Playlist marker instructions also give Shift+Alt+T on Windows and Shift+Option+T on Mac. Keep the Playlist focused.
Set that first marker to 3/4. At the point where the section should end, add a second time-signature marker and set it to 4/4 yourself. Count the section in the new meter before you place the return, since its bars no longer have four quarter notes each.
Selecting a timeline range can create a marker at each end. Check the second marker’s value and set the return meter yourself instead of trusting it, especially when the song already contains other changes. For a single odd-length bar, place the start and return markers right around that bar and listen across both boundaries.
Meter changes live in time-signature markers; Automation Clips cannot do this job. Tempo is a different control and can be automated. Reach for the automation workflow when you want a tempo ramp or parameter movement, and for a meter marker when you want to change how the timeline is counted.
Set a different meter inside one Pattern
Select the intended Pattern, open the Pattern selector’s options menu, and choose Set time signature. The Pattern selector reference documents this command. Set the meter and inspect that Pattern’s Piano Roll. This applies to every Channel whose notes belong to that Pattern.
If drums, bass and chords all live in Pattern 1, changing the meter from one instrument’s Piano Roll changes the shared Pattern grid for all three. To give only the bass a different meter, move its notes into a separate Pattern. A unique copy of the combined Pattern still carries the other instruments, so it will not give each Channel its own meter.
The Pattern Clip menu’s Use current time signature command applies the meter found at that clip’s current Playlist position to the Pattern. It creates a time-signature marker once. It will not keep following the Playlist if you move the clip later, so recheck the Pattern after moving it to a different section.
Changing a Pattern also changes every other instance of it in the Playlist. If only one copy needs a different grid or later note edits, run that Pattern Clip’s Make unique command first. Rename the variation, for example Verse 3-4, then change its meter. The Pattern looping guide explains which repeats share data and which have become independent.
Use 3/4 and 6/8 without fighting the grid
Count the accents before you pick the label. A typical 3/4 phrase has three quarter-note pulses: ONE two three. A typical 6/8 phrase has two dotted-quarter pulses, each split into three eighth notes: ONE two three FOUR five six. Open Music Theory’s explanation of compound meter describes that grouping. These are the usual musical accents; FL Studio’s metronome will not necessarily accent both groups for you.
At the same 120 BPM, a quarter note lasts 0.5 seconds and an eighth note lasts 0.25 seconds. A 3/4 bar and a 6/8 bar therefore both last 1.5 seconds, even though their usual internal groupings differ. In 6/8, FL Studio’s metronome can tick every eighth note, so you may hear six subdivisions instead of two big pulses. Resist doubling or halving the tempo just to make those clicks sound familiar.
Write one short Pattern and listen to it in the arrangement. If its phrase ends in the middle of a shaded bar, check both the meter and the Pattern’s real length. Changing the label will not lengthen a short clip or rewrite its notes. Then listen once more without the click, so you judge the phrase and not the grid.
Fix common FL Studio time-signature problems
The notes moved against the bar lines
Compare with the untouched project version before you move anything. A meter-only change just redraws bars around the notes. If events really did shift in time, check whether you also changed PPQ, quantized notes or moved clips. Restore the intended meter in the correct scope, and leave the performance where it is instead of dragging it around to match old bar numbers.
Everything after the odd bar stays in 3/4
Inspect the marker at the end of the odd-meter section. Add it if missing, or set its time signature explicitly to 4/4. A range-created end marker still needs checking when there are other meter changes nearby.
Changing one Piano Roll affects other instruments
That is expected when the instruments share a Pattern. Move the part that needs its own meter into a separate Pattern. Make unique splits one Pattern instance off from its other copies; it cannot split the Channels inside a Pattern.
The shortcut adds the wrong kind of marker
Check which window has focus and use its menu to confirm the command. A Playlist marker controls the song timeline; a Piano Roll or Pattern command changes that Pattern. The FL Studio shortcuts guide explains why editor context matters.
A beat seems cut off before the next marker
Zoom in on the marker position. Time-signature markers can create partial bars, so a marker placed a little too early makes the bar before it look shortened. Count the beats you intended and move the marker to the correct boundary. The bar number alone does not prove where a marker sits.
The marker regions are hard to see
Choose Playlist menu > View > Time segments > Markers to shade the grid by marker region. It only changes the display: notes stay put and Snap is unaffected.
Set as time division is grayed out
That is the legacy grid mode. Time-signature markers in the Playlist or in Patterns can make it unavailable. For a mixed-meter song, leave those markers in place; the legacy mode is not needed to enter 3/4 or 6/8.
Check the arrangement before continuing
Play from before each change to after it. Check the metronome, clip starts, pickups, automation timing and the first downbeat after the return marker. On an unlocked installation, save the revised FLP under a new name and reopen that copy to check recall. If you are using the Trial, export the audio you need before saving or closing. The Trial restrictions allow saving but prevent reopening until FL Studio is purchased and unlocked. If the project contains unowned trial plugins, render any sound you need before the recall check; those plugins may not reload until purchased and unlocked.
Export a short test around the transition too. A bar line can look perfect while a reverb tail, pickup note or consolidated audio clip crosses it at a musically awkward moment. After the grid check, listen without the metronome. The marker is there to make the phrase easier to edit and count. If the performance does not support a transition, a marker cannot force it.
For more editing and arrangement routes, head to the FL Studio Workflow hub. The aim here is modest: make the grid describe the phrase you already intend to hear, without turning the Playlist into a math exercise.
Frequently asked questions
How do I change FL Studio from 4/4 to 3/4?
Open Options > Project general settings, set the Time settings as a time signature, and choose three beats per bar with a quarter-note beat type. Then inspect Pattern lengths and the Playlist grid.
Can FL Studio use multiple time signatures in one song?
Yes. Add Playlist time-signature markers where the changes should happen. For a temporary section, add a second marker with the meter you want to return to. If you create the pair from a selected range, check the end marker instead of assuming its value.
Does changing time signature move notes in FL Studio?
A time-signature change alone does not move existing notes. It changes bar grouping and the metronome’s counting; changing the denominator can change the click subdivision. Lowering PPQ or quantizing notes is a separate edit that can change event positions.
Why did changing one Pattern affect several instruments?
The time signature belongs to the Pattern, so every channel inside that Pattern shares its grid. When an odd-meter idea needs independent control, put it in a separate Pattern.
Is 6/8 the same as 3/4 in FL Studio?
They can occupy the same total eighth-note duration, but their usual accents differ: 3/4 has three quarter-note pulses, while 6/8 normally has two compound pulses. Choose the meter that matches the phrase.