FL Studio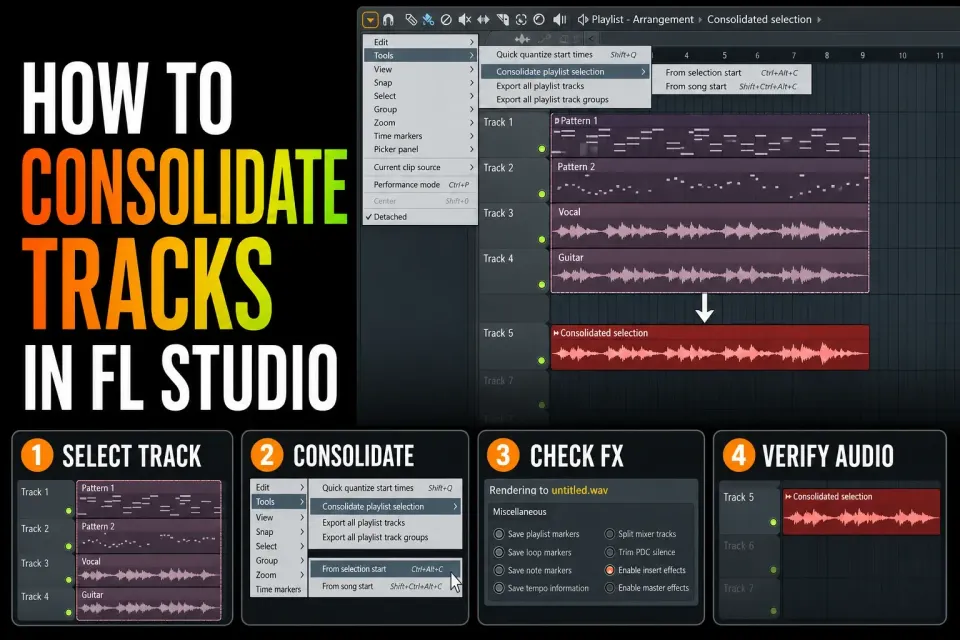
Consolidation turns the Pattern and Audio Clips on a Playlist track into a new Audio Clip and mutes the source clips. It's handy for committing an edit, printing a software instrument, merging vocal takes or easing CPU load. Before you run it, decide where the file should start and which processing should be baked in. A safe default is Insert effects on and Master effects off, followed by a level-matched listen.
Know what consolidation does and does not
In FL Studio, a Playlist lane and a Mixer insert aren't automatically the same thing. One lane can hold clips whose channels feed different Mixer tracks, sends or sidechains. Consolidation renders the selected Playlist material through the relevant routing, following the render dialog. Don't expect it to flatten a complex bus structure into a tidy, reusable stem.
The resulting Audio Clip lands in the Playlist and is routed to the Master by default. Source clips are muted, not deleted. Keep them until the print has passed your comparison, because deleting patterns, automation or instruments throws away the easiest way back. Don't disable a channel or effect that another pattern or route still depends on.
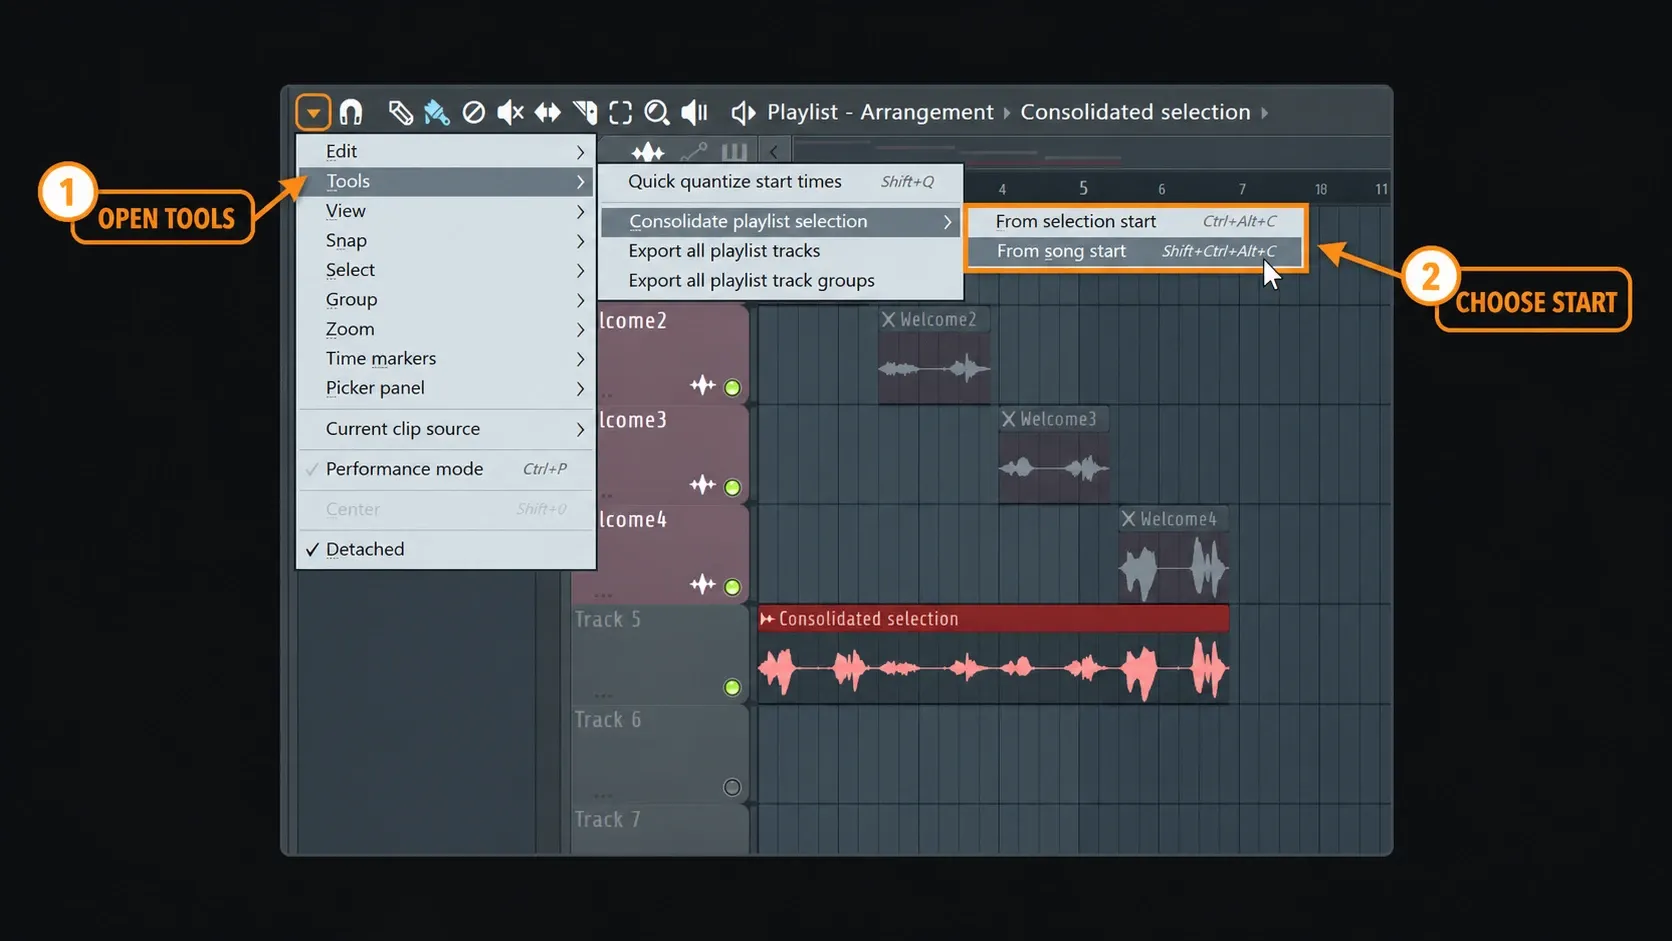
Choose From track start or From song start
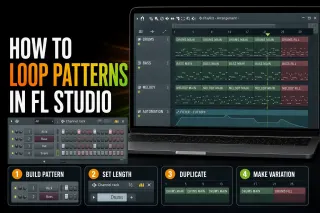
Right-click the Playlist track header and choose Consolidate this track. FL Studio offers two important lengths:
- From track start starts the Audio Clip at the first clip on that lane. You get no unnecessary silence, which is handy inside the same project.
- From song start starts at the beginning of the Playlist. Use it for files that have to line up at bar 1 in another session.
The current Image-Line Playlist manual documents both options and specifically recommends song-start files when you share aligned audio. For a multi-file handoff, only choose track start if every recipient also gets exact placement information.
Select the right Playlist material
Consolidating from the track header prints the clips on that Playlist track. Playlist Menu > Tools > Consolidate playlist selection can combine selected Pattern and Audio Clips, mixing both types in one result. It works on selected clips, and a highlighted empty stretch of timeline won't count, so make sure the right blocks are selected before you run it.
For a software instrument, check that every note, pattern variation and relevant automation clip is in scope. For comped vocals, play through every edit boundary before printing. For layered sound design, decide whether the layers belong in one committed texture or should stay separately mixable.
Set Insert effects and Master effects deliberately
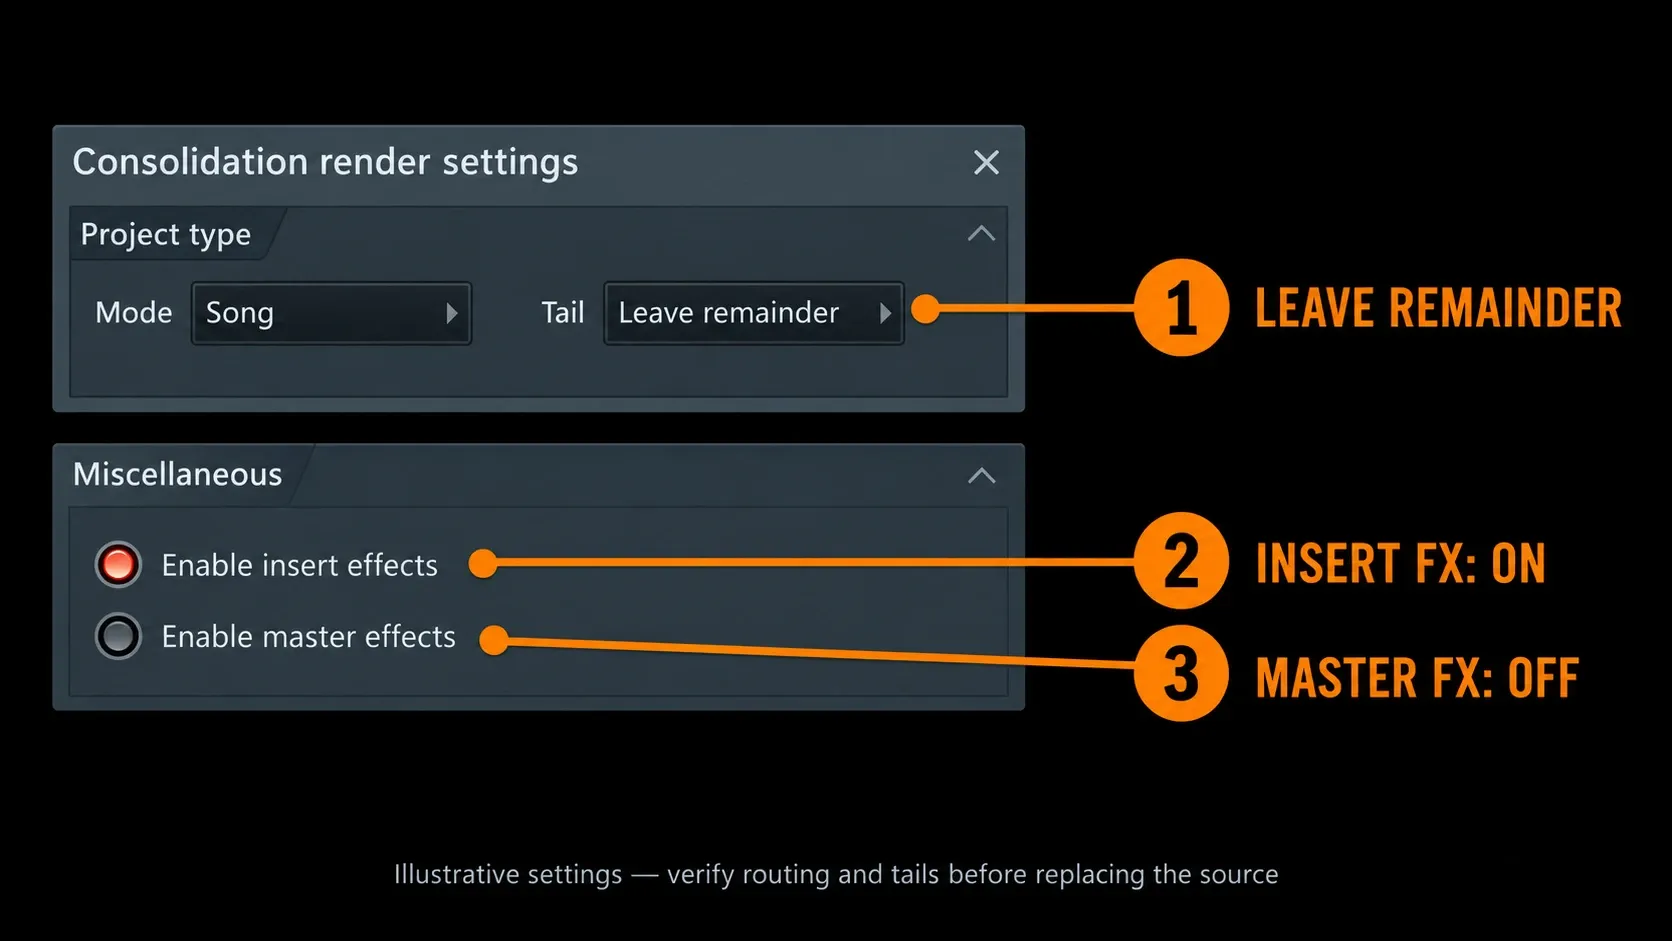
By default, FL Studio consolidates with the source Insert effects included and Master effects left out. That makes sense when the printed clip goes back to the project’s Master: baking the master chain into the file and then playing it through the same chain would apply that processing twice.
If the new Audio Clip will run back through the same source insert, printing Insert effects can double the channel processing too. In that case, turn Insert effects off or route the print to a clean Mixer insert. If you want to commit the full source sound and free up its plug-ins, leave Insert effects on and send the printed clip down a clean path.
Read the dialog every time, because habits carried over from another project can bake in the wrong chain. The Mixer guide explains direct inserts, submixes and sends before you commit a route that's hard to separate later.
Preserve automation and reverb tails
When the sound depends on Playlist automation, use consolidation instead of rendering the Pattern on its own; Image-Line documents that difference explicitly. Check the controlling automation and the start and end points you chose. Rendering one section is no reason to delete automation elsewhere in the project, and you still need to compare the resulting sound.
Pick a tail setting that lets delay and reverb fade out naturally. A hard cut at the last clip edge can make the printed phrase click or make the ambience vanish. On the other hand, an endless feedback effect can produce a very long file, so set a sensible end and listen past the last note. If the printed boundary needs shaping, use a short click-free fade. For detailed automation editing, use the FL Studio automation guide.
Check sidechains, sends and grouped routing
A sidechained bass depends on a source signal and a destination processor. If the trigger sits outside the selected path, consolidating only the bass lane may not recreate that interaction the way you expect. Shared reverb and delay returns can also live on a bus instead of the source insert, and solo logic used during rendering can change what reaches those routes.
For a complex sidechain, print a short test first and compare the pumping envelope with the live version. Image-Line notes that manual armed-track rendering may be needed for sidechain source and destination tracks. The sidechain guide explains those paths in full. A successful consolidation doesn't prove every dependency was captured.
Verify the consolidated audio before disabling sources
- Loop a transition before and after the printed section.
- Match loudness between the live source and consolidated clip.
- Check the first transient and bar alignment.
- Listen past the last note for reverb or delay tail.
- Check stereo width, sidechain movement and automation changes.
- Make sure the new clip’s Mixer route won't repeat Insert effects.
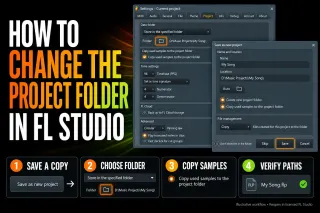
- Make sure the render sits inside the intended project data folder.
- In licensed FL Studio, save a new project version and reopen it to check the print and its file path. In FL Studio Trial, render any needed audio before saving or leaving the session; saved projects cannot reopen until purchase.
Check the Trial and trial-plugin restrictions before the reopening test. Even a licensed edition can contain trial plugins, so unlock the required plugin before reopening if you need its original state. Leave the original FLP untouched, because reopening and re-saving without unlocking those plugins can lose their stored settings.
Don't judge by waveform shape alone. A printed clip can look healthy and still be missing a send return, an automated filter move or the first transient. Null testing can show differences, but you shouldn't always expect a null when randomized instruments, analog-modeled plug-ins or free-running modulation are involved. What matters is whether the print keeps the musical behavior you meant to commit.
Check active processing before expecting a CPU saving
Consolidation can lighten live CPU work when audio playback replaces a costly instrument or effect chain. It doesn't unload those plug-ins from memory, though. After comparing the print, disable only processing you no longer need. Keep a source version, and check other patterns, sends and sidechains before you remove anything. A muted Playlist clip doesn't prove every associated effect has stopped processing.
Image-Line’s Smart Disable documentation describes another route: eligible inactive plug-ins can stop processing during live playback when both the global and wrapper settings allow it. Smart Disable is switched off temporarily during rendering, and some time-based or long-decaying effects need it off altogether. Use the Plugin Performance Monitor and optimization guidance to compare the same passage before and after the change. Lower CPU activity isn't the same as freeing a loaded sample library from RAM.
Consolidation can help with underruns caused by a heavy live signal chain, but it won't cure driver trouble or a misbehaving plug-in. The high-CPU guide separates those causes so you don't print the whole session for nothing.
Choose the render settings before you freeze the source
Consolidation creates a working file inside the project, so use a lossless format and keep the render aligned with the session; it isn't a delivery master. The current Image-Line audio export documentation explains how WAV export, sample rate, bit depth, resampling quality and tail handling shape the rendered file. For a track you may process again, WAV is the practical choice. MP3 or another lossy format throws information away before the next EQ, stretch or limiter stage.
Use the project sample rate unless the destination has a defined requirement. For further processing, choose 24-bit WAV or 32-bit float where the receiving application supports it. Extra bit depth can't undo distortion printed at an earlier stage or fix a noisy input. Leave remainder can keep a decaying effect intact; listen to the end and extend the render boundary if needed. Load the resulting audio, compare it at equal loudness and check the first transient and final decay before you unload anything.
Distinguish consolidation, stems and the final master
A consolidated track is printed audio from selected Playlist material. A multitrack export is a set of separate source files. Stems are grouped submixes such as drums, music, lead vocals and effects. The final master is the stereo output listeners hear. Calling every consolidated WAV a stem muddles routing and deliverables.
Use Export all Playlist tracks when you need one file per lane, and pick song start for predictable alignment. For grouped deliverables, follow the stem-export routing guide. For creative printing and reusing a sound, use the resampling workflow. The mastering workflow is for the final mix and won't rescue a badly printed source. Continue through Workflow for project management or Export & Collaboration for handoff decisions.
Frequently asked questions
What does Consolidate this track do in FL Studio?
It renders the Pattern and Audio Clips on the selected Playlist track to a new Audio Clip and mutes the source clips. The render dialog decides which processing is included.
Should I consolidate from track start or song start?
Use track start for a compact file that stays in the session. Use song start when several files must align from bar 1 in another project.
Should Master effects be on when consolidating?
Usually no, if the new clip will play through the same master chain. Otherwise the master processing ends up applied once in the file and again during playback.
Does consolidation reduce CPU automatically?
It can lower live CPU load, but how much depends on which instruments and effects are still processing audio. Smart Disable may pause eligible inactive plug-ins during playback, and consolidation doesn't unload them from memory. Check the print, and disable only processing that no other part of the project needs.
Why does my consolidated track sound different?
Check Insert/Master effects, the new Mixer route, the automation range, reverb tails, shared sends, sidechains and any randomized plug-ins. Compare at matched loudness before you replace the source.