 FL Studio
Choose FL Studio plugins by the job
Learn what FL Studio already includes, then add a free third-party instrument or effect only when it fills a named gap. A smaller library is easier to scan, update and trust in old projects.
Stock first, third-party second
The shortest plugin decision begins inside the edition you already own. FL Studio includes generators that make sound and effects that process it, but the exact native set changes by edition. Before downloading another EQ, synth or limiter, identify the job, find the closest included tool and learn enough to hear what is actually missing.
Start with Stock Plugins to see what the Image-Line instruments and effects can do. If you still need a different sound or feature, use Free Plugins to choose a third-party addition. “Included with my edition” and “available as a free download” are different things: check the license before building a project around either.
Choose, install and organize your plugins
Choose the tool first. Once installed, check that it loads in the right place, add it to your favorites and try it in a small project. If something fails, use the guide for that symptom instead of reinstalling the entire library.
 Inventory the native toolkit
18 FL Studio Stock Plugins Worth Learning First
Match FL Studio generators and effects to writing, sound design, vocal work, mixing and mastering before paying or downloading.
Review stock plugins
Inventory the native toolkit
18 FL Studio Stock Plugins Worth Learning First
Match FL Studio generators and effects to writing, sound design, vocal work, mixing and mastering before paying or downloading.
Review stock plugins
 Fill a specific gap
13 Free Plugins for FL Studio (2026): Synths and Effects
Choose genuinely free third-party plugins by purpose, compatibility and long-term usefulness instead of collecting installers.
Choose free plugins
Fill a specific gap
13 Free Plugins for FL Studio (2026): Synths and Effects
Choose genuinely free third-party plugins by purpose, compatibility and long-term usefulness instead of collecting installers.
Choose free plugins
 Install and scan the plugin
Install Plugins in FL Studio: VST3, AU and CLAP
Choose a compatible build, keep the documented installation location and verify that FL Studio can load the instrument or effect.
Install a plugin
Install and scan the plugin
Install Plugins in FL Studio: VST3, AU and CLAP
Choose a compatible build, keep the documented installation location and verify that FL Studio can load the instrument or effect.
Install a plugin
 Keep useful tools easy to find
FL Studio Plugin Database: Categories, Favorites & Backup
Organize favorites and categories without confusing a database entry with the installed plugin itself.
Organize the Plugin Database
Keep useful tools easy to find
FL Studio Plugin Database: Categories, Favorites & Backup
Organize favorites and categories without confusing a database entry with the installed plugin itself.
Organize the Plugin Database
 Find a missing plugin
FL Studio Plugin Not Showing? Find and Fix the Cause
Work through format, scan results, classification and favorites before adding more folders or reinstalling.
Fix a plugin that is not showing
Find a missing plugin
FL Studio Plugin Not Showing? Find and Fix the Cause
Work through format, scan results, classification and favorites before adding more folders or reinstalling.
Fix a plugin that is not showing
 Check an Apple Silicon setup
FL Studio Plugins on Apple Silicon: Native or Rosetta?
Check the plugin build and FL Studio operating mode when moving a library or opening older projects on a Mac.
Check Apple Silicon compatibility
Check an Apple Silicon setup
FL Studio Plugins on Apple Silicon: Native or Rosetta?
Check the plugin build and FL Studio operating mode when moving a library or opening older projects on a Mac.
Check Apple Silicon compatibility
Using Kontakt or another Native Instruments product? Follow the Native Access setup guide for that installer and library workflow, then return to FL Studio to check the plugin scan.
The production job should name the tool category
Need to build a bass from oscillators? The Sytrus patch guide is more useful than another synth roundup. Need a repeatable multi-effect route? Learn Patcher. Need to finish a balanced mix with included processors? Follow the stock-plugin mastering chain. Those pages reveal whether the limitation is the plugin or the workflow around it.
Open the guide for the task in front of you
This list includes every live guide assigned to this route. Scheduled and draft pages stay out until readers can open them.
13 Free Plugins for FL Studio (2026): Synths and Effects
Choose free third-party tools by the job your song needs, with official downloads, honest free-tier limits and installation checks that protect old projects.
Open the guide
18 FL Studio Stock Plugins Worth Learning First
Learn the FL Studio plugins that solve real production jobs before another download adds overlap, update risk and a new interface to remember.
Open the guide
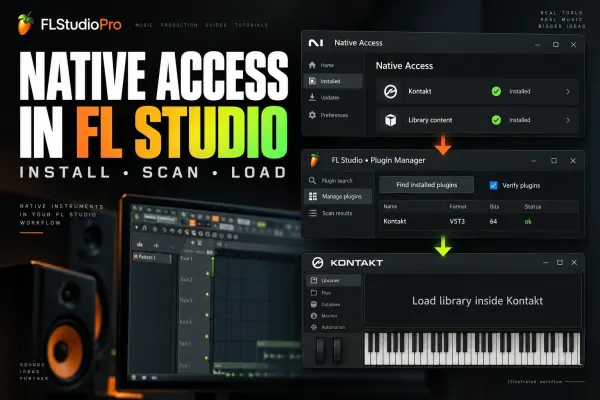 Connect Native Access to FL Studio: Plugins & Kontakt
Install Native Instruments products in Native Access, scan the actual plug-in in FL Studio, then load Kontakt libraries inside Kontakt instead of chasing sample folders.
Open the guide
Install Plugins in FL Studio: VST3, AU and CLAP
Choose the right plugin build, check Windows and Mac folder paths, run a verified scan and test the loaded instrument or effect without losing work in FL Studio Trial.
Open the guide
FL Studio Plugin Not Showing? Find and Fix the Cause
Separate a missing file from a scan error, an unclassified entry or a hidden favorite. Recover the right plugin without risking Trial work or overwriting an old project.
Open the guide
FL Studio Plugin Database: Categories, Favorites & Backup
Build a small working plugin library: useful categories, deliberate starting states, readable thumbnails and a backup you can restore without reinstalling your plugins.
Open the guide
FL Studio Plugins on Apple Silicon: Native or Rosetta?
Keep the working project safe while you separate native plugin builds, Intel translation and whole-host Rosetta mode. Includes the older Plugin Manager scan-error exception and a practical recall test.
Open the guide
Connect Native Access to FL Studio: Plugins & Kontakt
Install Native Instruments products in Native Access, scan the actual plug-in in FL Studio, then load Kontakt libraries inside Kontakt instead of chasing sample folders.
Open the guide
Install Plugins in FL Studio: VST3, AU and CLAP
Choose the right plugin build, check Windows and Mac folder paths, run a verified scan and test the loaded instrument or effect without losing work in FL Studio Trial.
Open the guide
FL Studio Plugin Not Showing? Find and Fix the Cause
Separate a missing file from a scan error, an unclassified entry or a hidden favorite. Recover the right plugin without risking Trial work or overwriting an old project.
Open the guide
FL Studio Plugin Database: Categories, Favorites & Backup
Build a small working plugin library: useful categories, deliberate starting states, readable thumbnails and a backup you can restore without reinstalling your plugins.
Open the guide
FL Studio Plugins on Apple Silicon: Native or Rosetta?
Keep the working project safe while you separate native plugin builds, Intel translation and whole-host Rosetta mode. Includes the older Plugin Manager scan-error exception and a practical recall test.
Open the guide
 FLEX in FL Studio 2026: Presets, Packs and Macros
Find a FLEX sound that fits the part, shape its actual controls, and understand which packs you own. Includes the 2026 browser, subscription expiry, safe pack repair and project recall.
Open the guide
FLEX in FL Studio 2026: Presets, Packs and Macros
Find a FLEX sound that fits the part, shape its actual controls, and understand which packs you own. Includes the 2026 browser, subscription expiry, safe pack repair and project recall.
Open the guide
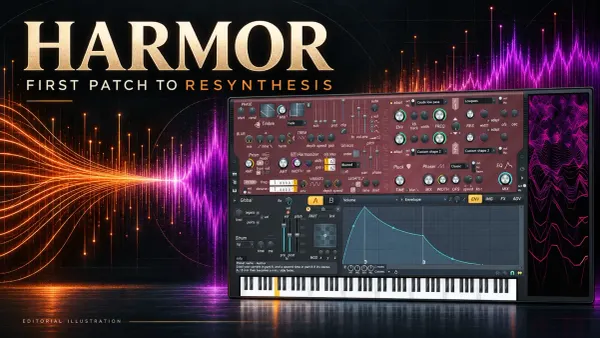 Harmor in FL Studio: First Patch and Resynthesis
Build a controlled Part A patch, learn Harmor's real envelope controls, and turn audio into a stereo resynthesized instrument without losing its source or trial-plugin settings.
Open the guide
Harmor in FL Studio: First Patch and Resynthesis
Build a controlled Part A patch, learn Harmor's real envelope controls, and turn audio into a stereo resynthesized instrument without losing its source or trial-plugin settings.
Open the guide
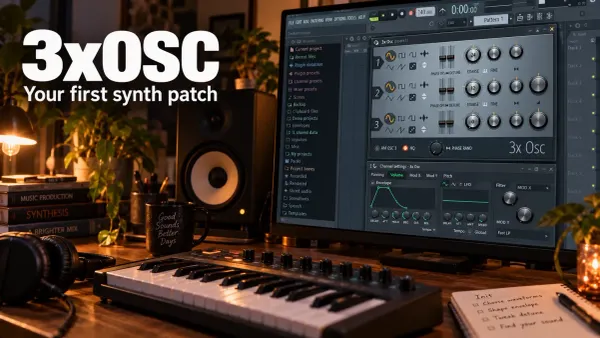 3xOSC in FL Studio: Build Your First Synth Patch
Build one playable 3xOSC sound, understand its mix ratios, and find the Channel envelope and filter that complete the patch. Includes phase checks and reliable preset-saving steps.
Open the guide
3xOSC in FL Studio: Build Your First Synth Patch
Build one playable 3xOSC sound, understand its mix ratios, and find the Channel envelope and filter that complete the patch. Includes phase checks and reliable preset-saving steps.
Open the guide
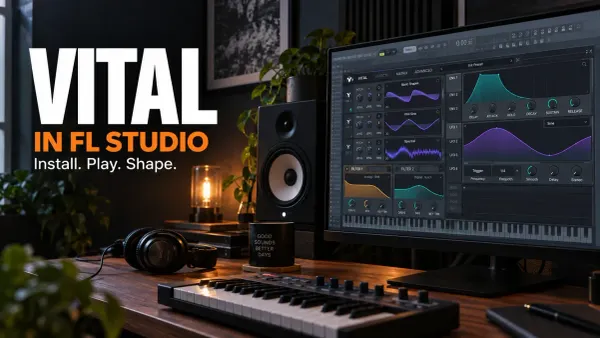 Vital in FL Studio: Install, Shape and Save a Patch
Get Vital into the Channel Rack, build a controllable first patch and keep its presets separate from FL Studio favorites. Includes format, scan and project-recall checks.
Open the guide
Vital in FL Studio: Install, Shape and Save a Patch
Get Vital into the Channel Rack, build a controllable first patch and keep its presets separate from FL Studio favorites. Includes format, scan and project-recall checks.
Open the guide
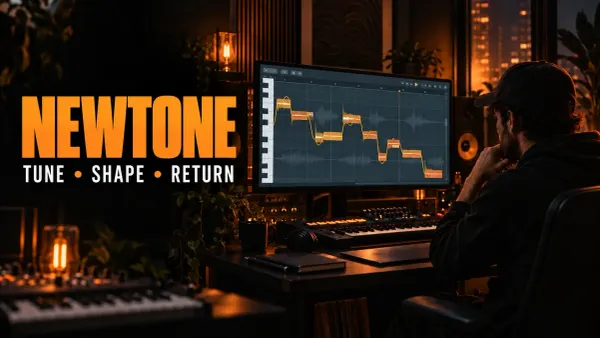 How to Use NewTone in FL Studio: Tune Vocals by Hand
Use NewTone to correct vocal pitch, drift, vibrato and timing note by note, then return clean audio or detected MIDI to FL Studio.
Open the guide
How to Use NewTone in FL Studio: Tune Vocals by Hand
Use NewTone to correct vocal pitch, drift, vibrato and timing note by note, then return clean audio or detected MIDI to FL Studio.
Open the guide
 Gross Beat in FL Studio: Time, Gating and Glitch Without Guesswork
Gross Beat makes sense once you separate Time mapping from Volume gating. Learn the buffer, slots, sync modes, automation and click-free workflow.
Open the guide
Gross Beat in FL Studio: Time, Gating and Glitch Without Guesswork
Gross Beat makes sense once you separate Time mapping from Volume gating. Learn the buffer, slots, sync modes, automation and click-free workflow.
Open the guide
 Pitcher in FL Studio: Real-Time Pitch Correction That Tracks
Set up Pitcher for reliable real-time vocal correction, MIDI targets and four-voice harmonies without confusing scale, tracking or routing problems.
Open the guide
Pitcher in FL Studio: Real-Time Pitch Correction That Tracks
Set up Pitcher for reliable real-time vocal correction, MIDI targets and four-voice harmonies without confusing scale, tracking or routing problems.
Open the guide
 FPC in FL Studio: Build and Play a Velocity-Layered Drum Kit
Build an FPC drum kit with velocity layers, round robin, MIDI pad mapping, hi-hat choke groups, separate Mixer outputs and reliable preset saving.
Open the guide
FPC in FL Studio: Build and Play a Velocity-Layered Drum Kit
Build an FPC drum kit with velocity layers, round robin, MIDI pad mapping, hi-hat choke groups, separate Mixer outputs and reliable preset saving.
Open the guide
 Fruity Soft Clipper in FL Studio: Control Peaks Without Guessing
Use Fruity Soft Clipper with a clear gain-staging workflow. Understand THRES, POST, drums, 808s, bus and master placement, and when to use Limiter or WaveShaper.
Open the guide
Fruity Soft Clipper in FL Studio: Control Peaks Without Guessing
Use Fruity Soft Clipper with a clear gain-staging workflow. Understand THRES, POST, drums, 808s, bus and master placement, and when to use Limiter or WaveShaper.
Open the guide
 Maximus in FL Studio: Compression Without Guesswork
Learn Maximus from the signal path outward: editable compression curves, single-band setup, multiband splits, look-ahead, saturation, mastering and fair bypass checks.
Open the guide
Maximus in FL Studio: Compression Without Guesswork
Learn Maximus from the signal path outward: editable compression curves, single-band setup, multiband splits, look-ahead, saturation, mastering and fair bypass checks.
Open the guide
 Fruity WaveShaper in FL Studio: Shape Distortion by Curve
Learn Fruity WaveShaper from the transfer curve outward: 1:1 mapping, Pre/Mix/Post gain, soft and hard shaping, bipolar curves, oversampling, DC control and fair bypass checks.
Open the guide
Fruity WaveShaper in FL Studio: Shape Distortion by Curve
Learn Fruity WaveShaper from the transfer curve outward: 1:1 mapping, Pre/Mix/Post gain, soft and hard shaping, bipolar curves, oversampling, DC control and fair bypass checks.
Open the guide
 Vocodex in FL Studio: Carrier, Modulator and Clear Vocals
Set up Vocodex with a clear carrier/modulator route, external Mixer inputs, readable band settings, consonant noise, unison and symptom-first troubleshooting.
Open the guide
Vocodex in FL Studio: Carrier, Modulator and Clear Vocals
Set up Vocodex with a clear carrier/modulator route, external Mixer inputs, readable band settings, consonant noise, unison and symptom-first troubleshooting.
Open the guide
 Fruity Reeverb 2 in FL Studio: Build Space Without Mud
Learn Fruity Reeverb 2 from the controls outward: predelay, size, decay, diffusion, filtering, damping, insert and send setup, stereo options and fast troubleshooting.
Open the guide
Fruity Reeverb 2 in FL Studio: Build Space Without Mud
Learn Fruity Reeverb 2 from the controls outward: predelay, size, decay, diffusion, filtering, damping, insert and send setup, stereo options and fast troubleshooting.
Open the guide
 DirectWave in FL Studio: Build a Multisample Instrument
Build a playable DirectWave instrument from your own samples: root keys, key ranges, velocity layers, sustain loops, envelopes, DWP and DWB saving, and troubleshooting.
Open the guide
DirectWave in FL Studio: Build a Multisample Instrument
Build a playable DirectWave instrument from your own samples: root keys, key ranges, velocity layers, sustain loops, envelopes, DWP and DWB saving, and troubleshooting.
Open the guide
 NewTime in FL Studio: Warp Audio Without Losing the Groove
Use NewTime to correct audio timing in FL Studio: source BPM, downbeats, Warp Markers, quantization, groove, slaved playback, Playlist transfer and troubleshooting.
Open the guide
NewTime in FL Studio: Warp Audio Without Losing the Groove
Use NewTime to correct audio timing in FL Studio: source BPM, downbeats, Warp Markers, quantization, groove, slaved playback, Playlist transfer and troubleshooting.
Open the guide
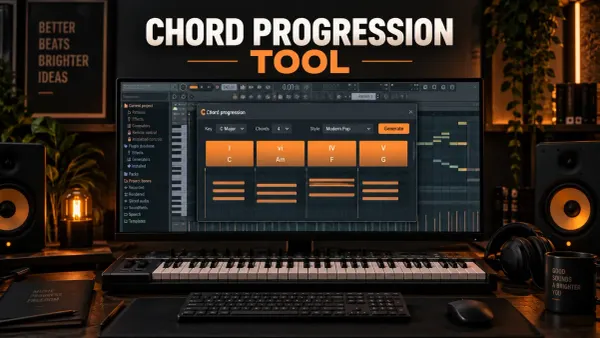 FL Studio Chord Progression Tool: Build Chords That Fit Your Track
Use the FL Studio Chord Progression Tool to generate or analyze chords, lock good choices, fix voicing and bass, protect existing notes, add performance and Accept a clean Pattern.
Open the guide
FL Studio Chord Progression Tool: Build Chords That Fit Your Track
Use the FL Studio Chord Progression Tool to generate or analyze chords, lock good choices, fix voicing and bass, protect existing notes, add performance and Accept a clean Pattern.
Open the guide
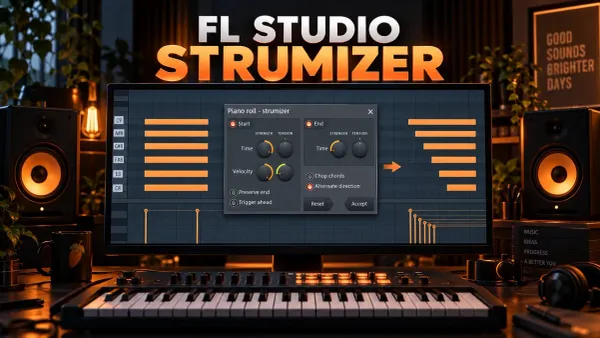 FL Studio Strumizer: Hotkey, Controls and Natural Chords
Use the FL Studio Strumizer with Alt/Option+S, set strum direction and tension, shape velocity, control note endings, chop overlaps and alternate successive chords.
Open the guide
FL Studio Strumizer: Hotkey, Controls and Natural Chords
Use the FL Studio Strumizer with Alt/Option+S, set strum direction and tension, shape velocity, control note endings, chop overlaps and alternate successive chords.
Open the guide
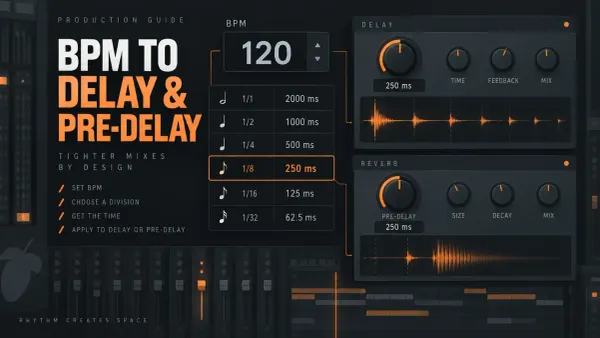 FL Studio Delay and Reverb Calculator: BPM to Milliseconds
Convert your FL Studio project BPM into delay divisions in milliseconds, then place them in Fruity Delay 3 or use the short ones as Fruity Reeverb 2 pre-delay.
Open the guide
FL Studio Delay and Reverb Calculator: BPM to Milliseconds
Convert your FL Studio project BPM into delay divisions in milliseconds, then place them in Fruity Delay 3 or use the short ones as Fruity Reeverb 2 pre-delay.
Open the guide
 Soundgoodizer in FL Studio: What It Does and How to Use It
Learn what Soundgoodizer actually controls, how to compare A–D fairly, where it fits in a Mixer chain, and when Maximus gives you the control you need.
Open the guide
Soundgoodizer in FL Studio: What It Does and How to Use It
Learn what Soundgoodizer actually controls, how to compare A–D fairly, where it fits in a Mixer chain, and when Maximus gives you the control you need.
Open the guide
 What Is a VST Plugin? VST, VST3, AU and CLAP Explained
VST stands for Virtual Studio Technology: Steinberg's plugin standard for instruments and effects that run inside a DAW. Here is how it works, VST2 vs VST3, AU, AAX and CLAP, and how FL Studio handles them.
Open the guide
What Is a VST Plugin? VST, VST3, AU and CLAP Explained
VST stands for Virtual Studio Technology: Steinberg's plugin standard for instruments and effects that run inside a DAW. Here is how it works, VST2 vs VST3, AU, AAX and CLAP, and how FL Studio handles them.
Open the guide
 How to Resize Plugins in FL Studio: Too Big, Too Small or Blurry
Plugin cut off at the bottom, tiny on a 4K screen or blurry? Pick the right FL Studio control for native and third-party plugins, keep the size with a favorite preset, and know what bridging costs.
Open the guide
How to Resize Plugins in FL Studio: Too Big, Too Small or Blurry
Plugin cut off at the bottom, tiny on a 4K screen or blurry? Pick the right FL Studio control for native and third-party plugins, keep the size with a favorite preset, and know what bridging costs.
Open the guide
Before installing another plugin
- Name the missing job in one sentence: instrument, correction, dynamics, space, analysis or creative effect.
- Check whether an included FL Studio tool already performs that job in your edition.
- Use the correct Windows or macOS build and the developer’s normal installer.
- Keep custom scan paths intentional; do not scatter plugin files through the FL Studio program folder.
- In an unlocked FL Studio installation, open, save and reopen a small test project before trusting the plugin in an important session.
Image-Line’s official plugin installation guide covers supported formats, default locations and Plugin Manager scanning. If a correctly installed tool still disappears, crashes or consumes abnormal CPU, use Troubleshooting rather than adding more search folders at random.
FL Studio plugin questions
Are FL Studio stock plugins free?
They are included or unlocked according to the FL Studio edition and license you own; they are not the same category as independently downloadable freeware. Check edition access before calling a native plugin free.
Do I need paid plugins to mix in FL Studio?
You do not need extra paid plugins just to handle basic levels, EQ, dynamics, routing and limiting. Learn the tools included with your edition, then buy a plugin only when you can name the missing feature or workflow benefit.
Should I install VST, VST3, AU or CLAP?
Current FL Studio supports VST, VST3 and CLAP on Windows and macOS, and AU on macOS. Choose a build compatible with your computer and FL Studio version. For a project shared between Mac and Windows, use the same supported plugin format on both computers; an AU instance will not automatically become a VST instance.