 FL Studio
Mix from clear routing to a finished master
Start with the signal path, prepare the source only when necessary, then make musical decisions about space, dynamics and level. This route keeps mixing, stem extraction and mastering as separate jobs.
Check the signal path before changing the sound
Start by tracing a sound through its Mixer insert and any buses or sends. An unintended direct path to the Master alongside a bus can change the level and blend you hear. Check the routing before trying to compensate with EQ or a limiter; Image-Line’s audio-routing reference explains how tracks feed one another.
Use the route below as a session order, not a list of techniques to pile onto every channel. Establish the Mixer first. If the source is already separated into clean tracks, skip stem extraction completely. Process the vocal or other focal element, add sidechain only where one sound genuinely needs to make room for another, then master the balanced mix. Image-Line’s official levels and mixing guidance makes the same useful distinction between building a mix and chasing loudness too early.
Open the guide that matches the next unfinished job
The order has one optional branch. Stem separation belongs before processing when the original tracks are unavailable; it is not an effect to add to an already isolated vocal.
 Build the signal path
How to Use the FL Studio Mixer: Routing, Buses and Sends
Route channels to named inserts, understand the Master, create sends and buses, and prove where every signal goes.
Learn the Mixer
Build the signal path
How to Use the FL Studio Mixer: Routing, Buses and Sends
Route channels to named inserts, understand the Master, create sends and buses, and prove where every signal goes.
Learn the Mixer
 Optional source preparation
FL Studio Stem Separation: Split Vocals, Drums & Bass
Use separation only when vocals, drums or instruments are trapped inside a stereo mix; inspect bleed and artifacts before processing.
Extract usable stems
Optional source preparation
FL Studio Stem Separation: Split Vocals, Drums & Bass
Use separation only when vocals, drums or instruments are trapped inside a stereo mix; inspect bleed and artifacts before processing.
Extract usable stems
 Process an isolated vocal
How to Mix Vocals in FL Studio: A Repeatable Stock Chain
Set level and tone, control dynamics and sibilance, then build space around a vocal that is already separate from the instrumental.
Mix the vocal
Process an isolated vocal
How to Mix Vocals in FL Studio: A Repeatable Stock Chain
Set level and tone, control dynamics and sibilance, then build space around a vocal that is already separate from the instrumental.
Mix the vocal
 Create controlled movement
How to Do Sidechain Compression in FL Studio
Route a trigger correctly and choose between compression, volume shaping and automation instead of copying one pump setting.
Set up sidechain
Create controlled movement
How to Do Sidechain Compression in FL Studio
Route a trigger correctly and choose between compression, volume shaping and automation instead of copying one pump setting.
Set up sidechain
 Prepare the final file
How to Master in FL Studio: A Stock-Plugin Workflow
Check the mix, build a restrained stock-plugin chain, compare level honestly and export the master without repairing mix problems on the limiter.
Master the track
Prepare the final file
How to Master in FL Studio: A Stock-Plugin Workflow
Check the mix, build a restrained stock-plugin chain, compare level honestly and export the master without repairing mix problems on the limiter.
Master the track
Stem extraction creates a source; vocal mixing changes that source
A separation model tries to isolate material that is already combined. Listen for leftover instruments, smeared transients and altered vocal texture before committing to the result. Vocal mixing starts with a discrete recording or an extracted file you consider usable. EQ and compression can make unwanted remnants more noticeable, so compare in the full mix as well as in solo. If the original multitracks are available, use those instead of trying to reconstruct them. Image-Line documents the Playlist’s stem-extraction controls; selecting stem types is not a guarantee of clean isolation.
Open the guide for the task in front of you
This list includes every live guide assigned to this route. Scheduled and draft pages stay out until readers can open them.
How to Use the FL Studio Mixer: Routing, Buses and Sends
A practical FL Studio Mixer guide for routing sounds, ordering effects, building buses and sends, and fixing silent or doubled paths.
Open the guide
How to Do Sidechain Compression in FL Studio
A practical FL Studio sidechain guide using Fruity Limiter, Peak Controller and volume automation, with routing checks and kick–808 timing advice.
Open the guide
How to Master in FL Studio: A Stock-Plugin Workflow
A restrained FL Studio mastering workflow using stock tools for mix checks, broad EQ, optional dynamics, limiting, loudness review and export QA.
Open the guide
How to Mix Vocals in FL Studio: A Repeatable Stock Chain
A repeatable FL Studio vocal-mixing workflow for editing, routing, EQ, compression, de-essing, depth, automation and honest use of presets.
Open the guide
FL Studio Stem Separation: Split Vocals, Drums & Bass
Separate vocals, drums, bass and instruments without confusing AI extraction with ordinary stem export, and know what to do when the result is messy.
Open the guide
 How to De-Ess Vocals in FL Studio Without Dulling Them
Tame sharp S and T sounds with Maximus, multiband compression or manual clip gain while leaving the rest of the vocal bright and intelligible.
Open the guide
How to De-Ess Vocals in FL Studio Without Dulling Them
Tame sharp S and T sounds with Maximus, multiband compression or manual clip gain while leaving the rest of the vocal bright and intelligible.
Open the guide
 How to Tune an 808 in FL Studio: Root Note and Cents
Find the original 808 pitch with or without Edison, avoid the root-octave trap and tell a wrong note from a small cents error before writing the bass line.
Open the guide
How to Tune an 808 in FL Studio: Root Note and Cents
Find the original 808 pitch with or without Edison, avoid the root-octave trap and tell a wrong note from a small cents error before writing the bass line.
Open the guide
 808 Slides in FL Studio: Glide Notes and Fixes
Build one audible 808 slide, control its landing and add a return. Keep native Slide notes separate from Mono, portamento and third-party plugin glide.
Open the guide
808 Slides in FL Studio: Glide Notes and Fixes
Build one audible 808 slide, control its landing and add a return. Keep native Slide notes separate from Mono, portamento and third-party plugin glide.
Open the guide
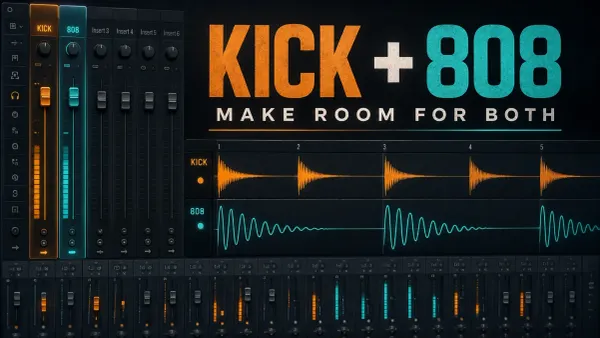 How to Mix 808s in FL Studio Without Mud
Balance the kick and bass, fix unwanted tails and use EQ, harmonics or ducking only where they help. Includes routing, input-gain and mono checks.
Open the guide
How to Mix 808s in FL Studio Without Mud
Balance the kick and bass, fix unwanted tails and use EQ, harmonics or ducking only where they help. Includes routing, input-gain and mono checks.
Open the guide
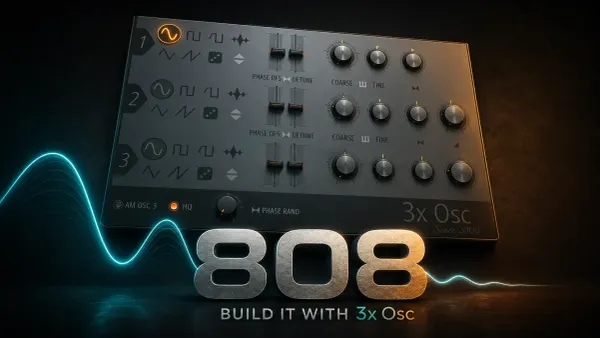 Make an 808 in FL Studio with 3xOSC
Build a playable 808 from one sine, choose how its notes end, add presence only when needed and save a patch that reloads with its envelopes.
Open the guide
Make an 808 in FL Studio with 3xOSC
Build a playable 808 from one sine, choose how its notes end, add presence only when needed and save a patch that reloads with its envelopes.
Open the guide
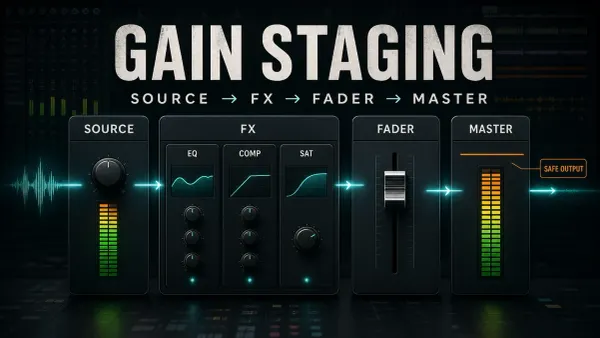 FL Studio Gain Staging: Source, Effects and Master
Find the stage that needs a different level: source, processor input, track balance or final output. No compulsory peak targets for every track.
Open the guide
FL Studio Gain Staging: Source, Effects and Master
Find the stage that needs a different level: source, processor input, track balance or final output. No compulsory peak targets for every track.
Open the guide
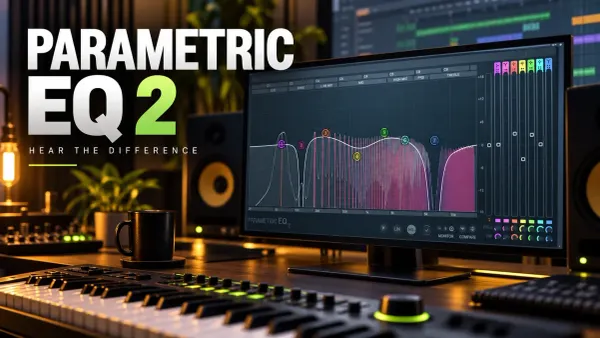 Fruity Parametric EQ 2: Bands, Solo, HQ and LIN
Choose the right EQ shape, hear what Band Solo actually auditions, separate analyzer settings from processing, and compare without letting loudness decide.
Open the guide
Fruity Parametric EQ 2: Bands, Solo, HQ and LIN
Choose the right EQ shape, hear what Band Solo actually auditions, separate analyzer settings from processing, and compare without letting loudness decide.
Open the guide
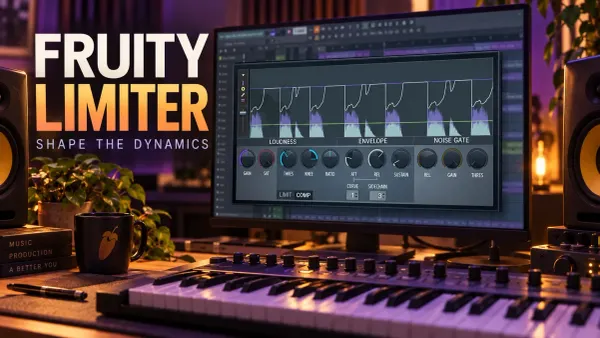 Fruity Limiter Compression: Controls, Timing and Fixes
Make Fruity Limiter control dynamics without losing the attack: separate its processing stages, read the RMS detector and hear what each timing control changes.
Open the guide
Fruity Limiter Compression: Controls, Timing and Fixes
Make Fruity Limiter control dynamics without losing the attack: separate its processing stages, read the RMS detector and hear what each timing control changes.
Open the guide
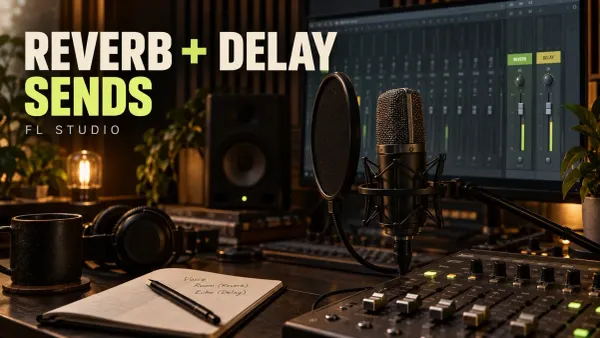 Reverb and Delay Sends in FL Studio: Clean Routing
Keep the vocal clear while adding a shared room and echo. Build wet-only returns, choose the right send control and fix dry leaks before balancing the effect.
Open the guide
Reverb and Delay Sends in FL Studio: Clean Routing
Keep the vocal clear while adding a shared room and echo. Build wet-only returns, choose the right send control and fix dry leaks before balancing the effect.
Open the guide
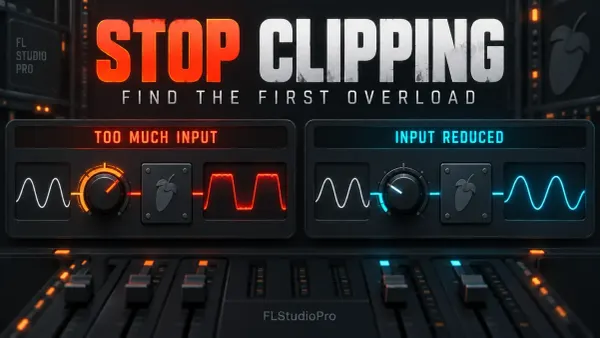 FL Studio Clipping: Find the Overload and Fix It
Find where clean audio first becomes distorted. Check plugin input, Master output and the finished file without confusing orange Insert meters with damaged sound.
Open the guide
FL Studio Clipping: Find the Overload and Fix It
Find where clean audio first becomes distorted. Check plugin input, Master output and the finished file without confusing orange Insert meters with damaged sound.
Open the guide
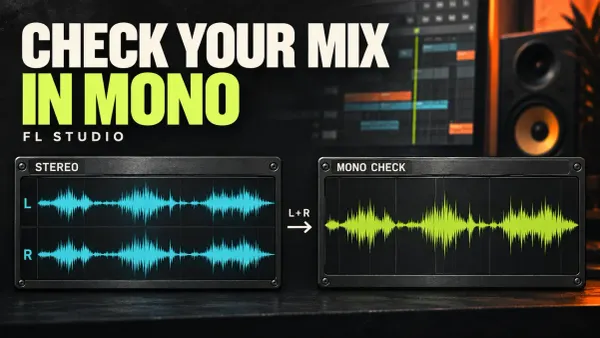 FL Studio Mono Compatibility: Check and Fix Your Mix
Find what disappears when stereo folds to mono. Check the Master, the meter position and the responsible layer without flattening a mix that already works.
Open the guide
FL Studio Mono Compatibility: Check and Fix Your Mix
Find what disappears when stereo folds to mono. Check the Master, the meter position and the responsible layer without flattening a mix that already works.
Open the guide
 FL Studio Stereo Separation: Widen, Narrow or Go Mono
Choose between pan, existing stereo width and new L/R differences. Understand the stock controls, place the meter correctly and keep the change only when the mix benefits.
Open the guide
FL Studio Stereo Separation: Widen, Narrow or Go Mono
Choose between pan, existing stereo width and new L/R differences. Understand the stock controls, place the meter correctly and keep the change only when the mix benefits.
Open the guide
 Measure LUFS in FL Studio: Meters, Setup and Export
Get a repeatable whole-song loudness reading, distinguish measurement from mastering processing and check why the exported file might disagree with the project.
Open the guide
Measure LUFS in FL Studio: Meters, Setup and Export
Get a repeatable whole-song loudness reading, distinguish measurement from mastering processing and check why the exported file might disagree with the project.
Open the guide
 Pitcher in FL Studio: Real-Time Pitch Correction That Tracks
Set up Pitcher for reliable real-time vocal correction, MIDI targets and four-voice harmonies without confusing scale, tracking or routing problems.
Open the guide
Pitcher in FL Studio: Real-Time Pitch Correction That Tracks
Set up Pitcher for reliable real-time vocal correction, MIDI targets and four-voice harmonies without confusing scale, tracking or routing problems.
Open the guide
 Fruity Soft Clipper in FL Studio: Control Peaks Without Guessing
Use Fruity Soft Clipper with a clear gain-staging workflow. Understand THRES, POST, drums, 808s, bus and master placement, and when to use Limiter or WaveShaper.
Open the guide
Fruity Soft Clipper in FL Studio: Control Peaks Without Guessing
Use Fruity Soft Clipper with a clear gain-staging workflow. Understand THRES, POST, drums, 808s, bus and master placement, and when to use Limiter or WaveShaper.
Open the guide
 Maximus in FL Studio: Compression Without Guesswork
Learn Maximus from the signal path outward: editable compression curves, single-band setup, multiband splits, look-ahead, saturation, mastering and fair bypass checks.
Open the guide
Maximus in FL Studio: Compression Without Guesswork
Learn Maximus from the signal path outward: editable compression curves, single-band setup, multiband splits, look-ahead, saturation, mastering and fair bypass checks.
Open the guide
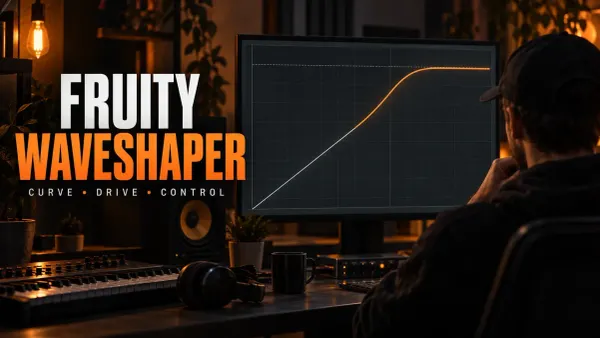 Fruity WaveShaper in FL Studio: Shape Distortion by Curve
Learn Fruity WaveShaper from the transfer curve outward: 1:1 mapping, Pre/Mix/Post gain, soft and hard shaping, bipolar curves, oversampling, DC control and fair bypass checks.
Open the guide
Fruity WaveShaper in FL Studio: Shape Distortion by Curve
Learn Fruity WaveShaper from the transfer curve outward: 1:1 mapping, Pre/Mix/Post gain, soft and hard shaping, bipolar curves, oversampling, DC control and fair bypass checks.
Open the guide
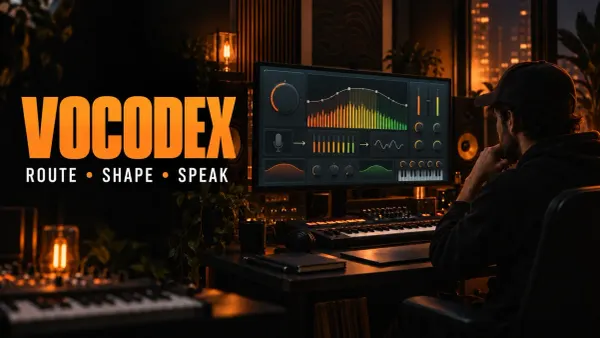 Vocodex in FL Studio: Carrier, Modulator and Clear Vocals
Set up Vocodex with a clear carrier/modulator route, external Mixer inputs, readable band settings, consonant noise, unison and symptom-first troubleshooting.
Open the guide
Vocodex in FL Studio: Carrier, Modulator and Clear Vocals
Set up Vocodex with a clear carrier/modulator route, external Mixer inputs, readable band settings, consonant noise, unison and symptom-first troubleshooting.
Open the guide
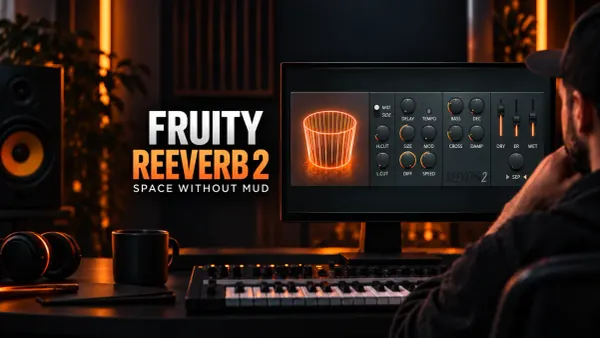 Fruity Reeverb 2 in FL Studio: Build Space Without Mud
Learn Fruity Reeverb 2 from the controls outward: predelay, size, decay, diffusion, filtering, damping, insert and send setup, stereo options and fast troubleshooting.
Open the guide
Fruity Reeverb 2 in FL Studio: Build Space Without Mud
Learn Fruity Reeverb 2 from the controls outward: predelay, size, decay, diffusion, filtering, damping, insert and send setup, stereo options and fast troubleshooting.
Open the guide
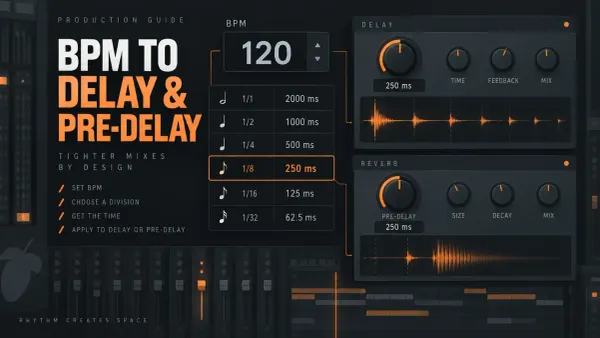 FL Studio Delay and Reverb Calculator: BPM to Milliseconds
Convert your FL Studio project BPM into delay divisions in milliseconds, then place them in Fruity Delay 3 or use the short ones as Fruity Reeverb 2 pre-delay.
Open the guide
FL Studio Delay and Reverb Calculator: BPM to Milliseconds
Convert your FL Studio project BPM into delay divisions in milliseconds, then place them in Fruity Delay 3 or use the short ones as Fruity Reeverb 2 pre-delay.
Open the guide
 Soundgoodizer in FL Studio: What It Does and How to Use It
Learn what Soundgoodizer actually controls, how to compare A–D fairly, where it fits in a Mixer chain, and when Maximus gives you the control you need.
Open the guide
Soundgoodizer in FL Studio: What It Does and How to Use It
Learn what Soundgoodizer actually controls, how to compare A–D fairly, where it fits in a Mixer chain, and when Maximus gives you the control you need.
Open the guide
Before the track moves to mastering
- Every audible source reaches the intended insert, bus and Master path.
- The lead element remains intelligible at low monitoring volume without a solo button.
- Sidechain movement solves a masking or groove problem rather than running by habit.
- Extracted stems have been checked for bleed and artifacts in the full mix and in solo.
- The premaster does not rely on a limiter to hold together unstable balances.
If clicks or CPU spikes interrupt the session, pause the creative chain and use the Troubleshooting hub. If the routing works but you need a specific instrument or effect, choose it by job in the Plugins hub.
FL Studio mixing questions
Should I mix and master in the same FL Studio project?
You can, but the jobs should still be separated. Finish routing and balance first, then master a stable mix. Exporting a premaster into a fresh project can make that boundary easier to judge.
Is stem separation part of vocal mixing?
No. Stem separation extracts a vocal from combined audio. Vocal mixing processes an already isolated vocal. If extraction leaves artifacts, decide whether the stem is usable before applying the vocal chain.
Where should a beginner start mixing in FL Studio?
Start with the Mixer routing guide. Name the inserts, prove the paths to buses and the Master, and set a workable static balance before opening processors or trying to master the track.