FL Studio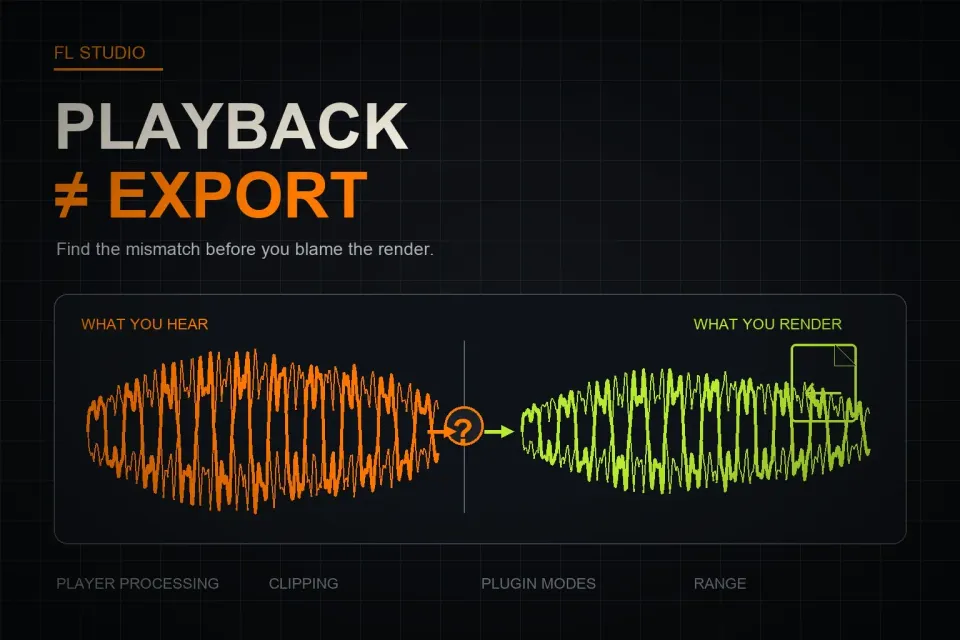
If an FL Studio export sounds different from playback, first decide whether the rendered audio changed or the playback chain changed. A media player, Windows audio enhancement or interface mixer can alter what you hear after export even when the WAV itself is correct. A real render difference usually comes from clipping, live-versus-render interpolation, plugin offline behavior, effect routing, note limits or the selected range.
Use a short WAV from the most obvious problem section. Compare the exact file at matched volume, then move through the checks below in order. Do not change bit depth, sample rate, dither and plugin quality at the same time; that hides the cause.
Use the fastest isolation order
| What you hear | Check first | Likely branch |
|---|---|---|
| The file is louder, brighter or wider only in one player | Player EQ, loudness normalization, spatial sound and vendor audio apps | Playback chain |
| The render distorts while live playback seems clean | Master peaks and FL Studio ASIO Hard-clip output at 0 dB | Hidden live limiting or clipping |
| Pitched samples become sharper or duller | Live and render interpolation | Sampler or Audio Clip resampling |
| A synth, effect or bus changes tone | HQ mode, oversampling and render notification | Plugin offline behavior |
| Notes overlap differently or parts disappear | Disable maximum polyphony and plugin voice limits | Render option or instrument state |
| Master processing is absent from separate files | Split mixer tracks and Master routing | Stem workflow |
| The beginning, ending or transition is wrong | Song/Pattern, selection, Tail, automation and Trim PDC silence | Render range or state |
Prove whether the player or the render is different
Start with an uncompressed WAV. Open the exact file you just created, confirm its modification time and compare the same musical passage. Match listening volume as closely as practical. A louder version often seems fuller or clearer even when its balance has not improved.
Then listen through a second neutral application and, if useful, import the WAV into an empty FL Studio project for a controlled comparison. Route it directly to Master without added effects. This does not prove that two signals are mathematically identical, but it helps separate the rendered file from player EQ, normalization, surround processing or a different output device.
Image-Line’s export-versus-realtime troubleshooting note puts media-player and soundcard settings first. It also warns that enhancements can live in vendor applications such as Realtek, DTS, Beats, Waves MaxxAudio or Nahimic, not only in the Windows sound panel.
If the WAV sounds consistent inside FL Studio and another neutral player but different in your usual player, fix that playback path. If the difference remains inside FL Studio, continue with the render-path checks.
Check clipping that live playback can hide
The Master volume knob and the operating-system playback volume do not change rendered levels. Watch the Master peak meter before export and inspect the actual file afterward.
With FL Studio ASIO on Windows, Hard-clip output at 0dB affects live audio rather than rendered files. Image-Line explains that when the option is off, a Windows limiter can prevent obvious live distortion even while the project exceeds 0 dB. The fixed-depth render can then sound clipped although playback seemed acceptable.
Lower the source of the overload instead of turning down the player after export. Check the Master chain, buses and loud transients. A larger bit depth is useful for the right delivery workflow, but it does not repair distortion already created by a recording or plugin. The mastering guide covers level and loudness decisions; the export-settings guide covers file depth and destination formats.
Compare live and render interpolation
FL Studio has separate interpolation controls for live playback and rendering, documented in the Export Project Dialog. These settings calculate intermediate sample values for transposed Sampler and Audio Clip channels. Image-Line says the two should ideally match when you want live and rendered playback to sound the same, although a high live setting can demand more CPU.
A mismatch matters most when samples are played away from their original pitch or rate. If the difference is concentrated in a pitched vocal chop, bass sample, cymbal or Audio Clip, export the same short passage twice while changing only interpolation. Hold the range, gain, effects, format and plugin settings constant.
This control does not upgrade every synthesizer or effect. When the changed sound comes from a third-party instrument, move to its own quality and offline-render options instead of assuming a higher Sinc value will fix it.
Inspect plugin quality and offline-render behavior
Some plugins use different quality, oversampling, lookahead or processing modes during offline rendering. FL Studio’s HQ for all plugins option requests high-quality processing from supported native plugins. It is not a universal switch for every generator and effect.
A hosted plugin can receive FL Studio’s rendering-state notification through the Wrapper option Notify about rendering mode. The Wrapper documentation recommends trying that notification off when a plugin renders incorrectly. Check the plugin’s own manual as well; many quality controls live inside the plugin and are unaffected by FL Studio’s HQ switch.
Save a project copy, choose a short problem passage, and bypass one suspect plugin at a time. Start with Master and shared buses because one changed processor there affects the whole mix. If the difference disappears, restore the plugin and compare its live quality, render quality, oversampling, randomization and wrapper settings one variable at a time.
Check polyphony, randomization and state at the render start
The export option Disable maximum polyphony ignores a Channel’s Max poly limit but does not ignore Mono. Removing an intentional limit can change note overlap, envelopes and the load sent into effects. Leave the option consistent when comparing playback and export unless you specifically need to diagnose voice stealing.
Some instruments deliberately randomize phase, humanization, round robins or modulation. Two passes may therefore differ without either one being broken. Compare the character of the change: a slightly different transient or stereo pattern points toward controlled randomness, while missing processing or repeated distortion points elsewhere.
Rendering a timeline selection can also start after an earlier automation event, controller move or plugin reset. Make the required mute, bypass, send, tempo and parameter state explicit at or before the selection start. If the first bar alone sounds wrong, include a short lead-in and compare again.
Verify effects, routing and stem choices
The normal stereo render follows the Master Mixer track. Confirm that Enable insert effects and Enable master effects reflect the file you intend to deliver. A dry export can sound dramatically different while still being technically valid.
Split mixer tracks creates separate Mixer-track files and bypasses the Master path for those splits. That means a limiter, bus compressor, saturation stage or tonal EQ on Master will not be printed onto every stem. Do not compare a raw split track with the processed stereo master and treat the difference as a render-quality failure.
Use the stem-export workflow when the problem exists only in separate files. If the stereo Master export is silent rather than merely different, follow the silent-render checklist.
Check the range, tail and delay handling
Confirm Song or Pattern mode, the Playlist selection and the duration shown in the export dialog. The Tail setting controls what happens to sound that continues after the last note. Cutting the remainder can remove a reverb or delay tail; leaving it can make the file longer than expected.
For WAV export, Trim PDC silence can remove leading silence added by plugin delay compensation. It does not disable delay compensation or fix audio that was recorded out of alignment. If timing differs only at the beginning, compare the exact start point before changing resampling or bit depth.
Lossy formats add another variable. MP3, Ogg Vorbis and AAC can alter high-frequency detail and transients, and Image-Line documents a short leading silence in FL Studio’s MP3 conversion. Use WAV for loops, null-style alignment checks and sample-accurate handoffs. Keep a lossless master even when an MP3 review copy is required.
Run a controlled comparison
- Save a new project version. Preserve the mix you approved before changing render or plugin settings.
- Choose one exposed passage. Ten to twenty seconds is usually enough to hear the problem and keeps each comparison manageable.
- Export WAV first. Keep sample rate, depth, range, effects and channel layout fixed.
- Match playback level. Compare the same passage through the same device without player EQ, normalization or spatial processing.
- Change one variable. Test interpolation, HQ, render notification, a suspect plugin or a routing option separately.
- Name each file clearly. Include the changed variable in the filename so you do not compare the wrong render.
- Confirm the result twice. Repeat the successful setting once before applying it to the full song.
An optional polarity-inversion comparison can reveal differences between two aligned WAV files, but it is easy to misread. Randomized instruments, lossy encoding, different tails, timing offsets and level changes prevent a clean cancellation. Treat it as a diagnostic aid, not proof that one render is better.
Avoid fixes that hide the cause
- Do not raise every quality setting at once. You will not know which change mattered, and some plugin modes intentionally sound different.
- Do not normalize both files before diagnosis. Normalization changes level and can conceal the original gain problem.
- Do not compare MP3 with live playback first. Begin with WAV so lossy encoding is not another variable.
- Do not assume 512-point Sinc affects every plugin. Render interpolation applies to the relevant Sampler and Audio Clip paths.
- Do not reinstall FL Studio for a repeatable tonal difference. Isolate the playback or render branch first.
Frequently asked questions
Why is my FL Studio export quieter than playback?
Match the listening volume and disable player normalization or enhancements first. Then check the Master meter, Master effects and whether you compared a processed stereo master with an unprocessed split track. The monitor or operating-system volume does not set rendered level.
Why is the export distorted when FL Studio playback is clean?
Check for Master peaks above 0 dB and the FL Studio ASIO Hard-clip output at 0dB setting. Windows limiting can hide live clipping while the rendered file still contains distortion. Fix the overload in the project rather than lowering the player afterward.
Should live and render interpolation be the same?
Matching them is useful when transposed Sampler or Audio Clip channels sound different. Image-Line says matching is ideal for consistent live and rendered sound, but a high live setting may use more CPU. This setting does not control every plugin.
Can HQ for all plugins change the sound?
Yes, for supported native plugins, and some hosted plugins can switch behavior when notified that FL Studio is rendering. The change may be intentional higher-quality processing or a compatibility problem. Check the plugin’s own settings and compare one controlled passage.
Why do exported stems sound different from the full mix?
Split Mixer tracks do not carry the Master chain onto every stem. Bus routing, returns and shared processing also change what belongs in each file. Compare reconstructed stems with the intended routing rather than expecting each solo file to sound like the mastered stereo mix.
The practical rule is simple: prove the playback chain first, then isolate one render variable at a time. Once the WAV is compared at matched level through a neutral path, the remaining difference usually points to clipping, interpolation, plugin behavior, routing or render range.