FL Studio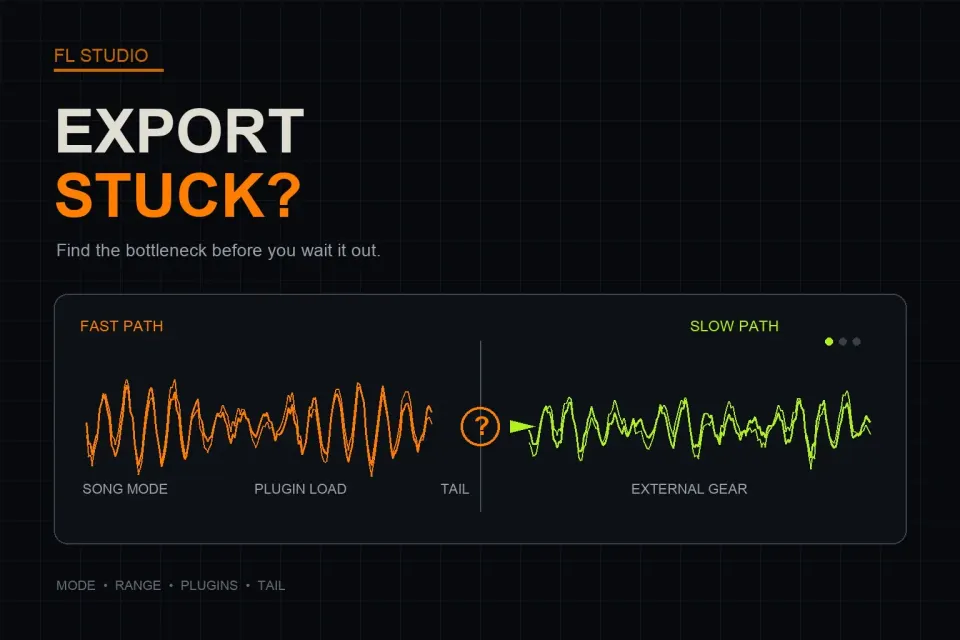
A slow FL Studio export is usually telling you where the project is expensive to render. A render that appears frozen can be spending time on a long tail, a heavy plugin, a high quality setting or an external hardware pass. Start by proving which part is slow instead of changing every export option at once.
Save a copy of the project, export a short WAV from the problem area and time that small pass. Keep the sample rate, bit depth and plugin state fixed while you isolate the bottleneck. Once the short export behaves predictably, repeat the winning setup on the full song.
First decide what “slow” means
| What happens | Check first | What it usually points to |
|---|---|---|
| The progress bar moves, but the render takes much longer than playback | Range, effect tails and plugin quality | More audio is being calculated than expected |
| The export stops at the same percentage every time | Plugin load, render notification and the project copy | A repeatable plugin or state problem |
| The export seems finished, but the file keeps growing | Tail and the last event or marker | Reverb, delay or another continuing signal |
| Only a hardware project waits | External gear routing and recorded return audio | A real-time hardware pass |
| Pattern export is unexpectedly short or long | Song Mode versus Pattern Mode | The selected render scope is different from the arrangement |
Do not use “it takes too long” as the only diagnosis. Compare the render time with the song length and note the point where the delay appears. A project that renders at 1.5 times its duration has a different problem from one that spends several minutes on a two-bar selection or stops on one plugin.
Check Song Mode, Pattern Mode and the time range
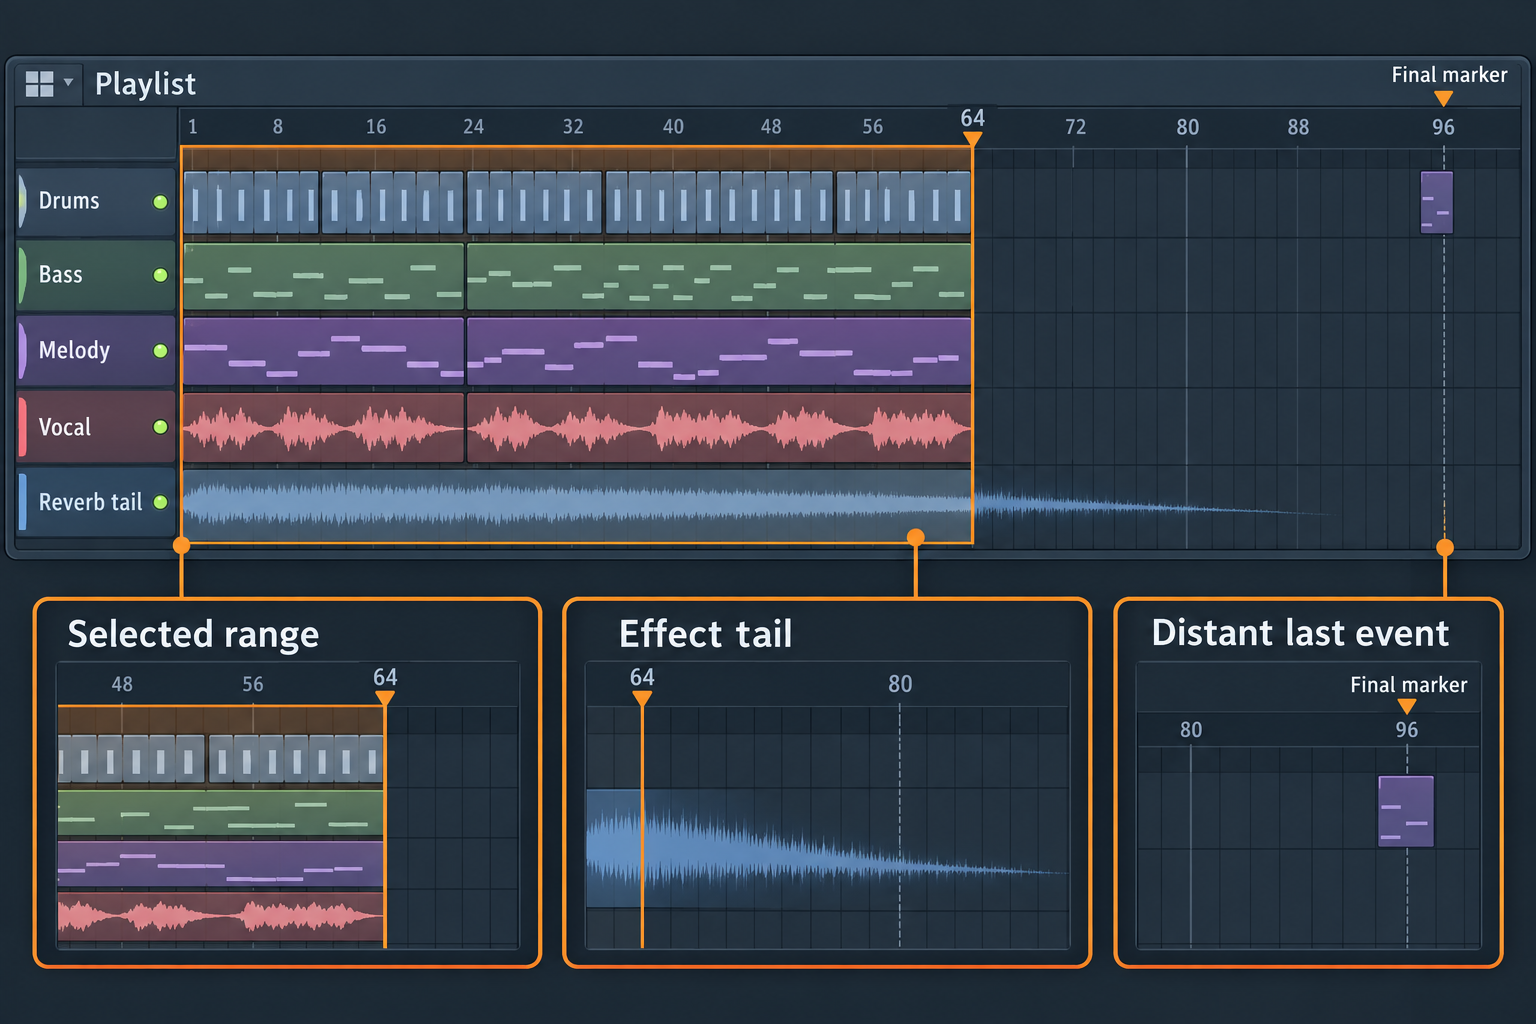
FL Studio’s export dialog uses the selected mode and time range to decide what it should render. In Song Mode, the length follows the Playlist range, the last marker, the last bar with data and the selected tail behavior. Pattern Mode follows the pattern logic instead of the complete arrangement.
That makes the first check simple: look at the mode, the visible time selection and the end of the Playlist. An old marker or a small event far beyond the song can extend the render. A selection that starts at bar 1 and ends after a long empty region can also make a quick test look like a stalled export.
For a controlled test, select only the section that exposes the problem. Then export the same range again after each change. The Image-Line export documentation describes how the render length is determined, including the last marker, last bar with data and Tail setting.
If you need the complete arrangement, switch back to Song Mode before the final export. A short Pattern Mode render can be useful for diagnosis, but it is not evidence that the full song will finish in the same time.
Look for a tail or a distant last event
Reverb, delay, granular effects and long release envelopes can continue after the last visible note. The Tail option controls how FL Studio handles that continuation. A full tail can be musically correct and still add a long wait to a project with a large feedback setting.
Check the last audible event, the final marker and the length of the effect tail. Temporarily shorten the test range so you can see whether the delay follows the song content or begins only after the expected end. Do not shorten the tail on the master export unless the delivery really allows the effect to be cut.
A useful comparison is to export the same short passage with the tail left intact and with the range ending before the tail. If the first pass is quick and the second pass continues for a long time, the bottleneck is probably the signal after the last note. Inspect feedback, decay, release and automation on the relevant send or insert.
When the file is meant to loop, keep the tail decision tied to the loop design. A truncated reverb tail can make the file appear faster while creating a pop or an abrupt ending.
Find the heavy plugin without guessing
If the export always slows down or stops around the same point, inspect the plugins that process that section. Start with the Master track and shared buses because one processor there can affect the entire render. Then move to the instrument or effect that is active at the point where progress changes.
Make a project copy and bypass one suspect plugin at a time. Export the same short range after each change and record the result in the filename. This isolates the render path without changing the source project. A plugin that renders slowly may still be working correctly; the goal is to identify its cost and decide whether its quality mode is needed for the final file.
Some plugins expose oversampling, quality, lookahead, linear phase or convolution controls. Those settings belong to the plugin and can remain active during offline rendering. Check the plugin’s own documentation before assuming that an FL Studio export switch controls it.
When the slowdown disappears after bypassing one plugin, compare its quality modes in the plugin window. Use a lower setting only when the audible difference is acceptable for that delivery. Keep a final high quality pass for the master if the project needs it, and use the short range to avoid waiting through a full song for each comparison.
Use render mode and HQ controls as diagnostics
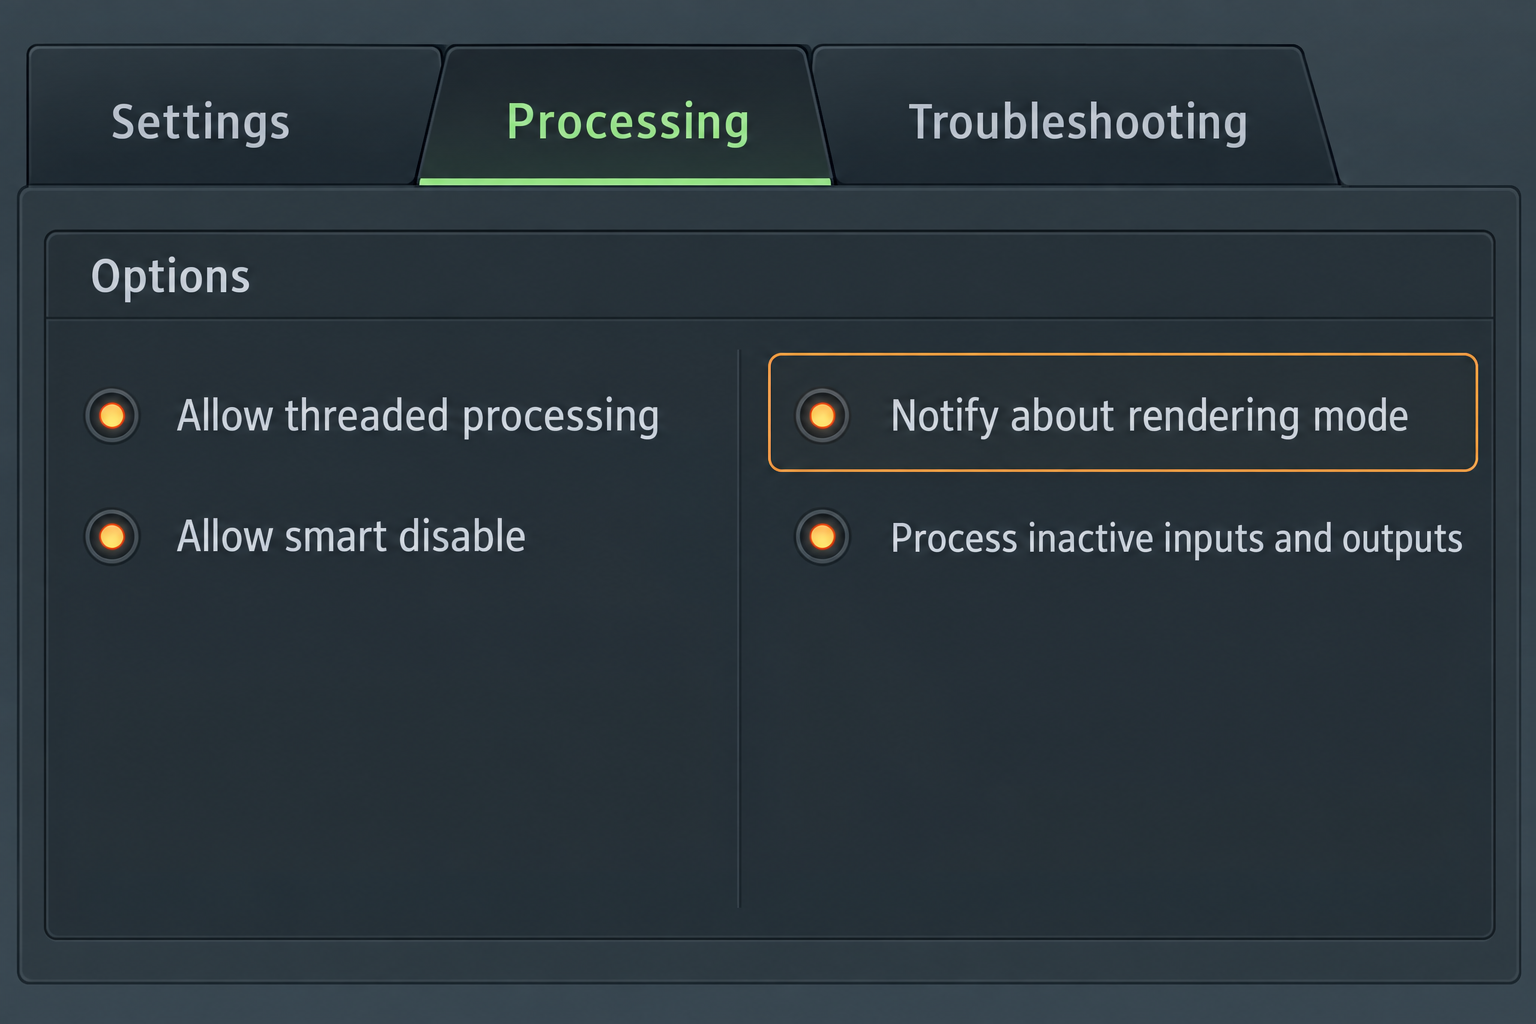
FL Studio can ask supported plugins to enter a rendering state. Open the Wrapper settings and select the Processing tab. The option Notify about rendering mode can matter when a plugin behaves differently during an offline render. The Image-Line Wrapper documentation describes this control and its troubleshooting use. Image-Line documents disabling that notification as a troubleshooting step when a plugin renders incorrectly.
Try the wrapper change only after you have a reproducible short passage. If the export becomes reliable, compare the sound and check the plugin manual before keeping the setting. A compatibility workaround can solve a stuck render, but it can also alter how a plugin expects to process offline audio.
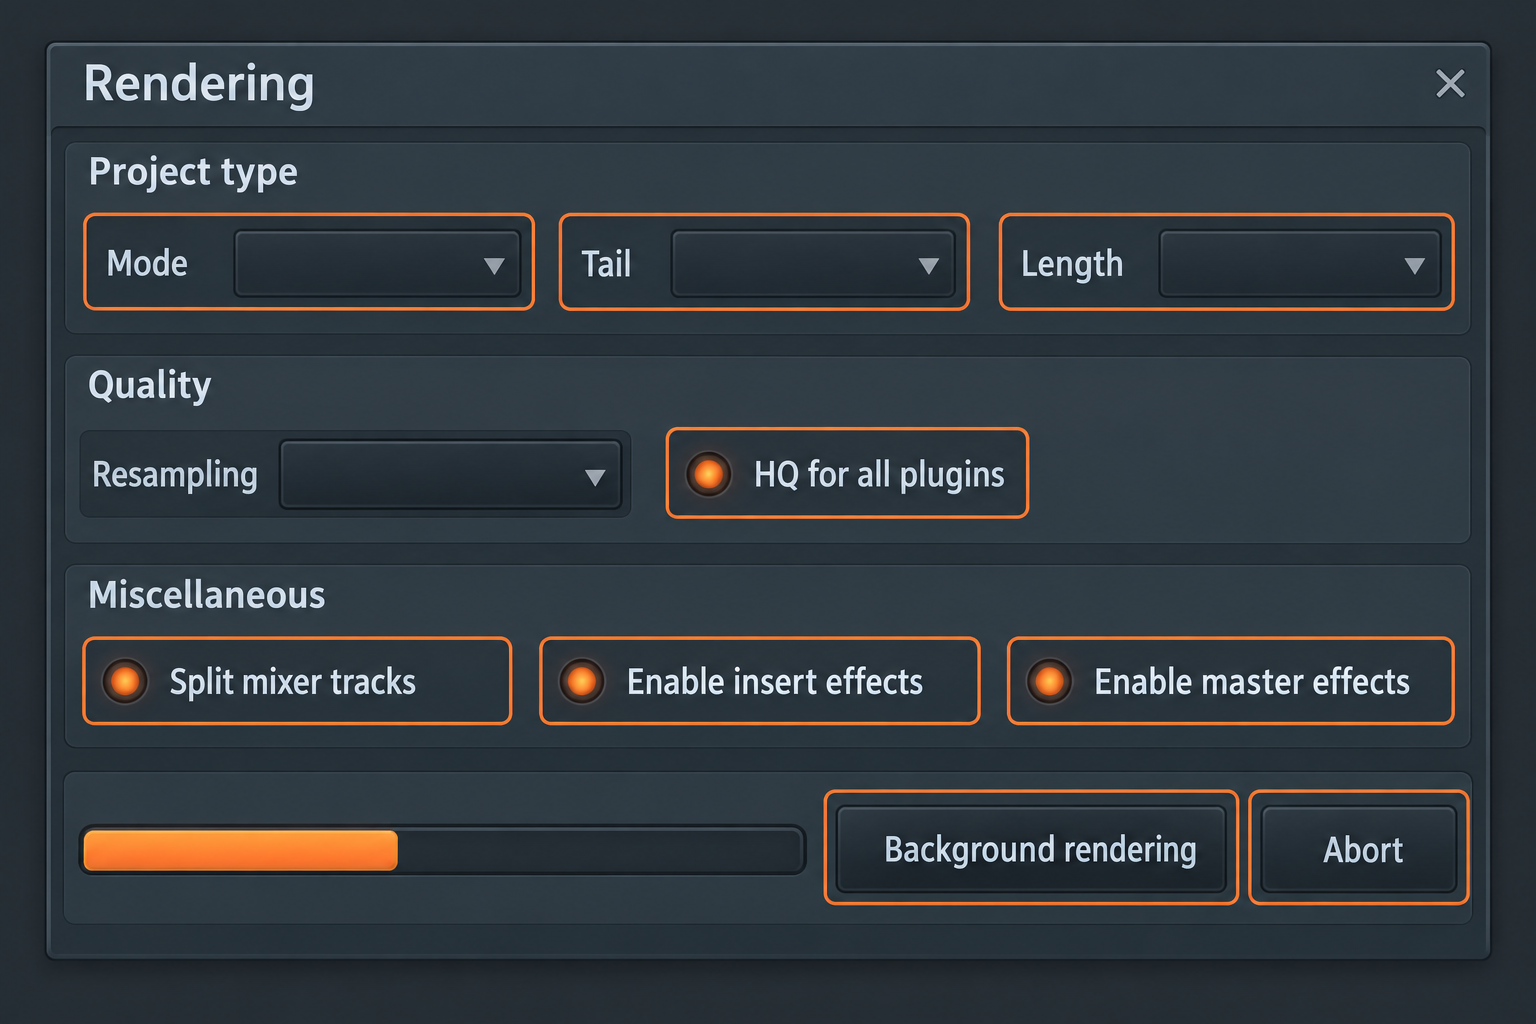
HQ for all plugins requests high quality from supported native Image-Line plugins. It does not override every third-party plugin’s internal quality setting. If enabling it makes the export much slower, test a short passage with the switch on and off, then inspect the native plugins that are active in that passage.
Do not raise HQ, oversampling and every internal quality control together. That turns a useful diagnosis into an expensive bundle of changes. Change one setting, keep the range identical and listen for a real reason to retain it.
Check mixer routing and split exports
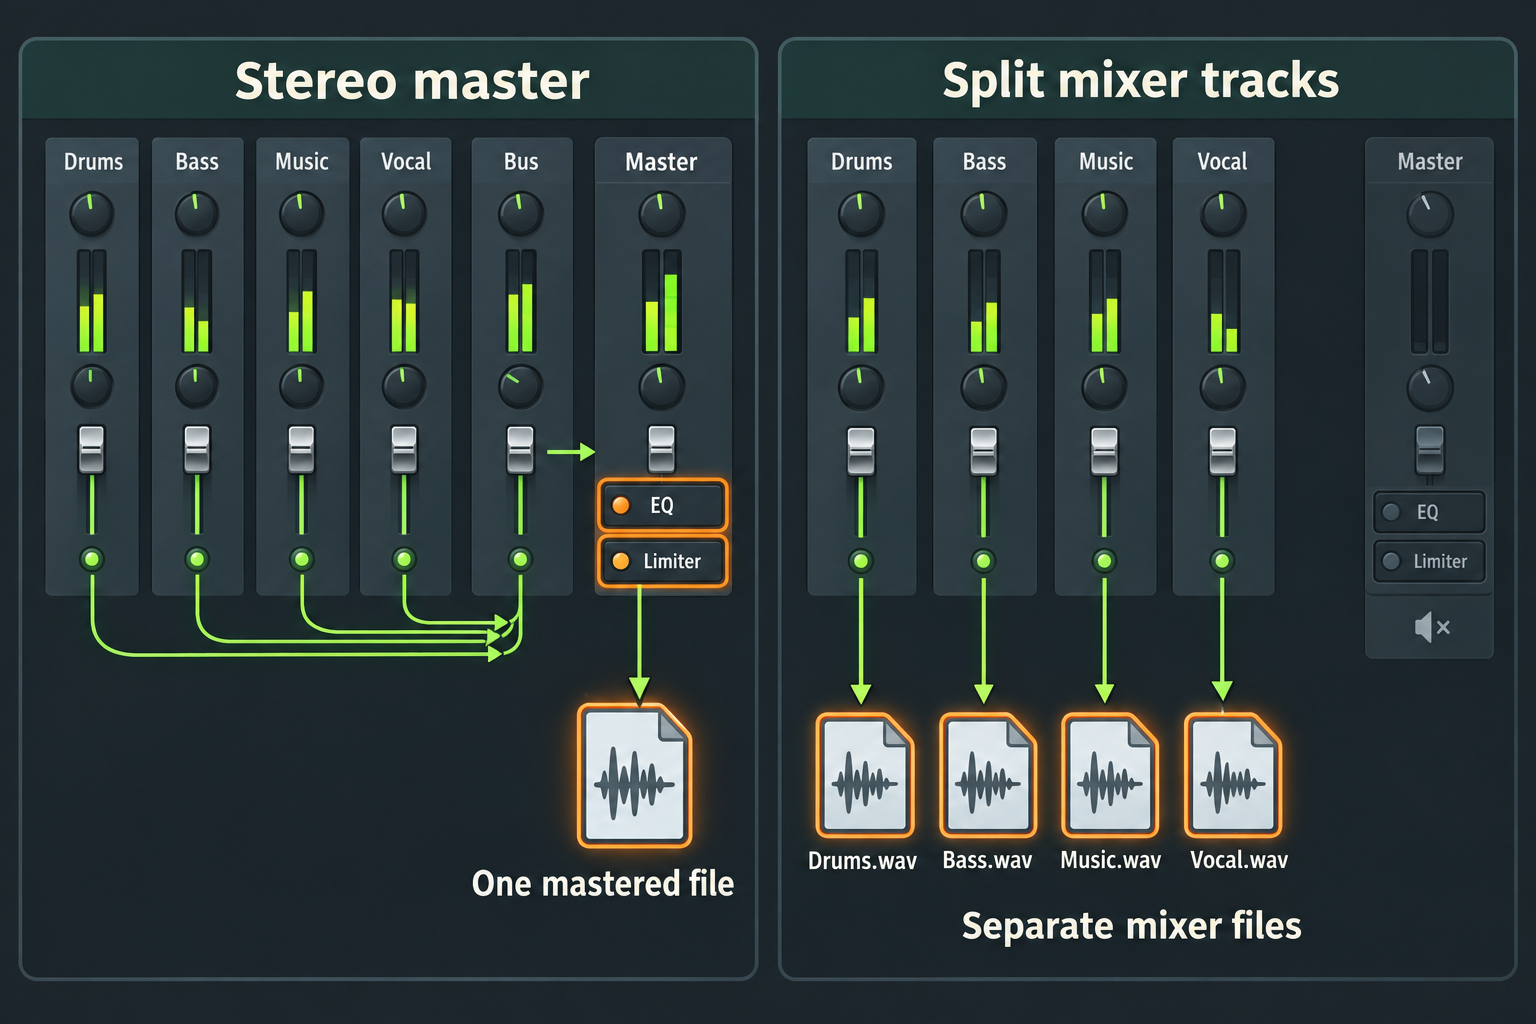
A normal stereo export renders through the Master Mixer track. A split export creates separate files for mixer tracks, so its timing and processing path are different from a single mastered file. Master effects, bus processing and return tracks may not appear in each split file the way they appear in the stereo master.
If the export is slow only when Split mixer tracks is enabled, inspect the number of files and the processing on each route. A project with many inserts, sends and long tails can take longer because each route must be rendered and written separately.
Confirm that Enable insert effects and Enable master effects match the intended delivery. A dry render can finish quickly and still be the wrong file. The FL Studio export settings guide explains the main delivery switches, while the stem export guide covers the difference between separate mixer files and the full mix.
If the problem is silent output rather than a slow render, use the silent export checklist. A long export and a silent export can share a routing mistake, but they need different checks.
External hardware changes the timing model
External hardware cannot be calculated entirely inside the project. FL Studio has to send audio or MIDI through the device and receive the result. A project with external gear can therefore wait for a real-time pass or for a return signal that never arrives.
Check the external instrument or effect route, its audio return and the device’s clock connection. If the hardware is part of the approved sound, record the return into an Audio Clip before the final export. That turns the hardware contribution into project audio and makes the render repeatable without waiting for the device.
Keep the original hardware pass in the project archive when you need recall. Freeze or record a copy for export diagnosis, then compare the printed return with the live route. Do not judge the render speed of a hardware project against a fully native project as if they used the same processing path.
Use a copy of the project as a diagnostic map
The quickest way to find a bottleneck is a controlled project copy with a short range. Work through the project in this order:
- Export a short WAV. Use the same range every time and write down the duration and where the delay appears.
- Confirm Song or Pattern Mode. Remove an accidental distant marker or event from the test range.
- Test the tail. Compare the musical passage with and without the post-note tail when that is safe for diagnosis.
- Bypass the Master and shared buses. If the export changes immediately, inspect those processors first.
- Bypass local plugins. Move through the active instrument and effect chain one plugin at a time.
- Test wrapper and quality controls. Change render notification, HQ or one plugin quality setting separately.
- Print external hardware. Record the return to an Audio Clip and compare the native file.
- Repeat the winning setting. Run the same short export twice before applying it to the complete song.
This order keeps the cheap, high-impact checks near the top. It also leaves a record of why a setting changed, which helps when the project returns for a revision months later.
Avoid fixes that hide the bottleneck
- Do not reinstall FL Studio first. A render that always stops at the same plugin or range has a more useful clue than a general installation reset.
- Do not remove every plugin at once. You will know that the project became faster, but not which processor caused the cost.
- Do not shorten every tail permanently. Use a short diagnostic range, then restore the musical ending for the final export.
- Do not compare Pattern Mode with the full arrangement. The render scope is different.
- Do not treat a lower quality mode as a universal fix. It can change the sound and may only hide a plugin compatibility issue.
Final checklist before the full export
- Song or Pattern Mode matches the intended deliverable.
- The time selection, last marker and last data event end where you expect.
- The Tail setting matches the musical ending.
- Master, insert and plugin effects are enabled or disabled deliberately.
- Heavy plugins have been isolated with a short repeated export.
- HQ, oversampling and plugin quality choices are intentional.
- External hardware returns are printed when a repeatable offline render is required.
- The final project copy is saved before the full pass.
A slow export is easier to fix when you treat the render as a map of the project. Check the range, tail and mode first; then isolate the plugin or hardware path that consumes the time. Once the same short WAV renders reliably twice, the full export has a clear reason to be trusted.