FL Studio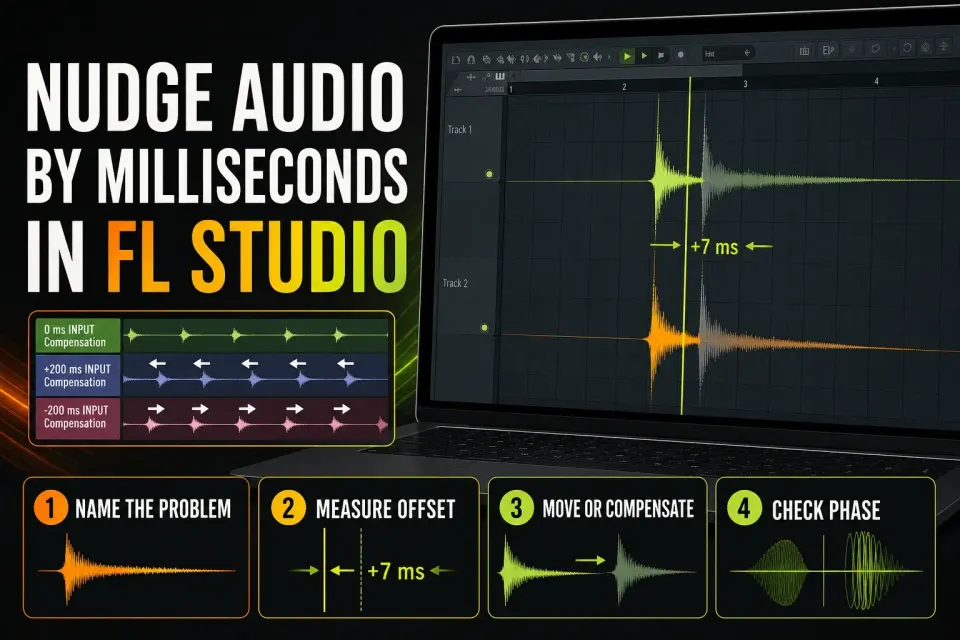
To nudge audio precisely in FL Studio, select the Audio Clip in the Playlist and rest the pointer on it. With the default nudge setting, use Shift+Alt+mouse wheel on Windows or Shift+Option+mouse wheel on macOS. The Clip moves in PPQ-dependent steps and keeps its length, but each step isn't a fixed one-millisecond increment. If every recording lands late by the same measured amount, fix input delay compensation instead of moving each take by hand.
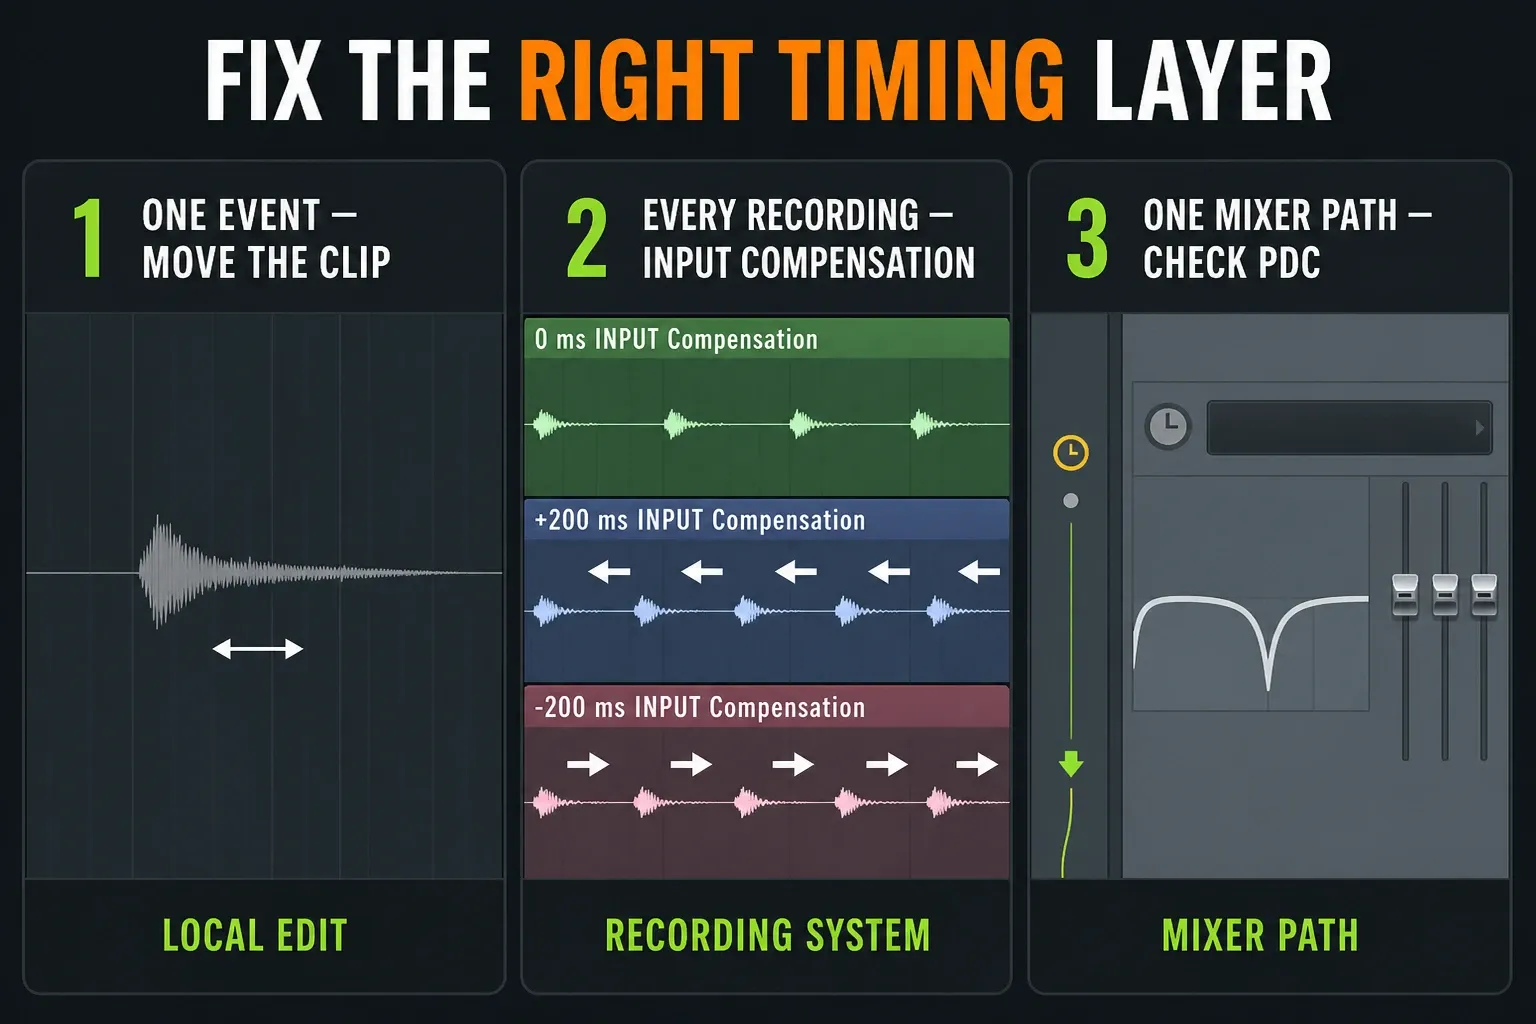
“A few milliseconds late” can mean three different problems: one event needs a better feel, the recording system places every take in the wrong spot, or processing delays a Mixer path. Which control you need depends on which of those keeps repeating.
Choose the timing fix before moving anything
| What is wrong | Use | Do not use |
|---|---|---|
| One clap, vocal word or layer | Playlist Clip nudge | Global playback offset |
| Every new recording lands late or early | Audio input delay compensation | Manual edits on every take |
| One plugin path is delayed | Automatic PDC first, manual PDC only if needed | Moving source audio out of place |
| The playhead display is globally displaced | Playback tracking Offset after exclusions | A single Clip move |
| You want groove | Local note/Clip timing choice | System latency controls |
Nudge one Audio Clip with the mouse wheel
- Zoom into the transient or word you need to align.
- Select the Clip and make sure you're not in Stretch mode.
- Place the pointer over the body of the Clip.
- With the default nudge setting, hold Shift+Alt on Windows or Shift+Option on macOS. If Nudge clips with mouse wheel is enabled, hold Shift instead.
- Roll the mouse wheel one step at a time.
- Replay from a point before the edit and compare the groove.
The Image-Line Playlist manual documents two settings. With Playlist menu > Edit > Nudge clips with mouse wheel deselected, the default shortcut is Shift+Alt/Option+wheel. With that option selected, use Shift+wheel instead. Either way the pointer has to be over the Clip. If the view scrolls and the Clip stays put, check where the pointer is and which shortcut the toggle has selected.
Understand PPQ before calling a move one millisecond
Timebase (PPQ) in Project General Settings sets the timeline resolution. The Project Settings manual lists 96 PPQ as the default. A higher value gives finer placement and more Playlist zoom, at some CPU cost. Raising PPQ keeps existing events where they are, but lowering it can shift events that sit between the coarser positions. Save a separate version before you change it.
For a constant tempo in quarter-note BPM, one tick lasts 60,000 ÷ (BPM × PPQ) milliseconds. At 120 BPM, 96 PPQ gives about 5.21 ms per tick, and 960 PPQ gives about 0.521 ms. That's timebase math; it doesn't mean every wheel notch moves exactly one tick. Neither a notch nor a free drag works as a universal “move exactly 1 ms” command.
Use Snap override for a free drag
When you want to place the Clip by eye and ear, hold Alt on Windows or Option on macOS while dragging to override normal Snap behavior. Zooming in gives you finer visual control. It's handy for tucking a doubled layer behind the main hit or placing a breath without touching project-wide grid settings.
Only trim silence and slide audio inside the Clip when that's the edit you actually want. Slip editing changes which part of the source shows through the fixed Clip window, while moving the Clip changes where it sits on the timeline. Watch both edges so you know which one you just did.
Know what Shift+Left and Shift+Right do
The Playlist also lets you move the current selection by one snap unit with Shift+Left Arrow and Shift+Right Arrow. That shift follows the grid, so don't expect one millisecond. It's excellent for moving a phrase by a set subdivision and the wrong tool for a tiny phase or feel adjustment.
The FL Studio shortcut guide collects the broader navigation commands in one place. For this workflow, use the arrows for musical grid steps and the modifier-plus-wheel or Snap override for finer placement.
Measure a repeated recording offset
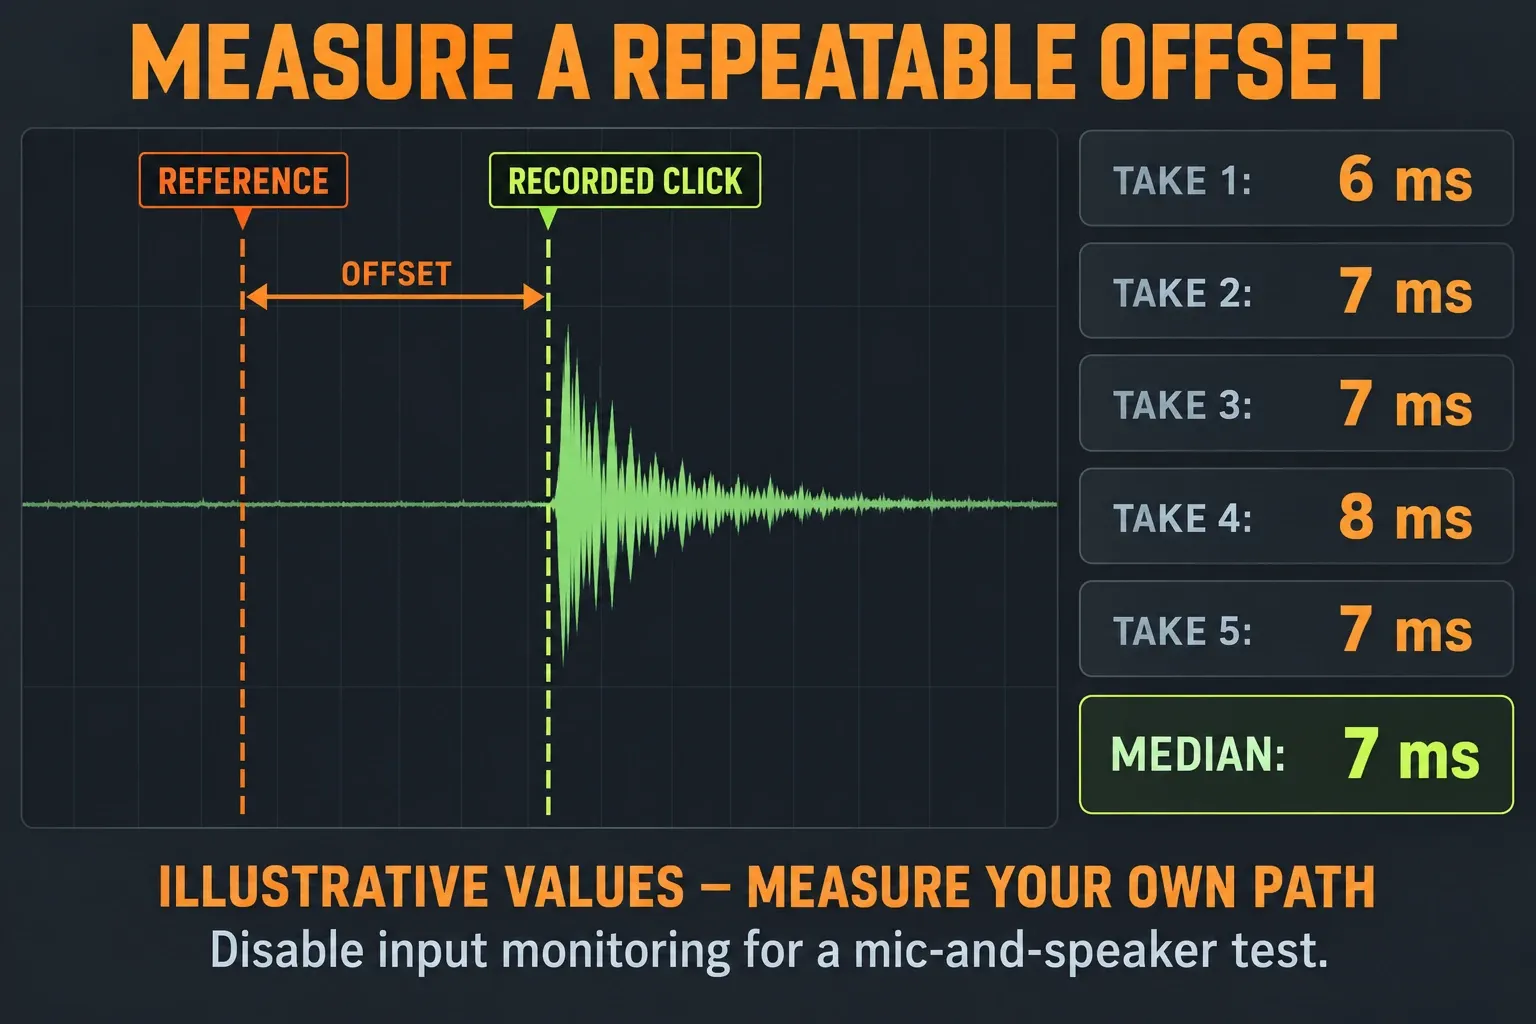
Use a repeatable click; a person trying to play on the beat won't give you a clean measurement. Image-Line describes recording the FL Studio metronome through a microphone and comparing the recorded clicks with the beat starts. For that speaker-and-microphone test, set Monitor external input to Off to avoid feedback and keep the speaker level low. Don't move the microphone between passes, because the result includes the acoustic path as well as interface latency.
Record several passes through the same path and measure the same landmark on each click. For example, offsets of 6, 7, 7, 8 and 7 ms have a median of 7 ms. Those numbers only illustrate the method, so don't copy them as a correction. If you can't get a repeatable measurement, don't enter a global value.
If the offsets swing widely, no single compensation value will fix every take. Check the driver and the test route before blaming the performance. Image-Line notes that FL Studio ASIO can introduce recording-position jitter, so on Windows prefer a native ASIO driver from the manufacturer if your interface has one. For recorded MIDI, check input quantizing too. The quantize guide deals with note correction; it doesn't measure audio-interface latency.
At 44.1 kHz, 1 ms equals 44.1 sample periods; at 48 kHz, it's 48. Each individual sample boundary still falls on a whole sample index, so 44.1 is a conversion figure and a file won't give you a fractional sample to select.
Fix input delay when every recording is displaced
Check Mixer menu > Disk recording > Latency compensation before you add a manual offset. It compensates the external input latency tied to the ASIO buffer. Any error that remains can depend on driver timing, and the audio settings workflow covers driver and buffer choices. A delayed monitoring sound alone doesn't prove the recorded Clip is in the wrong place.
For a consistent remaining error, use the Mixer track's Audio INPUT delay compensation, leaving its output PDC control alone. You can enter values in ms, samples or beats. Here, positive values move recorded audio earlier and negative values move it later. Normally leave Adjust position of recorded audio enabled so plugin latency in that recording path is accounted for too. Record fresh tests after each change, because old Clips can't tell you where the next take will land.
Keep Playback tracking Offset global
Audio Settings > Playback tracking > Offset corrects the recorded-note or playhead reference when the driver reports position wrongly. Image-Line says to rule out input quantizing and Disk recording latency compensation first. For a real external audio loop or a MIDI-out recording delay, use the compensation on that individual audio input instead.
Don't reach for a global Offset because one vocal word feels late. It shifts the play/record reference across every track, not just that word. Save it for a repeatable global alignment problem after you've checked the driver. It can't retime a single Clip.
Use plugin delay compensation for processing paths
Plugin delay compensation lines up Mixer paths when plugins add processing latency. Automatic PDC is the default for new projects, but its state is saved per project, so check any existing session. Manual values normally work as offsets on top of automatic compensation, so check what's already compensated before adding the full delay again.
The sign rules here are different from audio input compensation. For manual track PDC, positive values delay the selected track, while negative values effectively add latency elsewhere to bring things into line. Read the current Mixer latency documentation before you type in a number.
If the routing is unclear, trace it with the Mixer routing guide. Moving the rendered waveform can hide the problem in one test while the live path stays wrong.
Align layers without destroying phase
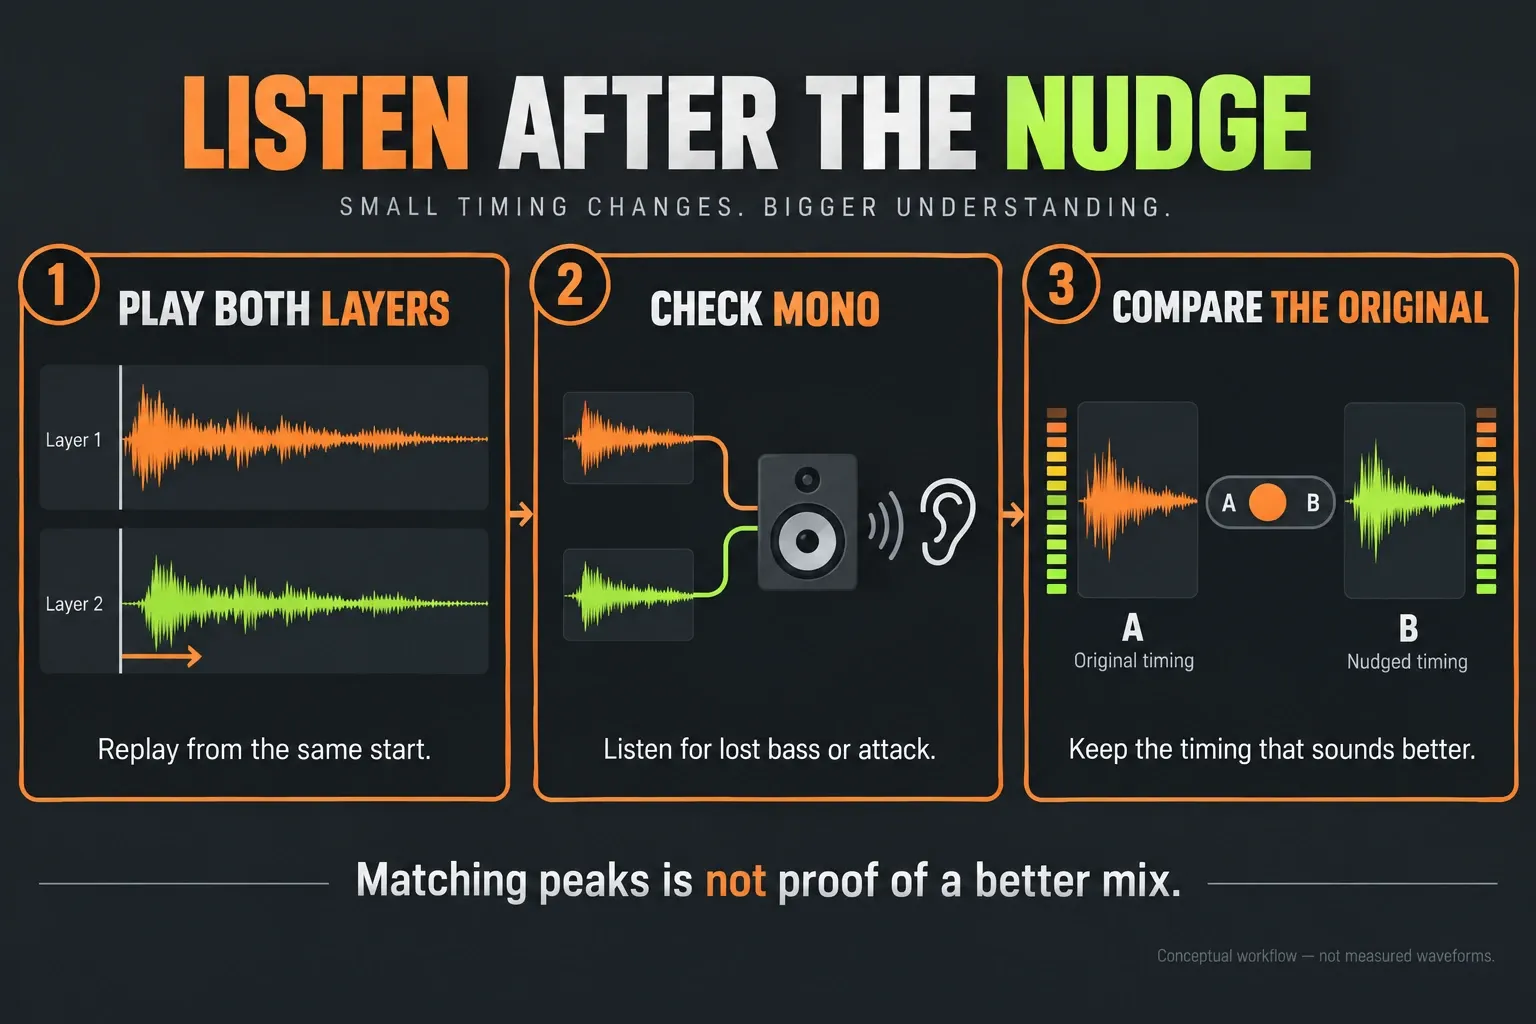
A kick layer, doubled vocal or parallel microphone can look tighter once the peaks line up and still sound thinner, because their relative phase changed. Moving audio in time doesn't flip polarity; those are separate operations, as iZotope explains in its phase and time-alignment guide. Nudge while both sources play, then check the combination in mono and listen for low-frequency weight and attack.
Don't chase identical peak shapes between different sounds. Line up the event you actually hear: the main click, consonant, drum attack or body. Sometimes leaving a deliberate few-millisecond gap avoids cancellation and makes the combined hit wider or clearer.
Nudge vocals by the phrase, not the waveform alone
With doubled vocals, line up the consonants that define the word before worrying about sustained vowels. Forcing every cycle into alignment can strip out the natural width that made the double worth having. Move only the phrase or syllable that distracts, then use the shortest clean crossfade at the edit boundary.
The vocal mixing guide handles tone, compression and space. This page is about placement. No EQ will make a late consonant arrive on time.
Keep a reversible timing reference
Before a serious micro-edit, save a separate project version and note where the audio started. If you duplicate the Clip or lane as a reference, keep that reference muted or isolated so it doesn't play along with the edited copy. Name the comparison clearly. Moving the same layer again and again with nothing to compare against is how the original groove gets lost.
Match levels for the comparison and switch between the original and moved positions from the same playback start. If the benefit disappears once you can't tell which is which, keep the original. Timing judgments stop being reliable when the nudged version is also louder, processed differently or heard after a different lead-in.
In licensed FL Studio, save a separate version and reopen it only after checking any trial-plugin warning. In Trial mode, saving is allowed but reopening requires purchasing FL Studio, so render any audio you need before closing the session. Even in a licensed host, trial plugins you don't own can be replaced on reopening. Keep the original project and unlock those plugins before reopening, and don't save over it with missing trial-plugin states.
Avoid these micro-editing traps
- Don't change global Snap to fix one event when a temporary override will do.
- Don't enter PDC values until you've shown a Mixer path is the cause.
- Don't fix each new recording by hand when the same offset keeps repeating.
- Do not call one performer’s late take an interface-latency measurement.
- Don't trust peaks that look aligned until you've listened in mono.
- Remember that moving a Clip and slipping audio inside it are different edits.
Run this timing check
- The problem is classified as local Clip, repeated input, global display or Mixer-path timing.
- The original position is recoverable.
- The edit is measured from a repeatable transient.
- Snap and Stretch modes are understood before dragging.
- Any compensation value was tested with multiple new passes.
- The result works with drums, bass and the full arrangement.
- Layered audio was checked in mono for phase loss.
- Creative groove remains a local musical choice.
Continue through the Workflow hub once the timing is stable. Millisecond control only helps after you've named the problem.
Frequently asked questions
How do I nudge an Audio Clip in FL Studio?
With the default Playlist setting, hover over the selected Clip and use Shift+Alt+wheel on Windows or Shift+Option+wheel on macOS. Enabling Edit > Nudge clips with mouse wheel changes this to Shift+wheel. The step size depends on PPQ and isn't a fixed number of milliseconds. Alt/Option-drag overrides Snap for as long as you hold it.
How many samples are in one millisecond?
One millisecond equals 44.1 sample periods at 44.1 kHz or 48 at 48 kHz. File sample boundaries are whole sample indices. This conversion is separate from the Playlist’s PPQ-based timing resolution.
Why do my FL Studio recordings always land late?
For recorded audio, check the driver, Disk recording latency compensation and a repeatable test through the real input path. If several fresh tests show the same leftover offset, adjust Audio INPUT delay compensation. Offsets that vary may be jitter, which one fixed delay can't cover. For recorded MIDI, check input quantizing as well.
Should I move the Clip or change PDC?
Move the Clip when a single event needs placing. Use PDC when a Mixer processing path has repeatable latency that automatic compensation doesn't handle correctly.
Why does aligned audio sound thinner?
The nudge changed the phase relationship between the layers. Compare in mono, listen to the low end and attack, and keep the offset that sounds strongest, even if another one has neater-looking peaks.