FL Studio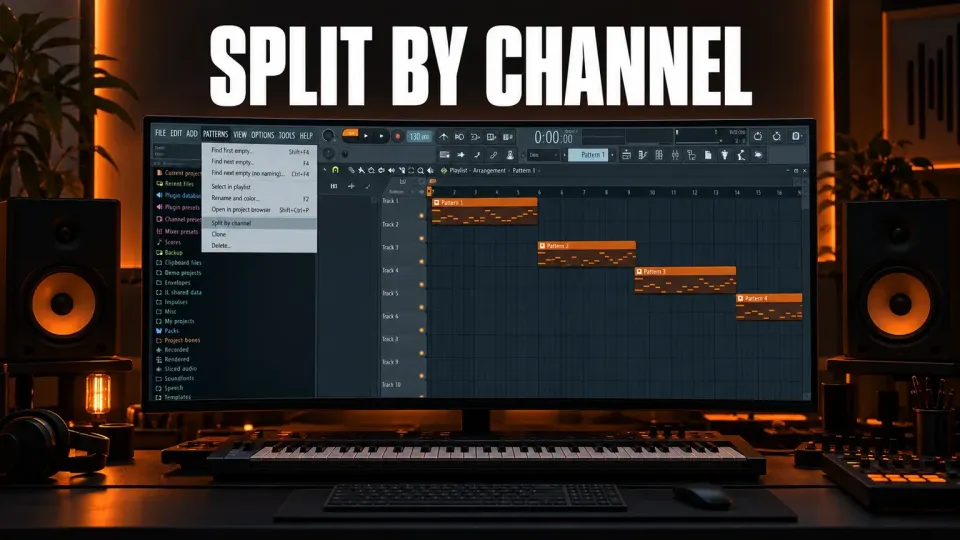
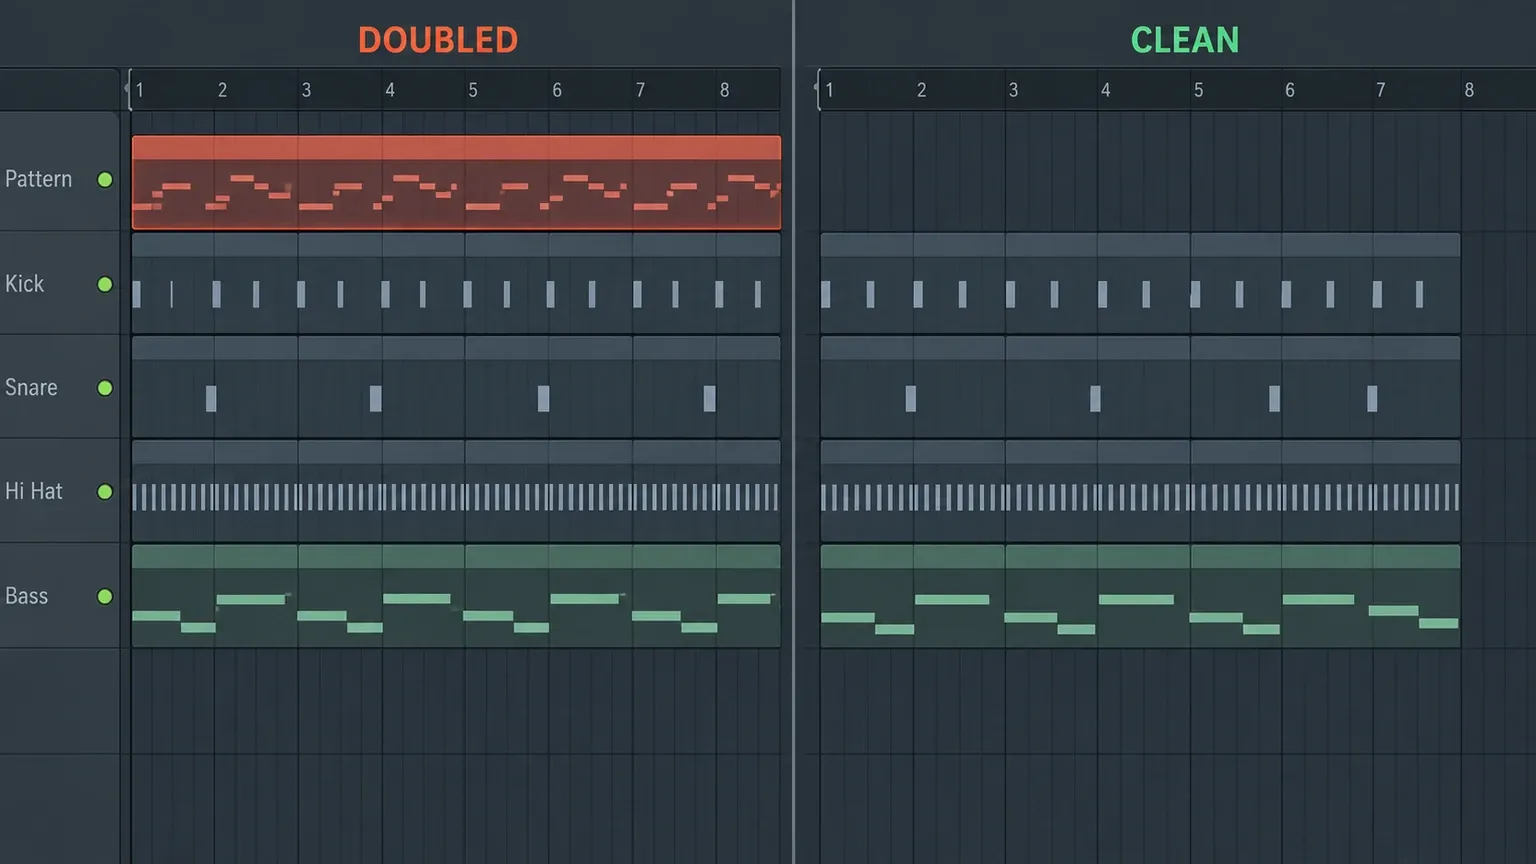
To split a Pattern by channel in FL Studio, select the Pattern, open the Pattern menu and choose Split by channel. FL Studio creates one new Pattern for every active Channel in the selected Pattern and names each new Pattern after its Channel. Put those Pattern Clips in the Playlist, then mute or remove the original combined clip so the same notes do not play twice.
This command is useful when a drum loop, chord stack or instrument idea was written inside one Pattern but the arrangement now needs separate control. It changes the Pattern structure. It does not render audio, create stems or reassign anything in the Mixer.
What Split by channel changes
A Pattern can hold note data for several Channels in the Channel Rack. You might have kick, snare, hi-hat and percussion steps inside one Pattern, or several instruments with Piano Roll notes under the same Pattern number.
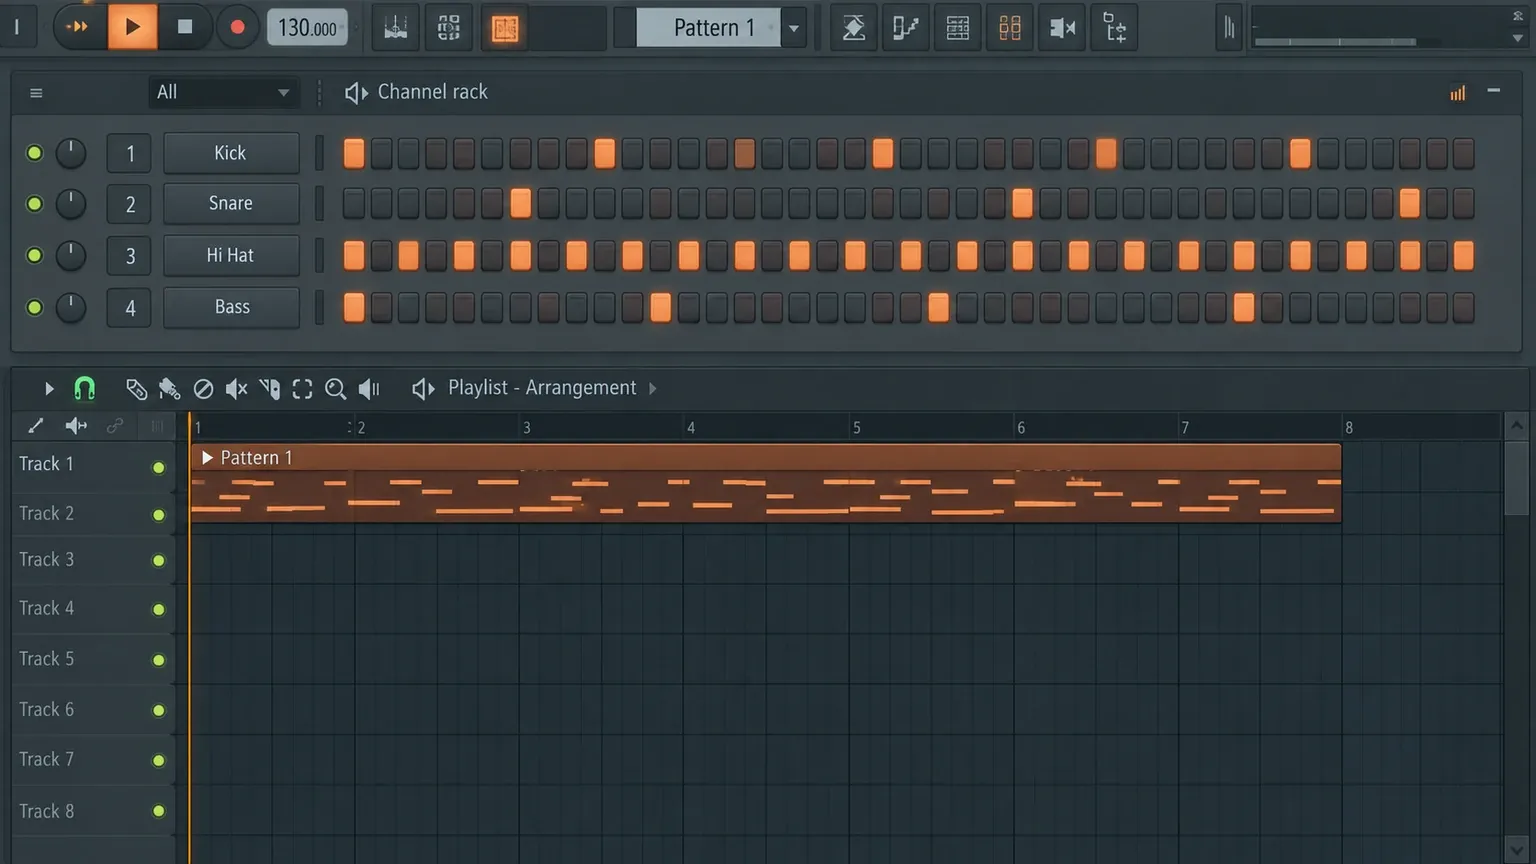
Image-Line's Pattern menu documentation states that Split by channel creates a Pattern for each active Channel and names the new Patterns according to those Channels. An active Channel is one that contributes data to the selected Pattern. Empty Channels are not the point of the operation.
The result is organizational rather than sonic. The notes and steps are separated into individually selectable Patterns. Their Channel settings, instruments and existing routing remain attached to the same Channels.
How to split the selected Pattern
Choose the Pattern that contains the combined parts. You can select it with the Pattern selector in the main toolbar or from the Picker Panel. Confirm that it is the correct Pattern before running the command; splitting the wrong one creates a set of Patterns you did not need.
Open the Pattern menu from the main toolbar and choose Split by channel. The operation is immediate, so there is no dialog asking which Channels to include.
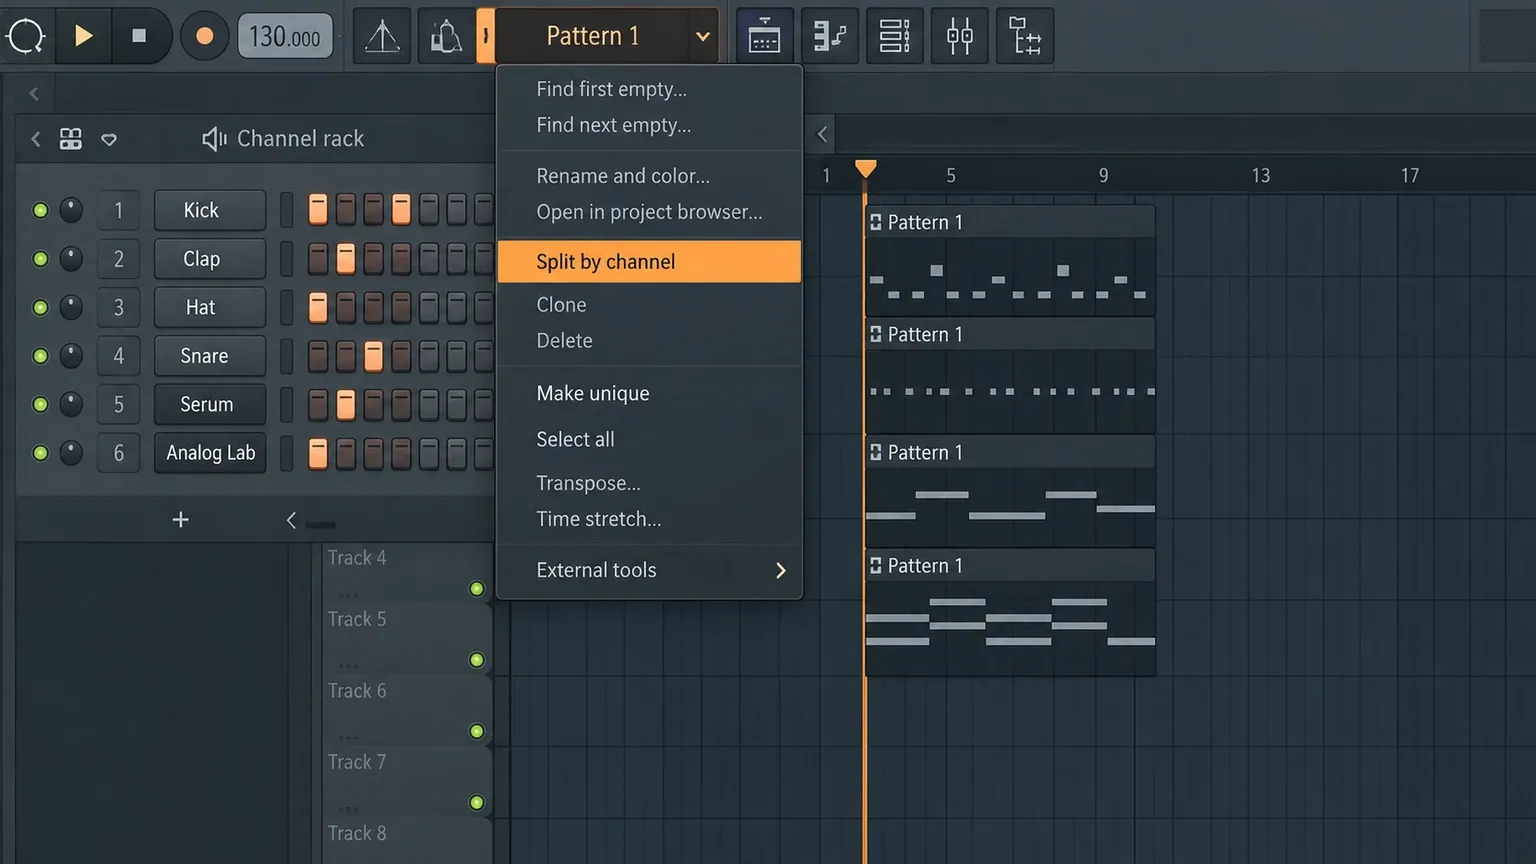
FL Studio adds the new Patterns to the project and uses the Channel names for identification. Clear Channel names matter here. “Kick,” “Snare,” “Hi Hat” and “Bass” are useful in the Picker Panel; a row of generic plugin names is harder to arrange. If the names are unclear, rename the Channels before splitting or rename the new Patterns afterward.
Find the new Patterns in the Picker Panel
Open the Playlist and look at the Picker Panel. The combined material now appears as separate Pattern entries. Select each Pattern and place its Pattern Clip where that part should play.
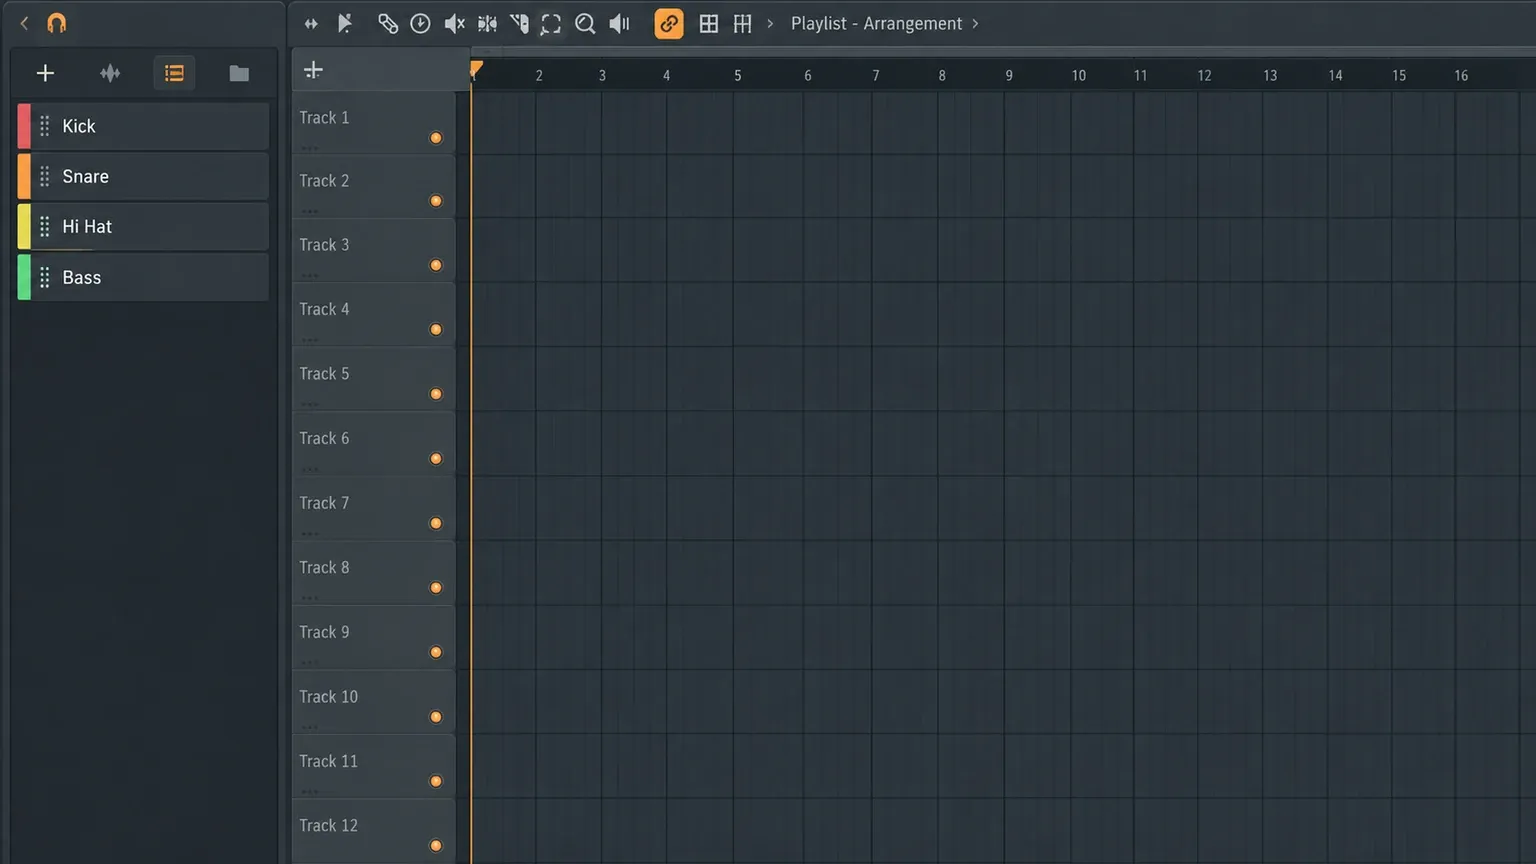
The new Patterns are independent arrangement units. You can let the kick continue through a breakdown, remove the hi-hat for two bars, bring the bass in later or create a fill without duplicating the entire combined groove. This is the main reason to split a dense drum Pattern once the idea moves from loop writing to song structure.
Keep the Pattern names and clip colors consistent. The Playlist becomes much easier to scan when the Picker Panel name, clip color and track label tell the same story.
Remove the original clip or you may hear everything twice
The most common mistake happens after the split: the original combined Pattern Clip remains active while the newly separated clips are placed over the same bars. The kick in the original and the kick in the new Kick Pattern then trigger together. The same can happen to every other Channel.
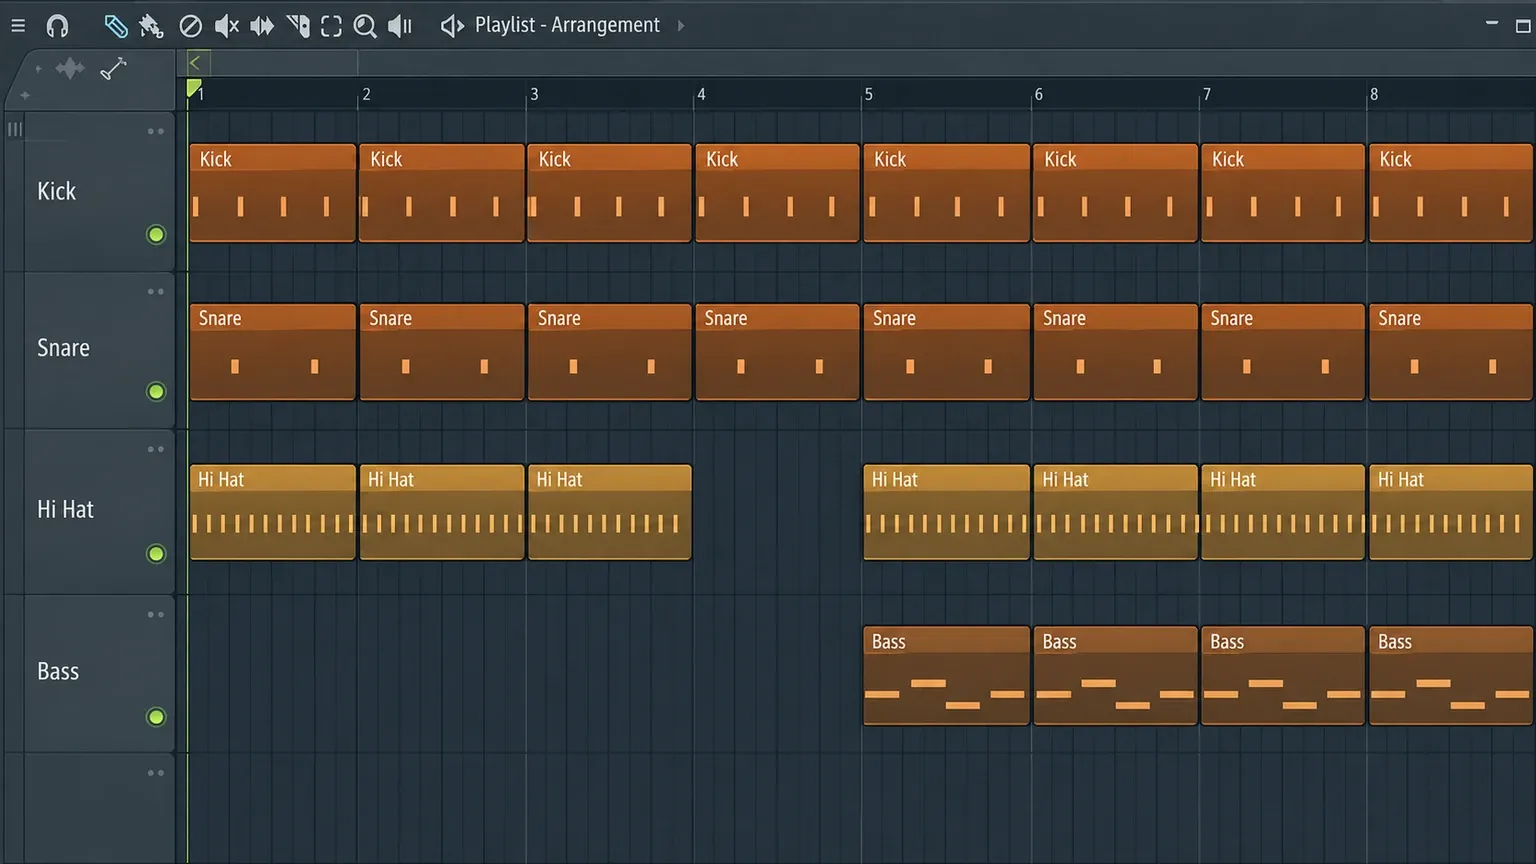
If the result suddenly sounds louder, denser or phasey, inspect the Playlist before touching the Mixer. Mute the original combined clip or remove it from the section. Then solo the separated clips one at a time and confirm that each part appears only once.
You can keep the original Pattern as a temporary backup in the Picker Panel without placing its clip in the arrangement. Once the separated version is confirmed, rename the original clearly or move it out of the working section so it is not added again by accident.
Playlist tracks are not Mixer tracks
Putting the Kick Pattern Clip on Playlist Track 1 does not route the kick to Mixer Insert 1. Playlist tracks organize Clips across time. Mixer tracks process and route audio. Those systems can be linked in some workflows, but their numbers are not automatically the same.
Split by channel does not change the Mixer assignment of any Channel. A snare routed to Mixer Insert 7 before the split remains routed there afterward. If you need different effects, levels or buses, make those decisions in the Mixer or the Channel settings, not by moving the Pattern Clip vertically in the Playlist.
This distinction also explains why the command is safe for arrangement work: it separates sequencer data while leaving instruments and signal routing in place.
Check Event Automation after splitting
Patterns can contain more than notes and steps. Image-Line's Pattern Clip documentation says Patterns may contain notes and Event Automation. The Event Editor documentation also explains that Event Automation is bound to a specific Pattern.
After splitting, inspect any parameter that was controlled through Pattern Event Automation. Play each new Pattern on its own and verify where the events ended up. Automation Clips are separate Playlist objects, so do not confuse them with automation stored inside a Pattern.
If a parameter no longer behaves as expected, open the Event Editor for the relevant control and Pattern. Move or recreate the events only after identifying which Pattern should own them. Blindly copying automation across every new Pattern can produce repeated resets or conflicting values.
How to merge the separated Patterns again
The reverse workflow starts in the Playlist. Align the Pattern Clips so their starts and lengths represent the combined section, select the intended clips, then use Playlist menu → Edit → Merge selected clips. Image-Line lists this as the way to merge Pattern Clips after a split.
Selection matters. If an unrelated Pattern Clip is selected, it can become part of the merged result. Work on a short duplicate of the section when the arrangement is complex, and check the resulting Pattern before replacing anything.
Manual copying is the safer alternative when you want only part of one Pattern. Open the source Channel's Piano Roll, copy the intended notes, switch to the destination Pattern and paste them into the same Channel. For step-sequencer data, confirm the target Pattern length and timing before removing the source clip.
Split by channel is not stem export or audio separation
| Workflow | Result | Use it when |
|---|---|---|
| Split by channel | Separate Patterns containing sequencer data | You want independent Pattern Clips for arrangement |
| Merge selected clips | One Pattern built from selected aligned Pattern Clips | You want to recombine sequencer parts |
| Consolidate Playlist track | Rendered Audio Clip | You want a fixed audio version of a Playlist section |
| Split mixer tracks during export | Rendered audio stems | You need separate files for mixing or delivery |
| Stem separation | Estimated vocal, drum, bass or instrument audio layers | You need parts extracted from an existing audio file |
If your goal is delivery to another engineer, use stem export rather than Pattern splitting. If your goal is to extract drums or vocals from a finished file, use stem separation. If your goal is simply to turn one Pattern into separately arrangeable kick, snare, hat and bass clips, Split by channel is the right command.
A clean workflow from loop to arrangement
- Rename the active Channels so the resulting Patterns will be clear.
- Select the combined Pattern and confirm it contains the intended parts.
- Open the Pattern menu and choose Split by channel.
- Find the new named Patterns in the Picker Panel.
- Place the new Pattern Clips on clearly labeled Playlist tracks.
- Mute or remove the original combined Pattern Clip from the same bars.
- Confirm that Mixer routing still points to the intended inserts.
- Inspect Pattern Event Automation and play each new Pattern independently.
- Use Merge selected clips only when you need to recombine aligned parts.
The command itself takes seconds. The quality of the result depends on what happens around it: clear Channel names, one copy of each part in the Playlist, correct automation ownership and a firm separation between arrangement and routing. Handle those four details and a dense loop becomes a flexible song structure without rebuilding the notes.