FL Studio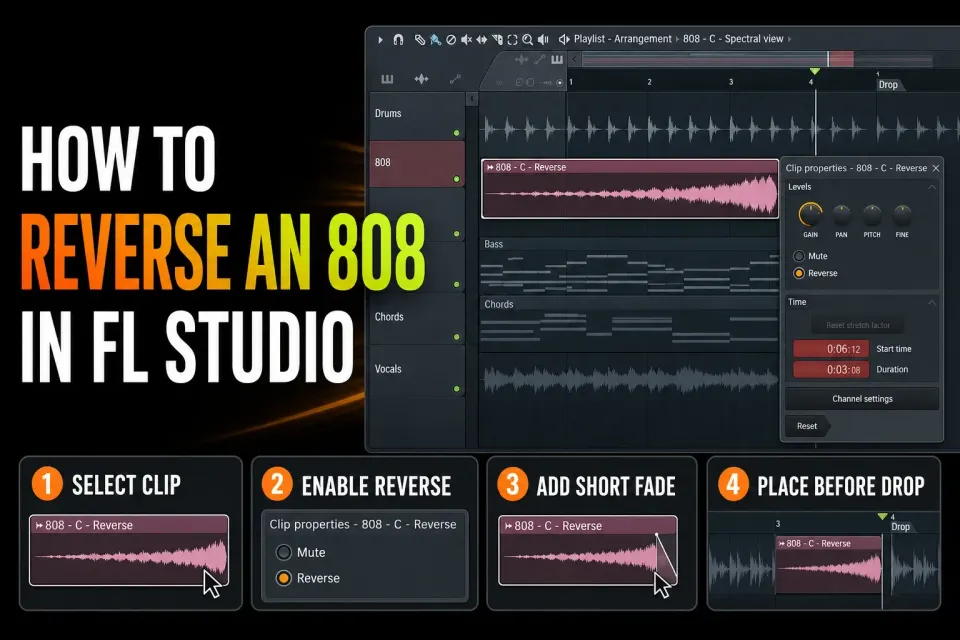
To reverse an 808 in FL Studio, open its Playlist Audio Clip in Clip Properties and enable Reverse. Move the rising sound so its audible arrival leads straight into the drop, then check both edges for clicks. Because this control works on a single instance, a forward copy can stay untouched, and the source file is never overwritten.
Start with an 808 that has a useful tail
Reversing turns the original decay into a rising swell. A clean one-shot with a long, steady bass tail gives you an obvious ramp into the hit. A short, clipped kick may reverse into a tiny tick with no real build at all. Audition the source before arranging it, and pick a version whose tail has enough length and tone.
Keep the original file, and send the working 808 to a named Mixer insert so its level is easy to follow. Check the tuning before arranging the swell, because reversing won’t fix a source that’s out of key. If the bass sound itself needs work, the Reese bass guide covers synthesis. Here we start from an existing sample or an audio render you’ve already checked.
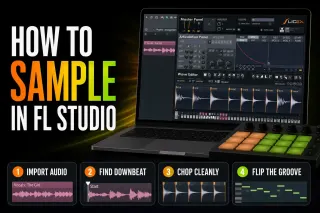
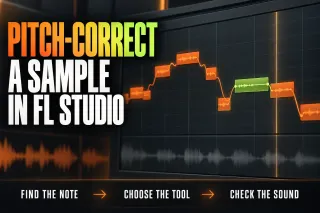
If you still need to cut the source out of a longer recording, prepare it with the sampling and chopping workflow before arranging the reverse. If the 808 you like is just off-key, pitch-correct the sample cleanly before you judge the reversed swell against the drop.
Reverse one Audio Clip instance
- Drag the 808 file into empty Playlist space to create an Audio Clip.
- Duplicate the Clip if you want to keep a forward hit, then select only the copy you’ll reverse.
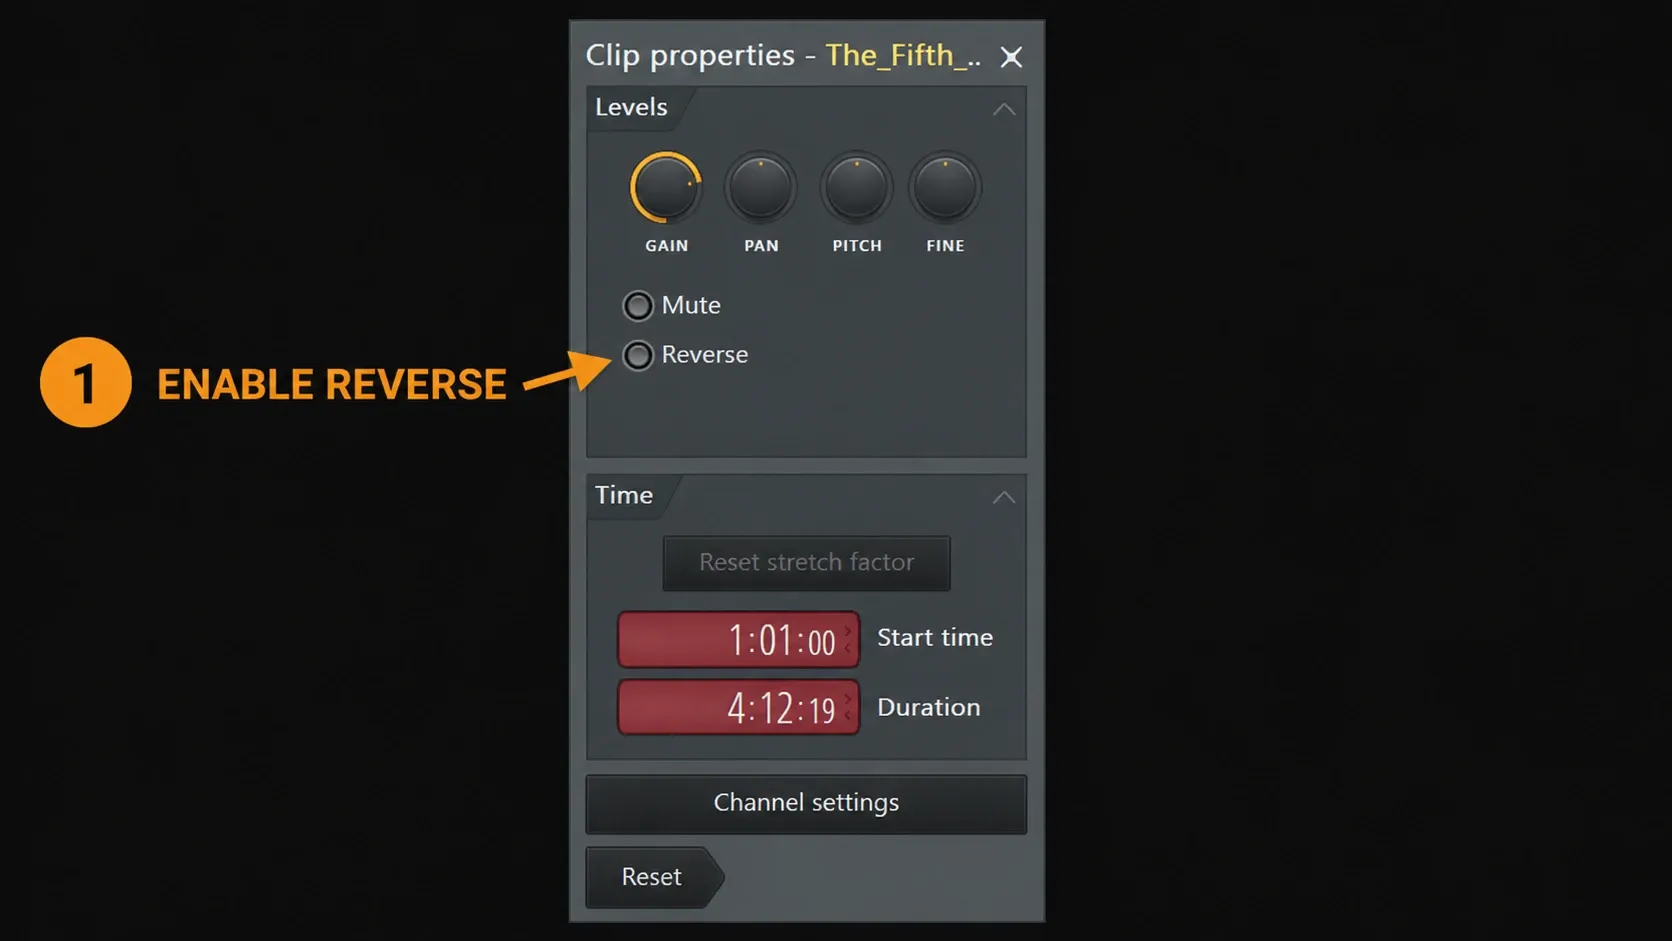
- Use Alt/Option + double-click to open Clip Properties. The opening actions can be swapped in General Settings, so check the panel title if a normal double-click opens it instead.
- Enable Reverse, then play both copies to make sure only the one you meant has changed.
- Or, with the Playlist focused and Typing keyboard to piano keyboard turned off, press 9 on the number row to toggle Reverse on the selected Audio Clips.
The Image-Line Audio Clips manual separates local Clip Properties from the shared Channel Settings. The open panel follows the last Audio Clip you selected, so check what it’s targeting before you change anything. With several Clips selected, Reverse offers Don’t change, Reverse all, Forward all and Flip state; select a single Clip when you only want to change one copy.
Make unique creates a separate Audio Clip Channel that still uses the same file. Make unique as sample also creates a separate file for physical waveform edits. You need neither just to toggle the current per-instance Reverse setting. Name the forward hit and the reversed swell clearly, and keep a separate untouched source file, because a muted Playlist copy doesn’t back anything up on disk.
Place the audible arrival before the drop
Reversing moves the original attack to the other end of the sound, but silence and earlier trims can leave a gap between that attack and the visible Clip edge. Start by lining up the reversed Clip’s end with the target downbeat, then listen and adjust the actual arrival against the kick. Don’t force the biggest visible peak onto a grid line if that makes the transition sound late.
If the swell starts too early, trim its quiet lead-in while keeping the approach you want. Make sure Stretch clips is off when you mean to trim an edge and not change the playback length. Check the arrival again after either change. Overlapping low bass can reinforce or cancel depending on timing and waveform; a longer overlap isn’t automatically wrong, but judge the combined level and sound instead of each Clip in solo.
Remove clicks at the new start and end
A sudden break at a boundary is a common cause of editing clicks, though it won’t explain every crackle. Try a nearby quiet spot or the Playlist’s Zero-crossing edits option. That option can shift the cut away from your intended timing, so listen to the result. For a manual fade, show the Playlist fade controls with Shift+F, then drag the upper fade handle sideways; its right-click menu also lets you type a duration in milliseconds.
If snapping gets in the way of a tiny adjustment, hold Alt after you click the fade handle. Alt/Option-clicking it first resets the handle instead. Active Clip fades replace declicking at the end they affect, so check both ends instead of assuming the shared Channel setting applies to every slice. The fade and declick guide covers those controls.
Keep the fade only as long as the boundary needs, because a long fade can soften the very arrival you’re building. If the source has a DC bias, the Sampler’s Remove DC offset tool may help, though it won’t cure every click. Compare the untouched source and a different cut point, then check whether a processor or an overloaded stage is making the noise. Don’t keep altering clean audio to fix an unrelated playback problem.
Use Sampler Reverse when every trigger should be backward
For a Sampler Channel where every trigger should play backward, open the precomputed Tools section and enable Reverse. Stop playback while you change precomputed processing, because it replaces the sample data the Channel uses and can glitch during the update. These controls can’t be automated in real time, and they’re separate from local Playlist Clip Properties.
The Sampler manual says Keep on disk blocks precomputed effects that need the whole sample in memory. Check that setting for the sample in question if Reverse is grayed out, and don’t change the storage behavior of the whole project just to reverse one 808. For separate forward and reversed note-triggered instruments, keep two Sampler Channels. For a pair of Playlist Clips, use their local Reverse controls.
Do not confuse Reverse with reverse polarity
Reverse playback reads the sample from end to beginning. Reverse polarity flips the waveform vertically while time still runs forward. Polarity can change how layered basses combine, but it won’t give you a rising reverse effect.
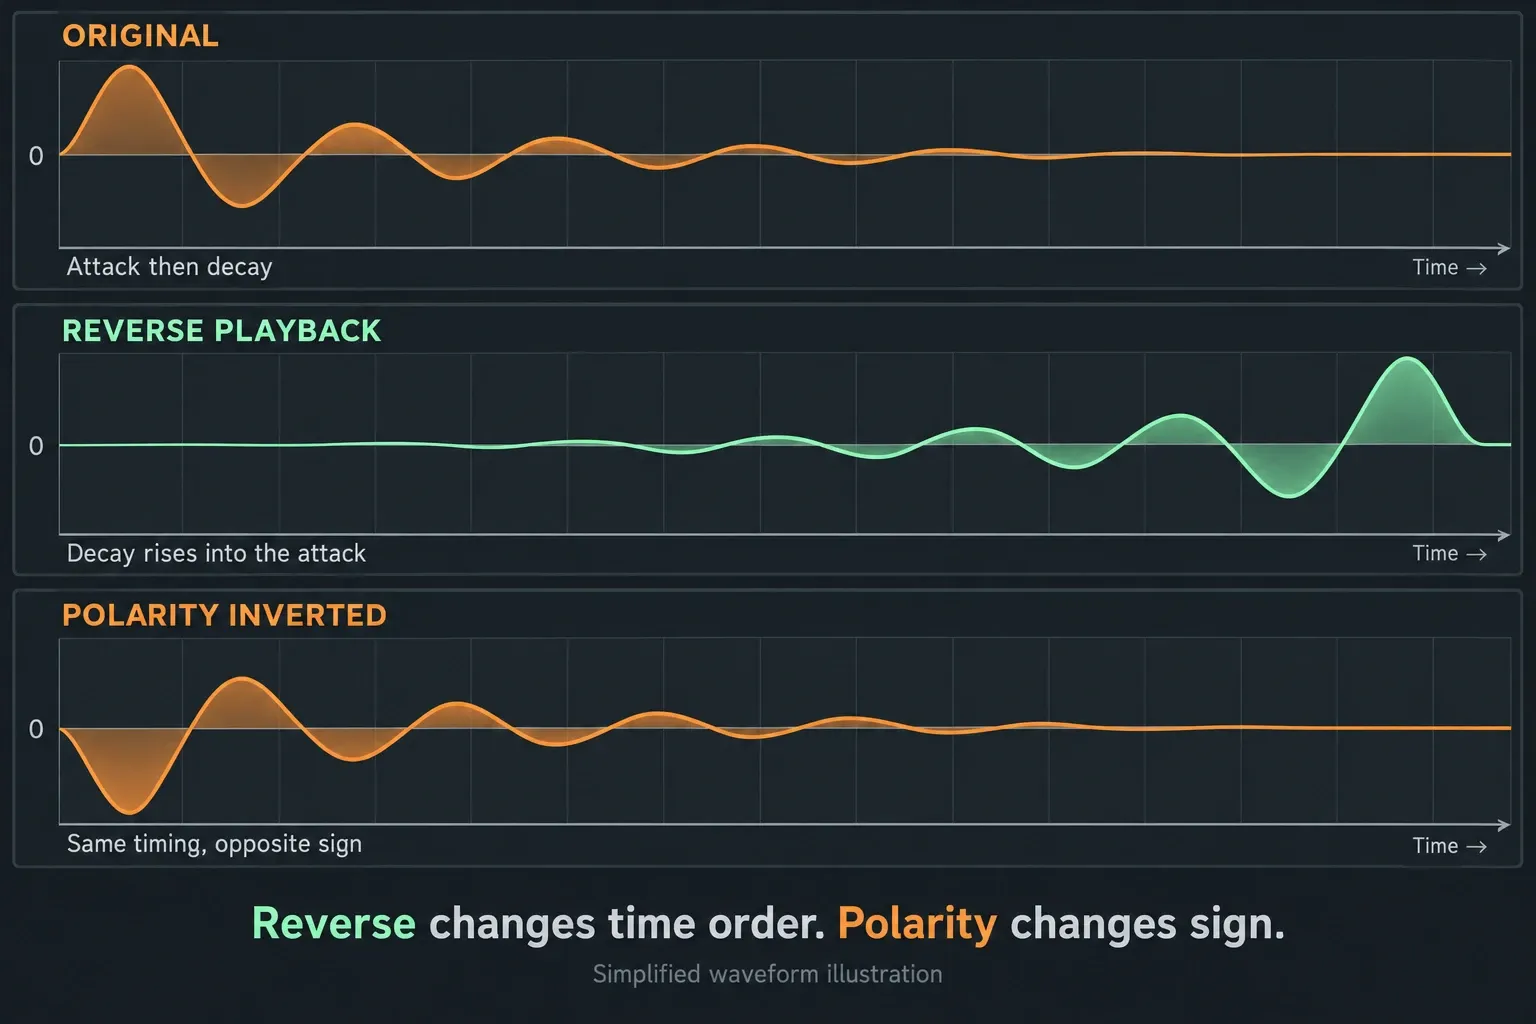
If the bass only gets weak when the layers play together, compare their timing, polarity and levels. Flipping polarity may change how they combine, but it won’t guarantee alignment or fix every note. The Mixer guide helps you trace routing and gain before another processor hides the cause.
Control pitch and length without guessing
Reverse changes playback direction and leaves the selected Clip’s pitch setting alone. Clip Properties Pitch keeps the length the same, but every instance of that Audio Clip shares one Stretch Mode. In the Sampler’s time-stretch section, the Pitch Shift knob also keeps the length and switches Resample to Auto when you move it. That’s a different control path from playing different Piano roll notes in Resample mode, where pitch and speed move together.
Choose Stretch when you need its real-time tempo changes or note lengths that stay fixed, then listen to the low end for artifacts. Setting TIME back to (none) lets you test the sample’s native length, but it won’t repair everything and can undo a fit you wanted. Try it on a separate working Channel and check the placement again. The time-stretch workflow explains the controls, including settings that decide whether stretched variants stay independent.
Render instrument audio and arrange repeated reverses
If your 808 is an instrument Pattern and not an audio file, print it to audio first. The Picker Panel’s Render as audio clip lets you pick render settings, but it doesn’t follow Playlist automation that moves. When the sound depends on where it sits in the song, use contextual Playlist consolidation. Select the Clips you want, keep the muted sources, check the Insert/Master effects and listen to the render before reversing it. Don’t apply baked-in effects a second time.
A single swell before a drop needs no automation. To switch direction back and forth, arrange separate forward and reversed instances. Use the automation workflow for a deliberate level or filter move, not to automate the precomputed Reverse switch. Reversing an 808 sample is also a different job from building reverse reverb.
Reach for stock processing only for a problem you can hear: a competing layer, too much level or an unwanted resonance. You don’t have to high-pass every other instrument or put an effects chain on a clean swell. The Sound Design hub is the next stop when the source itself needs reshaping.
Make the reverse lead into the next bass note
Judge the swell by the bass note it’s leading into. Starting from the destination 808 can give it a related tone, but a sample from the same pack isn’t automatically in the same key. Listen to the stable, pitched part instead of assuming every noisy tail is tuneless. If needed, go back to the pitch-correction steps linked earlier and compare the transition at matched levels.
Leave space at the downbeat. The reversed attack, the kick and the forward 808 can fight each other or overload a stage when their levels stack up. Try ending the reverse just before the kick, trimming its last edge or turning it down, then compare in mono and at a quiet listening level. Keep whichever version makes the arrival clearest, because the biggest ramp isn’t always the strongest transition.
Check the transition in context
- The reverse ends exactly on or just before the target downbeat.
- No click appears at either clip boundary.
- The swell is in key with the following bass.
- The reverse and normal hit do not create an uncontrolled low-frequency overlap.
- Pitch/time mode hasn’t changed the length unexpectedly.
- The effect still works at a low playback volume.
Save a new project version and keep the source audio safe. A project data folder doesn’t gather imported files on its own: switch on Copy used samples to the project folder and check the collected files, or use a Zipped loop package. Copy files instead of moving them if older projects still need them. Neither approach takes care of required plugins or their libraries.
To keep the exact arranged result as reusable audio, render the material you picked and check its fades, effects and edges. Sampler Save as can include its precomputed effects, but it won’t necessarily capture the whole Mixer or local Playlist processing.
In FL Studio Trial, you can save an FLP but can’t reopen it until you buy; export the audio you need while the session is still open. In a licensed host, trial plugins you don’t own can turn into empty slots on reopening. Unlock them before reopening to keep their saved settings, and don’t resave a project while those settings are missing. In a licensed setup, reopen a separate saved copy and listen to the transition before removing any dependencies.
Frequently asked questions
How do I reverse only one 808 clip in FL Studio?
Select that one Playlist Audio Clip instance, open Clip Properties and enable Reverse. The setting can apply to just that instance without making the source channel unique.
What is the shortcut to reverse an Audio Clip?
With typing keyboard to piano keyboard switched off, select the clip and press 9 on the number row to toggle Reverse.
Why does my reversed 808 click?
A sudden break at a boundary can click. Try a quieter cut, a short fade or suitable declicking, then check the arrival timing again. If that doesn’t help, compare the source, DC bias, processing and levels instead of assuming every crackle comes from a bad cut.
Is reverse polarity the same as reversing a sample?
No. Reversing polarity flips the waveform vertically but keeps time moving forward. Reverse playback plays the sample from end to beginning.
Do I need Make Unique before reversing one copy?
Not for local Clip Properties Reverse. Make unique creates an independent Channel but reuses the same file. Make unique as sample also copies the file when a physical waveform edit has to stay separate.
Why does the 9 shortcut not reverse my 808?
Focus the Playlist, select an Audio Clip (not an instrument Pattern) and switch off Typing keyboard to piano keyboard. Use 9 on the number row. If the shortcut still doesn’t work as expected, open Clip Properties and use its Reverse control.
Can I reverse an 808 instrument Pattern?
Render the instrument to audio first. Use contextual Playlist consolidation when moving Playlist automation is part of the sound, because Picker Panel Pattern rendering doesn’t follow that movement. Check the effects and edges, then reverse the resulting Audio Clip.