FL Studio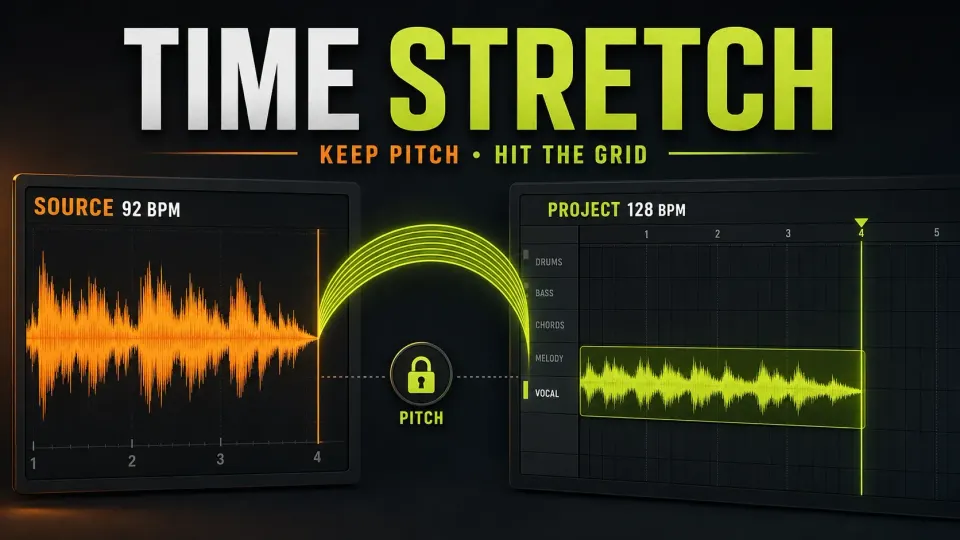
To time stretch audio in FL Studio without changing pitch, choose Stretch or a suitable e3 method in the Audio Clip’s Channel settings > Time stretching. Check that Playlist Stretch is on, then drag the clip’s right edge to the required beat or bar. Shift+M toggles that editing option; it does not always turn it on. The clip’s algorithm—not the Playlist switch alone—determines what happens to pitch.
If the end lines up but the middle wanders, stop dragging. You may have the wrong source BPM, the wrong starting downbeat or a performance whose tempo changes. Those need different corrections. This guide separates fitting the clip, choosing its playback method and saving processed audio.
Before experimenting, save a project version and keep the original audio file. In the standard time-unlimited FL Studio Trial, you can save and export, but cannot reopen saved projects until purchase/unlock. The plugins used must also be licensed, whether included in your edition or purchased separately. Finish any needed audio exports before closing the open session.
Choose the stretch job first
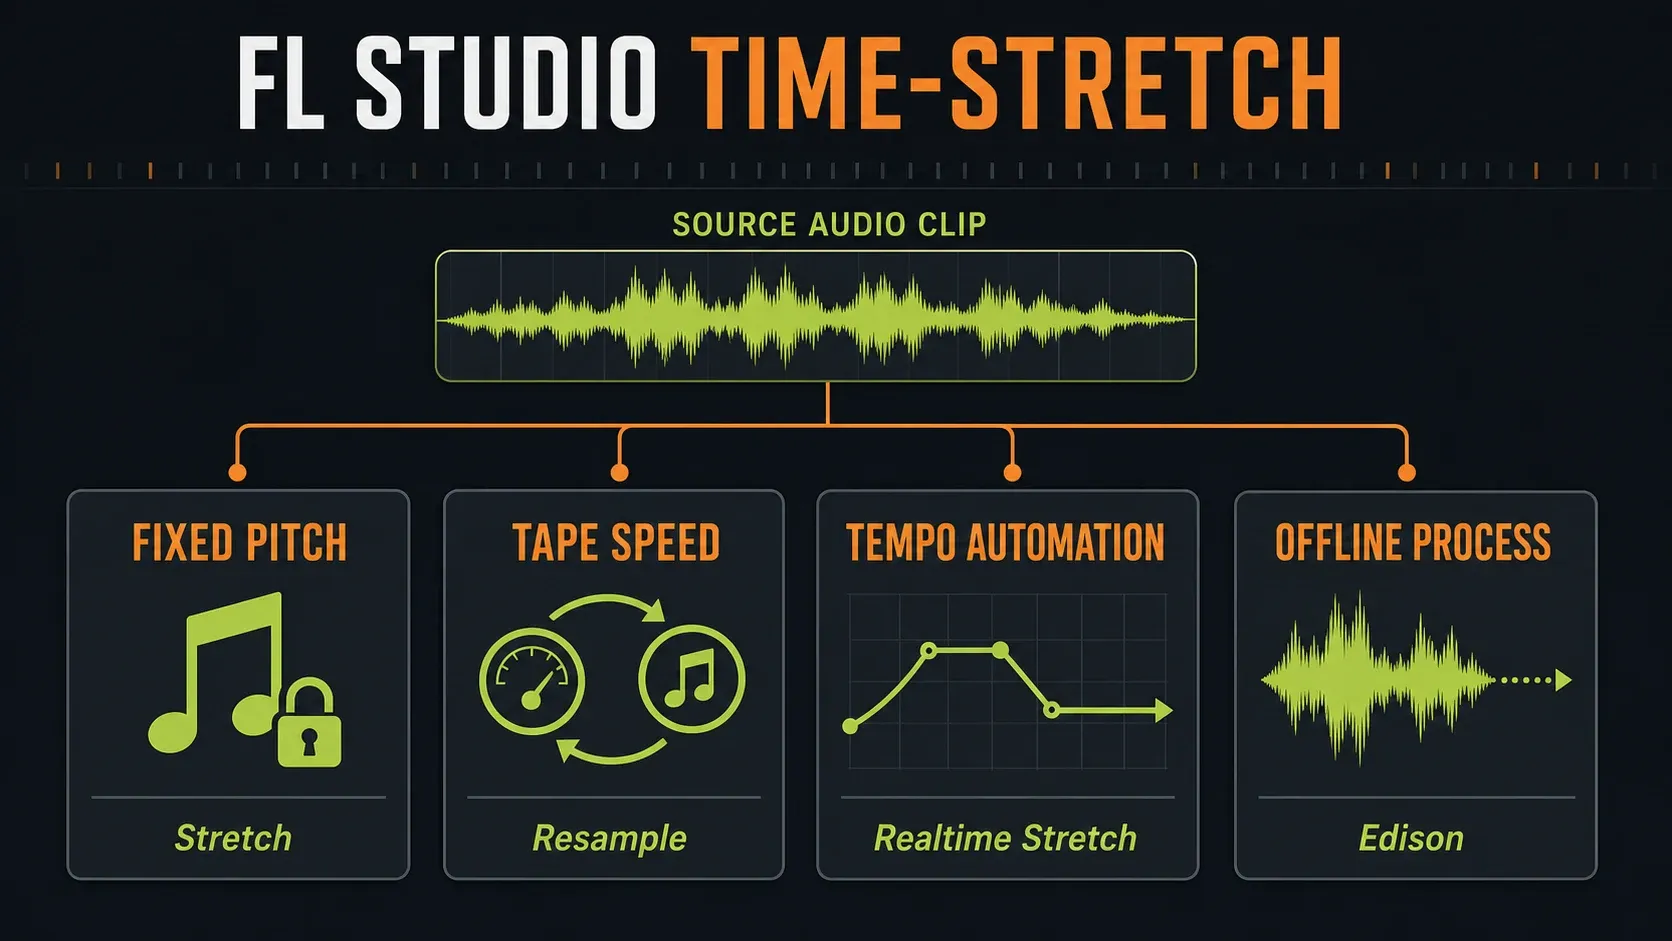
| What you need | Start here | What to check |
|---|---|---|
| One clip ending on a particular beat | Playlist Stretch with a pitch-preserving method | Editing state, shared channel and target boundary |
| A known loop matching project BPM | Fit to tempo or a known beat/bar length | Original source tempo, downbeat and musical span |
| Slower, lower playback like tape | Resample | Pitch changes intentionally with speed |
| Audio following tempo automation | Realtime Stretch | Clip timing is established before the tempo ramp |
| A processed file with a fixed duration | Edison Time stretch / pitch shift, then save a new file | Selection, method, pitch and file preservation |
These are alternative jobs, not a chain of tools to apply to every sample. For the surrounding editing workflow, the Samples & Audio Editing guides cover source cleanup, slicing and file handling.
Stretch one Audio Clip in eight steps
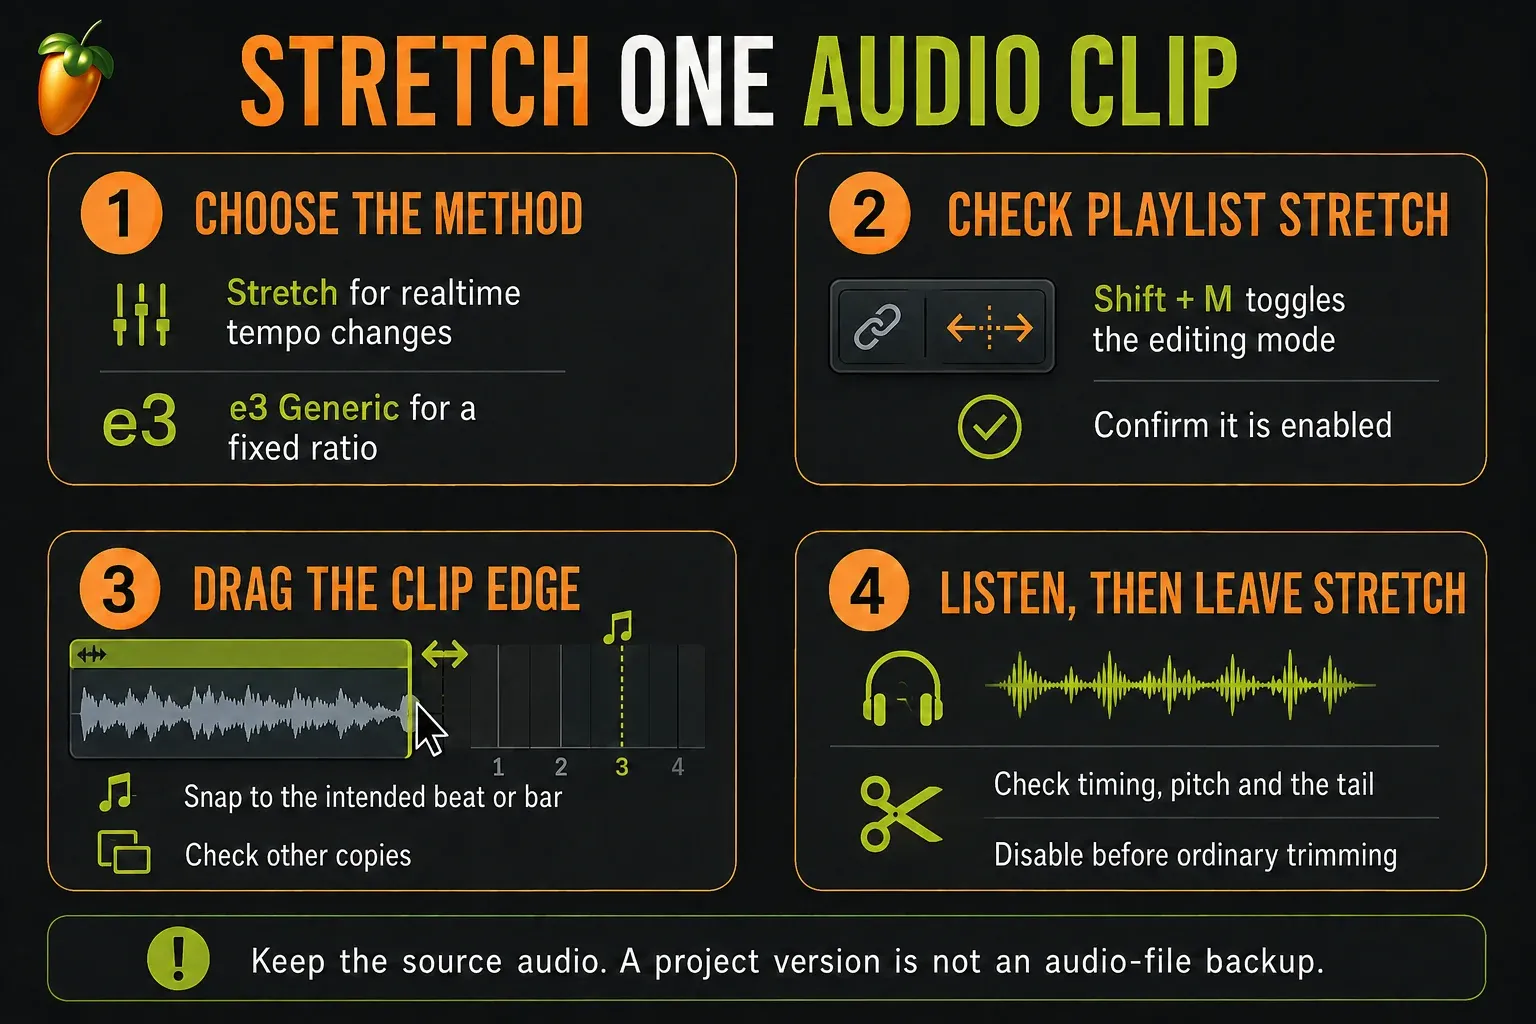
- Load an Audio Clip. Drag the audio file from the Browser into the Playlist’s clip area. If it is already in a Sampler Channel, you can drag its waveform into the Playlist; dragging the Channel button is not the same instruction.
- Check whether the channel is shared. If other copies need a different stretch algorithm, use the clip menu’s
Make uniquefirst. Automatic duration variants still share one Stretch Mode. Keep the original audio file separately if you will edit its data. - Open Channel Settings. Use the Audio Clip menu and choose
Channel settings. Double-click behavior can be customized, so use the named command if a different window opens. - Choose the algorithm. In
Time stretching > Mode, start withStretchfor realtime playback ore3 Genericfor a fixed stretch. Do not chooseResampleif you want the original pitch. - Check Playlist Stretch. Focus the Playlist and inspect its Audio Clip focus controls. Turn
Stretchon if it is off.Shift+Mswitches the state; the visible control lets you confirm the result. - Drag the right edge. Use a suitable Snap setting and enough zoom to place the boundary on the intended beat or bar. Leave room for any decay that belongs after the last musical beat.
- Return to trimming deliberately. If your next edge edit should trim rather than stretch, turn
Stretchoff. Check its state instead of assuming a second shortcut press is always needed. - Listen through the complete clip. Check its start, internal rhythm, pitch, attacks and tail. Then listen in the arrangement and inspect any other copies that should have remained unchanged.
The Playlist manual’s Stretch control uses the Audio Clip’s own time-stretch settings. That explains a common surprise: an edge can stretch correctly while the pitch changes, because the clip is still using a tape-style method.
Variants, Make unique and a separate sample file are different
Right-click the Playlist Stretch control and inspect Create variants when stretching audio clips. It is on by default in the current behavior documented after FL Studio 2025.1. Turning it off restores the linked-instance stretching behavior. This is a Playlist option, not a General Settings preference.
There is another level of sharing: all instances of one Audio Clip share a single Stretch Mode. A different duration does not mean a different algorithm. Make unique creates a separate Audio Clip channel while reusing the disk file. Make unique as sample also copies the sample file. Choose the separation you actually need; a duration variant alone is not a backup for destructive audio editing.
The Playlist editing guide explains clip selection, snapping and arrangement structure in more detail.
Fit a loop to the project tempo
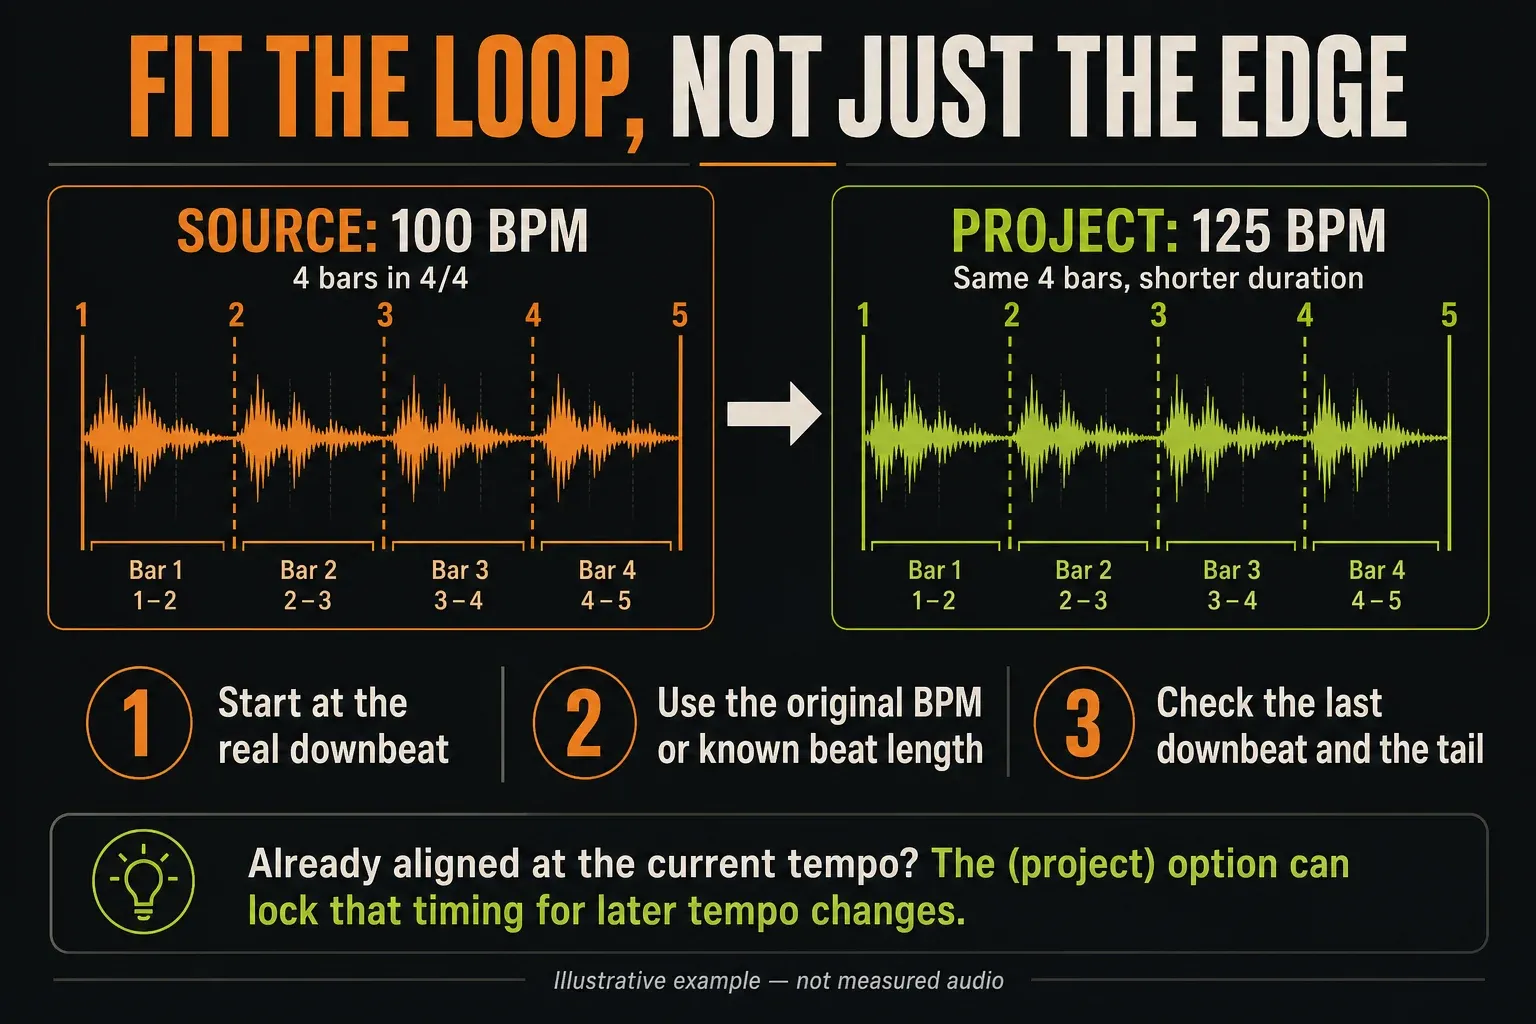
For a steady loop, establish the first downbeat and the amount of music in the file. A pickup, silence before beat one or a reverb tail is not automatically another beat. Do not stretch to the file’s last visible sample and assume that boundary represents the end of a musical bar.
- Place the real first downbeat at the intended grid position.
- Open the Audio Clip menu and choose
Fit to tempo. - When fitting a source recorded at another tempo, supply its original BPM or choose a detection range that fits that source. Verify the estimate rather than accepting it because it looks plausible.
- Choose a pitch-preserving method if you need the original key.
- Check several internal beats, the next phrase boundary and the decay—not just the two ends.
The Sampler time-stretch reference also provides beat/bar choices on the TIME control. A known musical length can be more useful than an uncertain BPM estimate.
A four-bar example: 100 BPM into 125 BPM
Four bars of 4/4 contain 16 quarter-note beats. At 100 BPM, that span lasts 9.6 seconds. At 125 BPM, the same 16 beats last 7.68 seconds. Place the fitted phrase from the start of bar 1 to the start of bar 5. These are calculated example lengths, not measurements from the illustrations.
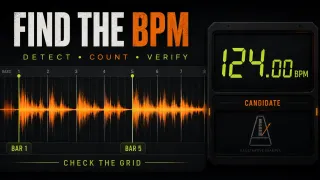
The calculation for a steady-tempo source is target duration = original duration × source BPM ÷ project BPM, using the same beat interpretation. Calling the same source 140 rather than 70 BPM doubles its interpreted beat count and, at a fixed destination, the fitted duration. Half-time and double-time guesses therefore need a musical check, not just a filename check. The FL Studio BPM-detection guide covers that diagnosis in depth.
When choosing “project” is correct
If a sample already plays at the intended timing in the current project, Fit to tempo > (project) deliberately locks that timing to the project tempo for later changes. The TIME knob’s Project tempo option serves a related locking purpose. Do not substitute the transport BPM for a different source’s original BPM by accident—but do not treat the documented project-lock command as an error either.
That tempo assignment follows the selected method; locking alone does not turn an offline method into a realtime one. For a continuous tempo ramp during playback, use realtime Stretch after establishing the clip’s correct timing.
Use Resample for an intentional speed-and-pitch change
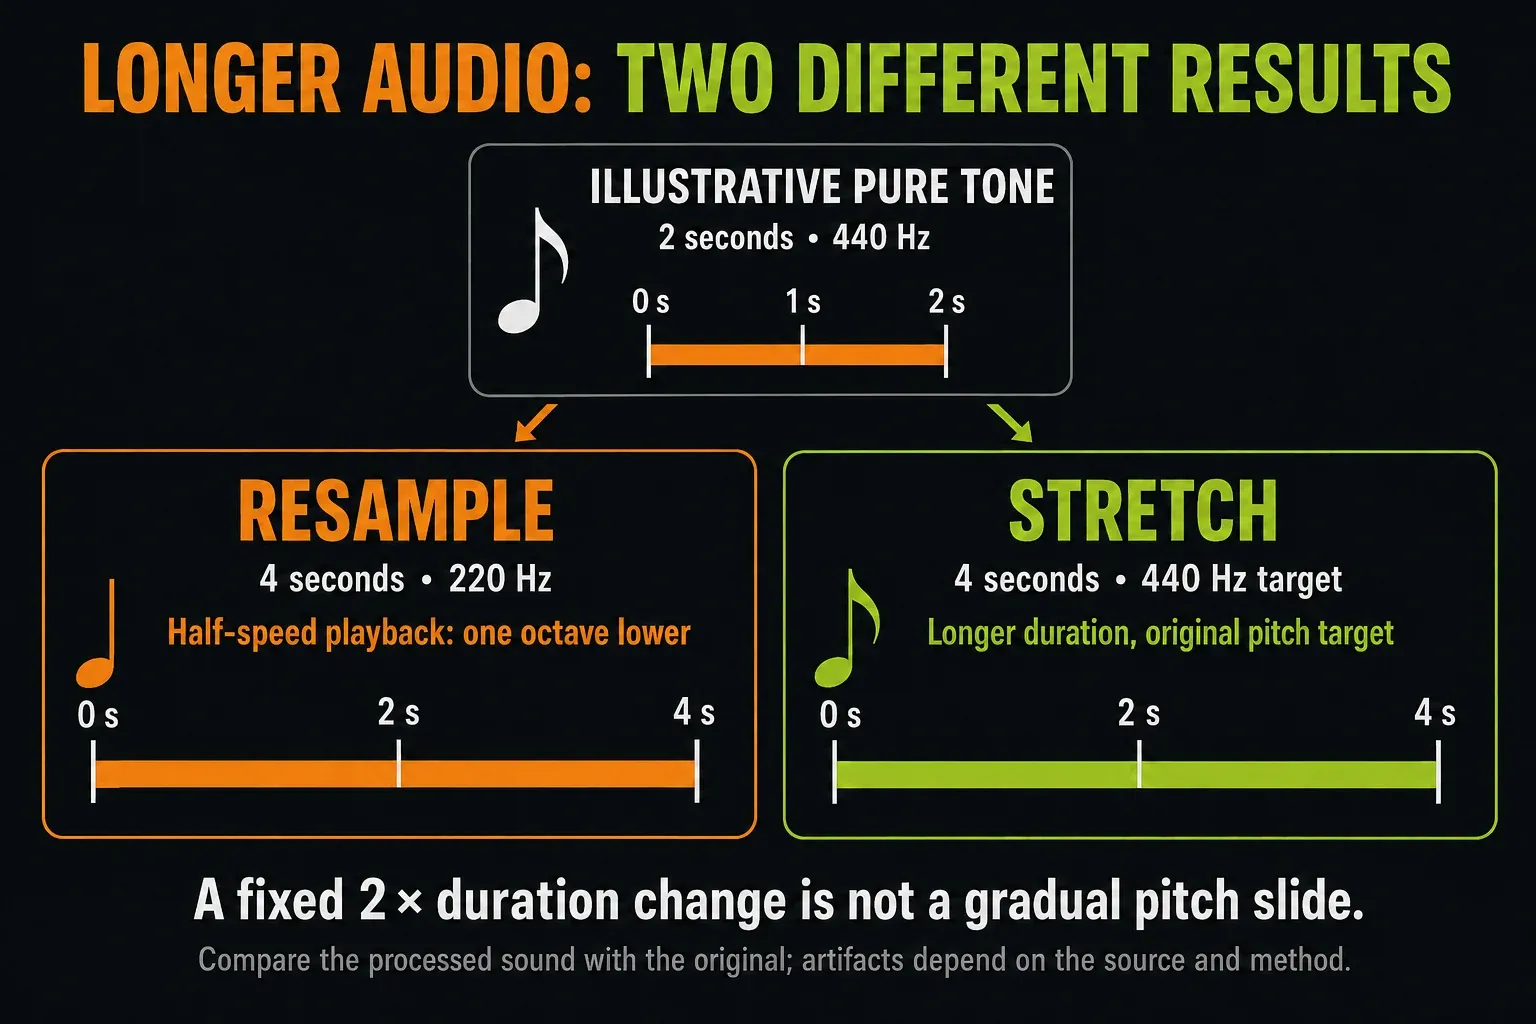
With Resample, changing playback speed changes duration and pitch together. A constant-rate slowdown makes the whole sound lower; it does not inherently draw a descending pitch ramp through the clip. For example, playing a two-second steady 440 Hz tone over four seconds halves its frequency to 220 Hz, one octave lower. A pitch-preserving stretch can lengthen it to four seconds while retaining 440 Hz.
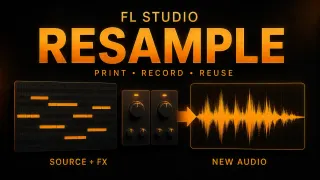
That coupled behavior can be useful for low drums and slowed textures. It is the wrong choice when a vocal must stay in key at a new tempo. This Mode > Resample setting is also distinct from sample-rate conversion elsewhere in FL Studio. For capturing and reusing processed sounds, follow the audio resampling workflow.
Choose realtime or offline processing for the right reason
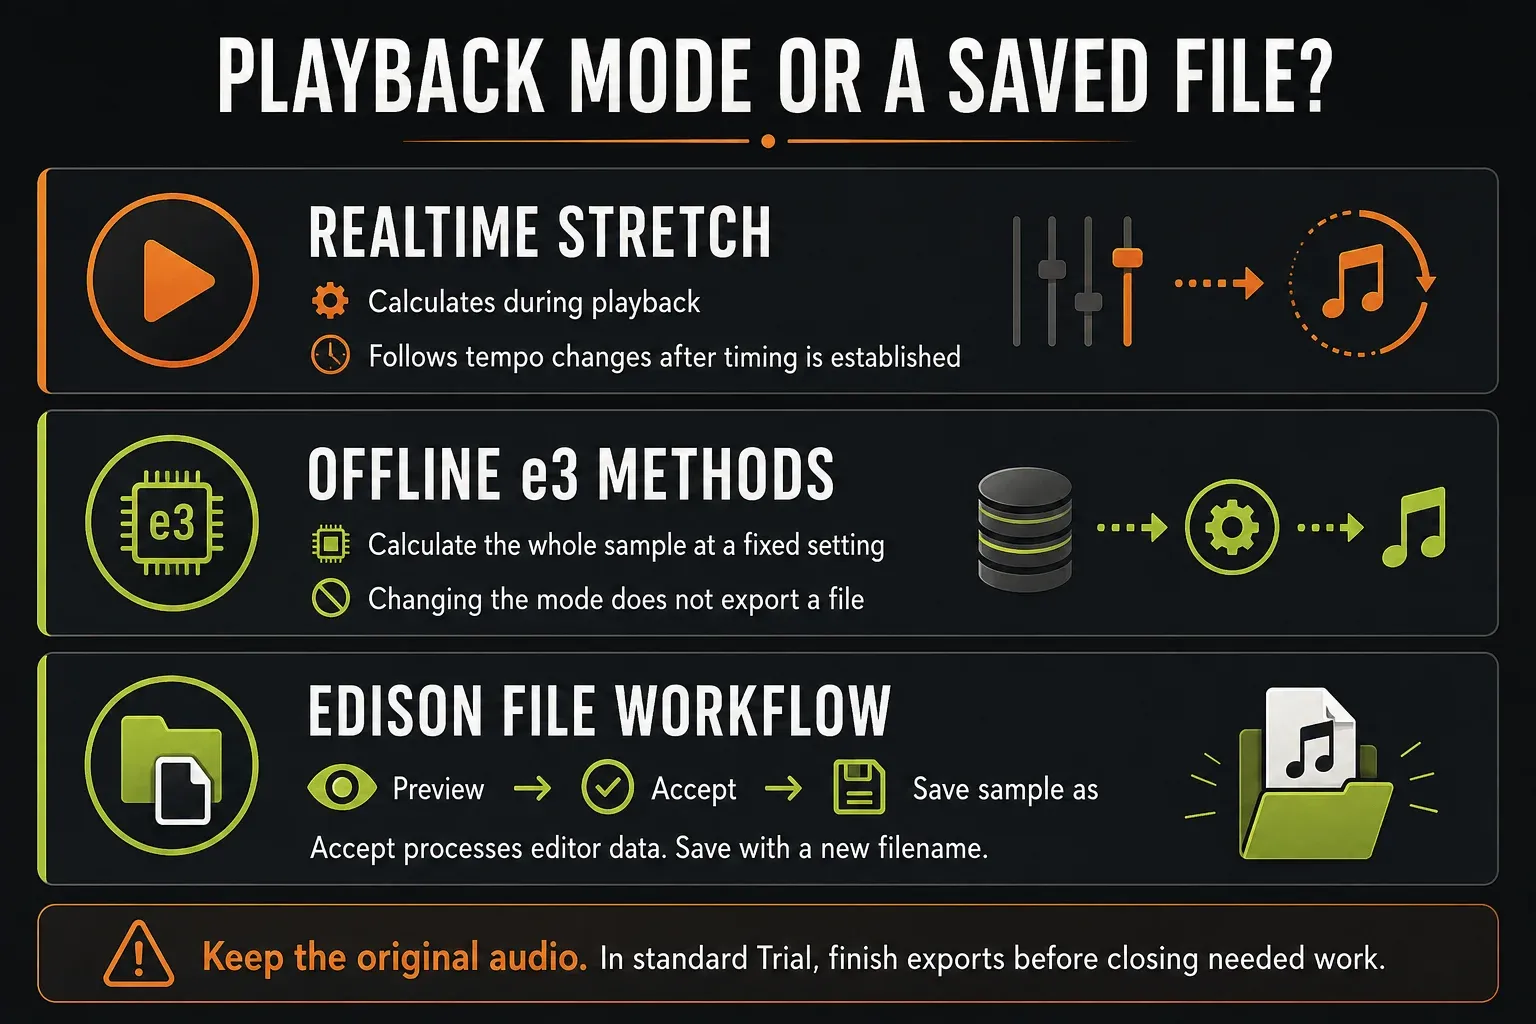
Realtime Stretch calculates during playback and responds to project-tempo changes. Selecting it initially locks the TIME setting to the current tempo. Establish the source timing first, then play across the entire tempo automation—not just its starting value.
e3 Generic and e3 Mono calculate the whole sample offline. They are useful alternatives at a fixed setting, but they are not designed to follow realtime tempo automation. Selecting an offline mode in Channel Settings does not automatically create a new audio file on disk.
For several clips, open Tools > Macros. The current Tools menu reference lists Switch selected audio clip channels to and Switch all audio clip channels to, with realtime and other method families. Choose Stretch specifically for pitch-preserving tempo following: the realtime family also includes Resample. These sit in the Macros miscellaneous group. Check the affected channels first: the Audio Clip operation does not change Sampler Channels, and a deliberate Resample effect should not be converted unnoticed.
Save a project version before changing several channels, then review sustained vocals, cymbal tails and chords across the ramp. Keep the current Trial session open while you still need its work. For source performances, the loop-recording and take-selection workflow helps you choose a useful take before processing it.
Match the method to the source
| Source or requirement | Method to audition | Qualification |
|---|---|---|
| Mixed loop or broad program material at a fixed setting | e3 Generic | Broad-purpose starting point, not a guarantee of the best result |
| One-note-at-a-time voice or solo instrument | e3 Mono | Uses automatic formant preservation; stacked voices or chords need another comparison |
| Tempo automation | Stretch | Realtime operation; establish correct sample timing first |
| Realtime formant adjustment | Stretch pro | Adds formant control; audition rather than assuming an improvement |
| Drum loop with source tempo no higher than project tempo | Slice stretch | Uses hit-aligned slice information and stretches individual slices |
| Drum loop with source tempo no lower than project tempo | Slice map | Repositions slices without stretching them; inspect the joins and tails |
For the Slice methods, enable useful embedded region/slice data through the relevant load options. If usable markers are unavailable, FL Studio performs analysis; incorrect embedded markers are not automatically better. A stereo recording can still contain a monophonic performance—channel count and the number of simultaneous notes are different things.
The Edison Drum Tool has a narrower role: reconstructing decay portions cut short during slicing. It is not the general command for fitting every drum loop. For detailed slice rearrangement, use the Slicex guide.
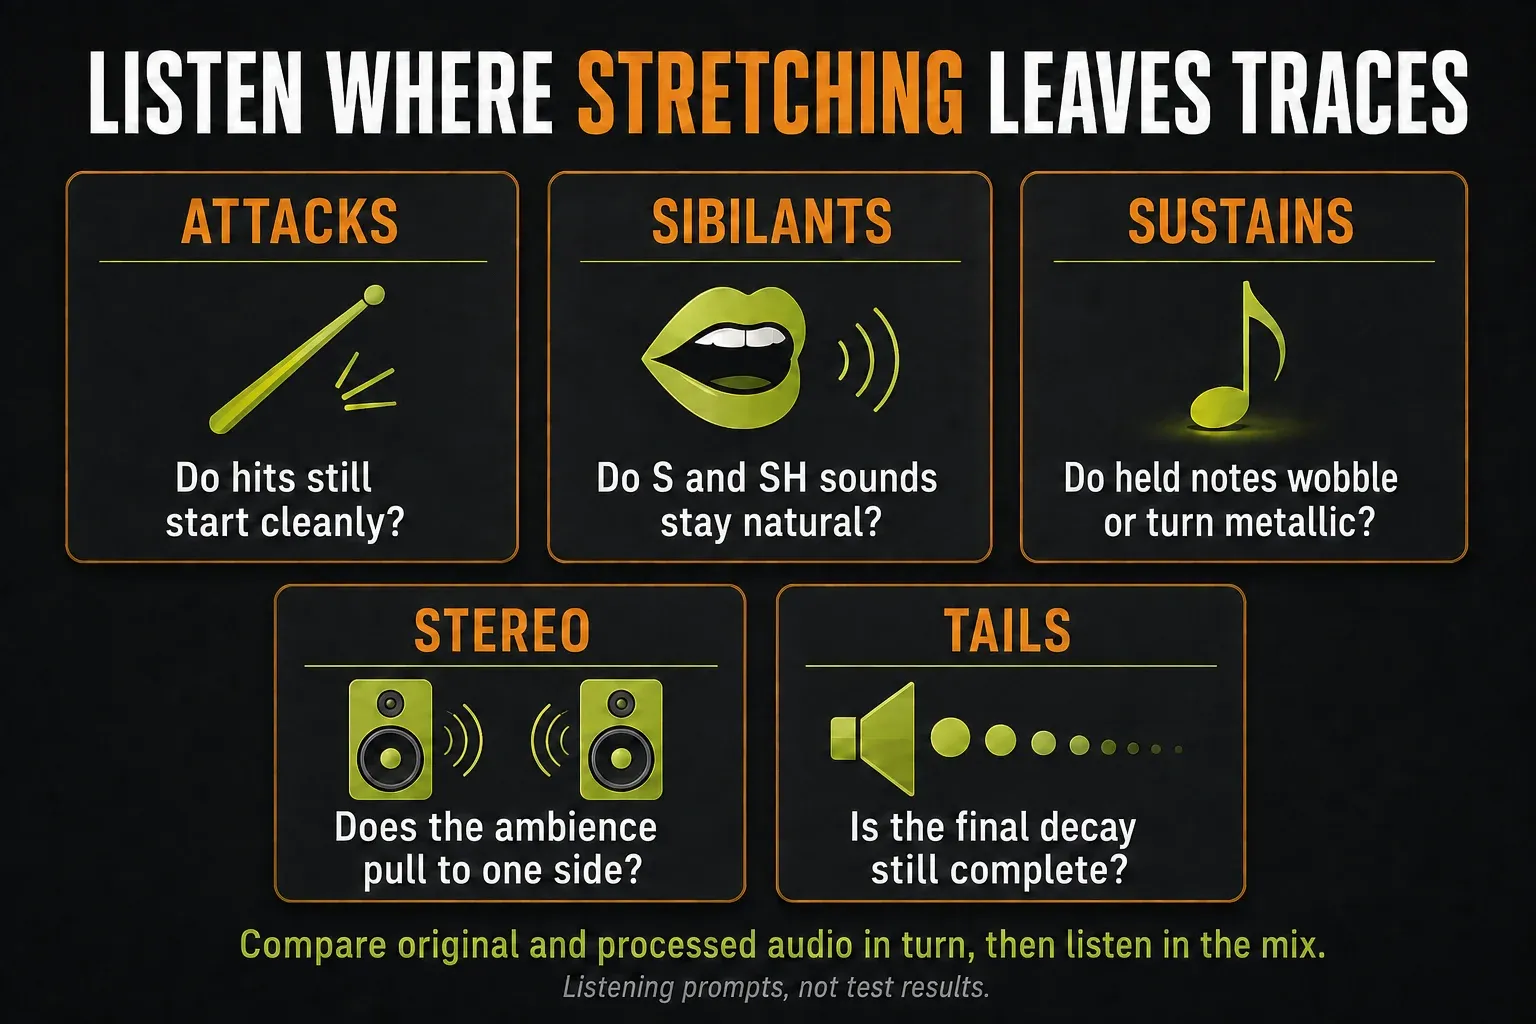
Listen to attacks, sibilants, sustained notes, stereo ambience and the last decay. Try a smaller timing change or another suitable method if the result becomes grainy or metallic. Compare the original and processed audio in turn, without accidentally playing both together. Then listen under the rest of the track.
Save a fixed stretch from Edison
Edison and NewTime are included in Producer Edition and higher in the current edition comparison. Check your entitlement before making either editor central to a project you need to reopen.
Keep an untouched file copy before processing. Open the audio in Edison, select the region you mean to process, and choose Tools > Time > Time stretch / pitch shift or press Alt+T with Edison focused. The Time Stretch / Pitch Shift tool offers duration in percent through Time mul, or milliseconds through Length. Leave pitch unchanged when duration is the only intended edit.
Choose the method, use Preview, and listen before Accept. Accept processes the selection; it is not a “save a protected copy” command. Formant controls depend on the selected method. Dimmed controls have no effect, so do not force a vocal recipe onto unavailable settings.
Use File > Save sample as with a distinct filename to keep the processed result without overwriting the original. For reusable audio, choose a suitable lossless format rather than repeatedly saving lossy copies. A new FLP version does not separately back up ordinary external audio files, even though Edison can embed its loaded audio in the project.
Check the saved file in a media player without replacing the open project. If you bring it back into FL Studio, confirm whether its tempo metadata causes another stretch. The Edison sample-editing guide covers selection boundaries, file copies and further cleanup.
Prepare tempo metadata when you want automatic matching
Open Edison Sample Properties with focused F2. Set the correct source Tempo (BPM) and, where useful, the known Length (beats) or Selection (beats). Enable Tempo-sync when automatic beat matching is intended, then save the WAV with that information.
That workflow also requires Options > General settings > Read sample tempo information. It is a global preference, so consider other samples that rely on it before changing it. If a file already has incorrect metadata, fix the value rather than assuming every future import should ignore useful timing information.
Fix pitch changes, drift and damaged timing
The pitch changes when I drag an edge
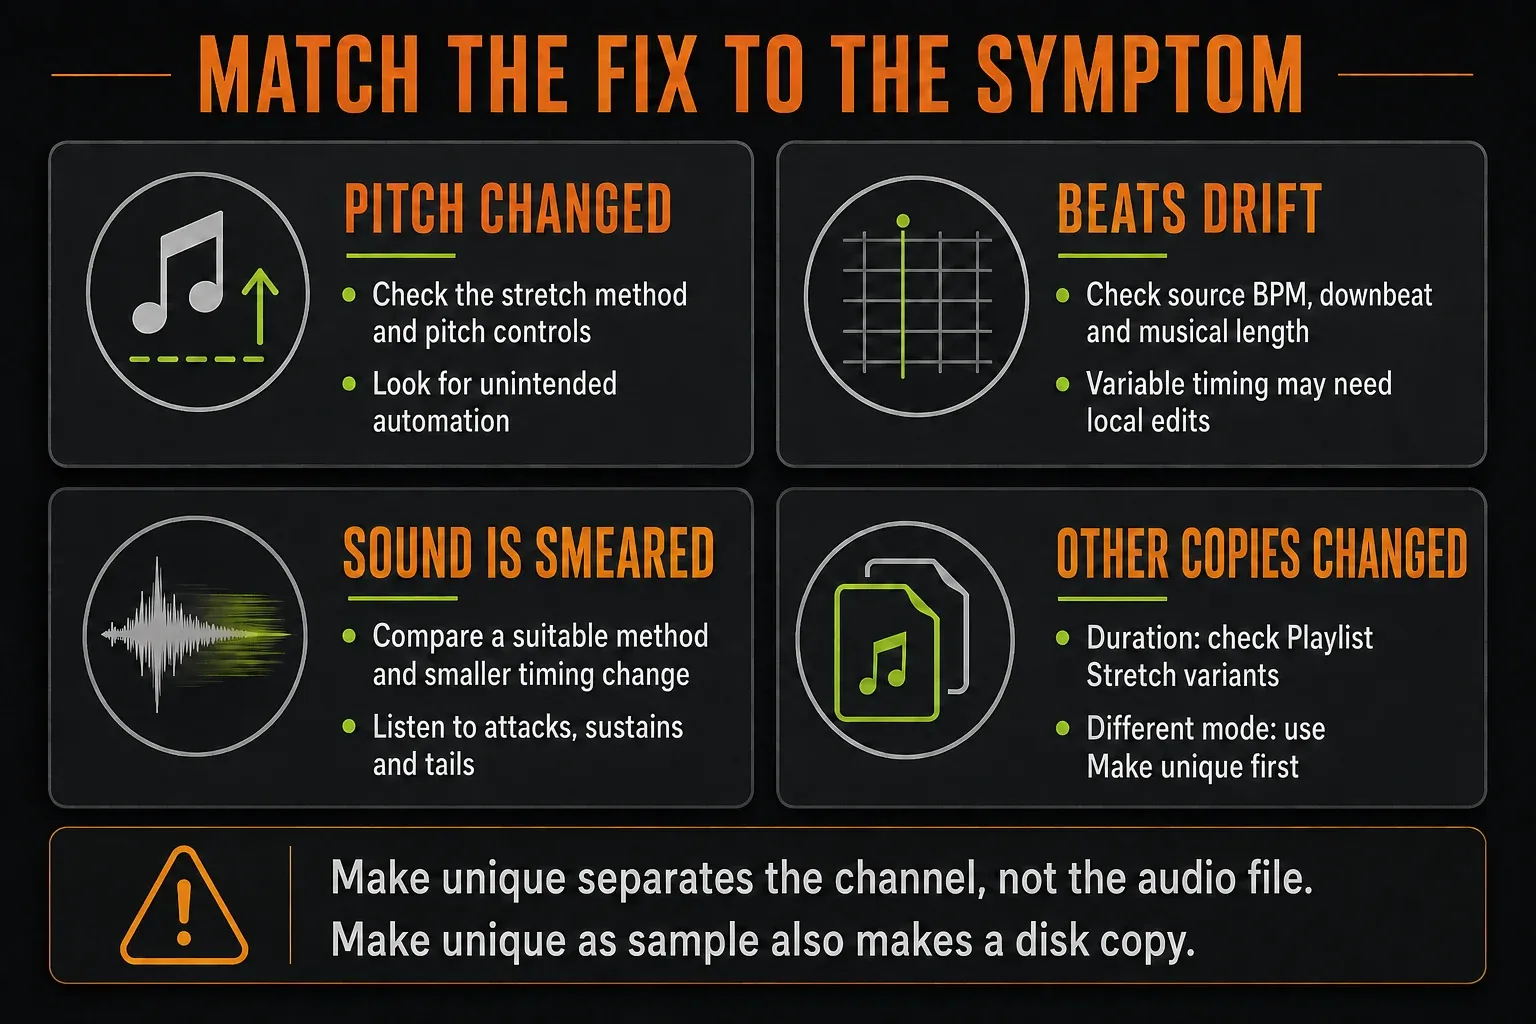
Check whether Playlist Stretch was intended and inspect the Audio Clip’s method. If it is already pitch-preserving, also check the clip/channel pitch controls and unintended automation. The official pitch and tempo troubleshooting checklist covers those other causes. Do not reset every control before identifying which one is doing the unwanted work.
The ends fit, but beats inside the loop drift
Verify the original BPM, half/double interpretation, first downbeat and true musical length. A performance with changing tempo may need local edits. NewTime warp markers let you adjust timing on either side of individual markers; slicing at suitable musical points is another approach. One global ratio cannot independently place every late consonant or drum hit.
The result sounds metallic, watery or blurred
Compare suitable methods and reduce the amount of stretching if the arrangement allows it. Check joins and tails separately from sustained tones. A poor recording can also limit the result: the vocal-recording and guitar-recording guides cover capture decisions that time stretching does not undo.
If the problem is intermittent crackling or playback interruption rather than a repeatable change in the processed sound, investigate the audio-device and buffer settings separately. That distinction is a diagnostic starting point, not proof of the cause.
Another copy changed too
For duration changes, check Create variants when stretching audio clips. For algorithm changes, remember that the mode belongs to the shared Audio Clip channel. Use Make unique before assigning a different algorithm to only one copy. If you will overwrite sample data, preserve a separate file as well.
A sample changes speed when loaded
Inspect the saved tempo information and the global metadata preference. If you want the clip independent of project tempo, the TIME menu’s (none) setting removes its stretch assignment. That also removes the deliberate tempo link, so it is not the right fix for a loop you want to follow the song.
Name the source, timing variant and exported file clearly. The project-organization workflow helps keep those versions understandable when you revisit the track.
Frequently asked questions
How do I stretch audio in FL Studio without changing pitch?
Choose Stretch or a suitable e3 method in the Audio Clip’s Time stretching settings. Check that Playlist Stretch is on, then drag the clip edge. Shift+M toggles the editing state. If other copies need different algorithms, make this Audio Clip unique first; duration variants still share the mode.
What is the difference between Stretch and Resample?
Stretch can change duration while preserving pitch. Resample couples speed, duration and pitch: slower playback is longer and lower, while faster playback is shorter and higher. A fixed slowdown is not automatically a descending pitch ramp.
Should I enter the sample BPM or project BPM in Fit to tempo?
When fitting a differently paced source, use its original BPM. The separate “project” choice is useful when the sample already has the intended timing and you want to lock it to the current project for later tempo changes. Use realtime Stretch for continuous tempo automation.
Why does a loop drift after Fit to tempo?
Check the source tempo, half/double interpretation, first downbeat and musical length. The original performance may also change tempo. Verify internal beats, then use local slicing or warping if one global stretch cannot place them correctly.
Which mode should I try for vocals?
Try e3 Mono for genuinely monophonic material at a fixed setting, and compare it with e3 Generic. Use realtime Stretch when project tempo is automated. Listen to consonants, held vowels and ambience; no one method is guaranteed to sound best on every vocal.
Why did stretching one clip affect another copy?
The automatic variant option controls separate duration edits. All instances of the same Audio Clip still share a Stretch Mode. Make unique creates a separate Audio Clip channel for a different mode; Make unique as sample additionally copies the disk file for independent audio-data editing.
How do I keep a stretched sample as a new audio file?
In Edison, preview and accept the intended Time stretch / pitch shift processing, then use File > Save sample as with a distinct filename. Keep the original. Selecting an offline mode in Channel Settings is not automatic disk export. Standard Trial can save and export, but reopening saved projects requires purchase/unlock and the necessary plugin entitlements.