FL Studio
To sample in FL Studio, start by deciding what the audio should turn into. Drop a loop or long phrase on the Playlist when you want to arrange it on the song timeline. Drop a one-shot on the Channel Rack when you want a playable Sampler Channel. Open the audio in Edison for close trimming and cleanup, or load it into Slicex when you want several chops playable from the Piano roll or a controller.
For a rhythmic phrase, find beat one and check the source tempo before you cut it to a grid. A single kick or an isolated texture doesn't need any BPM math; just focus on where it starts, how it ends and how it plays back.
Start with a source you can actually release
Before you build a beat around a recording, write down where it came from and what you're allowed to do with it. A commercial sample-pack license, your own recording or a commissioned performance can all be starting points, but check the actual rights. Recording a cover yourself doesn't give you ownership of the composition, and commissioning audio doesn't automatically cover every use. For public-domain material, check both the recording and the underlying work in each territory where you plan to release.
The U.S. Copyright Office guidance for musicians explains the separate rights in recordings and compositions and rejects the idea of a fixed amount that's always safe to use. Fair use depends on the case, and changing pitch or chopping a recording doesn't give you permission. This is production guidance, not legal advice. For an uncleared commercial release, get advice on the specific rights before distribution.
Choose the destination before you touch the waveform
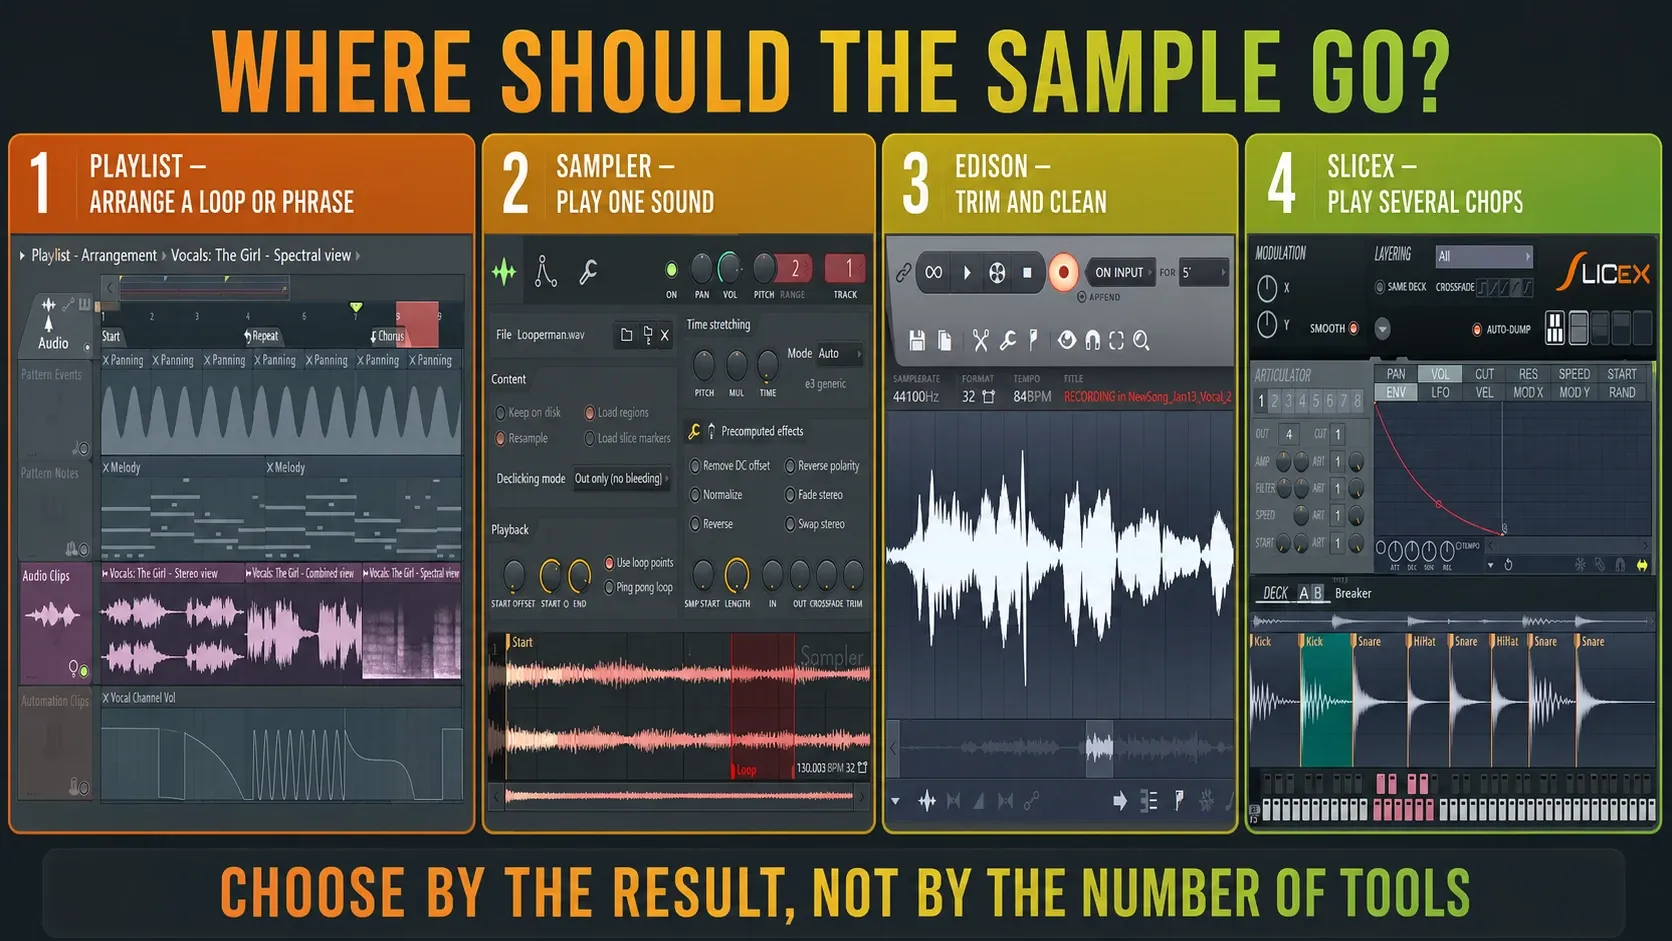
In FL Studio, the same audio file does a different job depending on where you drop it. That first choice decides which controls make sense later:
| Destination | Best use | What you get |
|---|---|---|
| Playlist | Loops, phrases, vocals and song-length arrangement | An Audio Clip you can place, slice and stretch on the timeline |
| Channel Rack | Kicks, snares, vocal shots and one playable sound | A Sampler Channel triggered by steps or Piano roll notes |
| Edison | Precise selection, cleanup, markers and exporting a prepared region | An audio editor that sends the result to another FL Studio destination |
| Slicex | Several chops played in a new order | Regions mapped for Piano roll or controller performance |
The Audio Clips manual confirms the import difference. Drop a file into empty Playlist space for an Audio Clip, or into empty Channel Rack space for a Sampler Channel. Don't drop it onto an existing instrument or waveform unless you mean to replace it. Pick the destination that matches the result you want.
Import the audio and preserve the untouched source
Audition files in the Browser, then drag the one you want to its destination. Rename the new Audio Clip or Sampler Channel straight away with something you'll recognize later: source, musical role, and key or tempo if you know them. “Sample 14 final final” stops meaning anything the moment the project grows.
Keep an untouched file outside the working edit. Make unique creates a separate Audio Clip Channel that still uses the original file. Make unique as sample also copies the audio file on disk, as the Playlist editing reference describes. Use the second one before a physical edit to the source file that has to stay separate; ordinary Playlist cuts don't each need their own file. A muted Playlist copy makes a handy arrangement reference, but it won't back anything up on disk.
Current Clip Properties offer changes per instance, such as gain, pitch and reverse. Channel Settings still affect every shared instance, and the stretch mode stays shared too. Check which level you're editing before you change one chop, because a Clip that looks different may still use the same source.
The current edition guide allows up to eight Audio Clips in Fruity Edition, with no audio recording. Producer Edition and above give you the full Playlist and recording, with Edison and Slicex included, and a relevant plugin can also be bought separately. An installed plugin can still be running as a Trial, so check your entitlement before counting on it to reopen a project.
Find the musical start before matching tempo
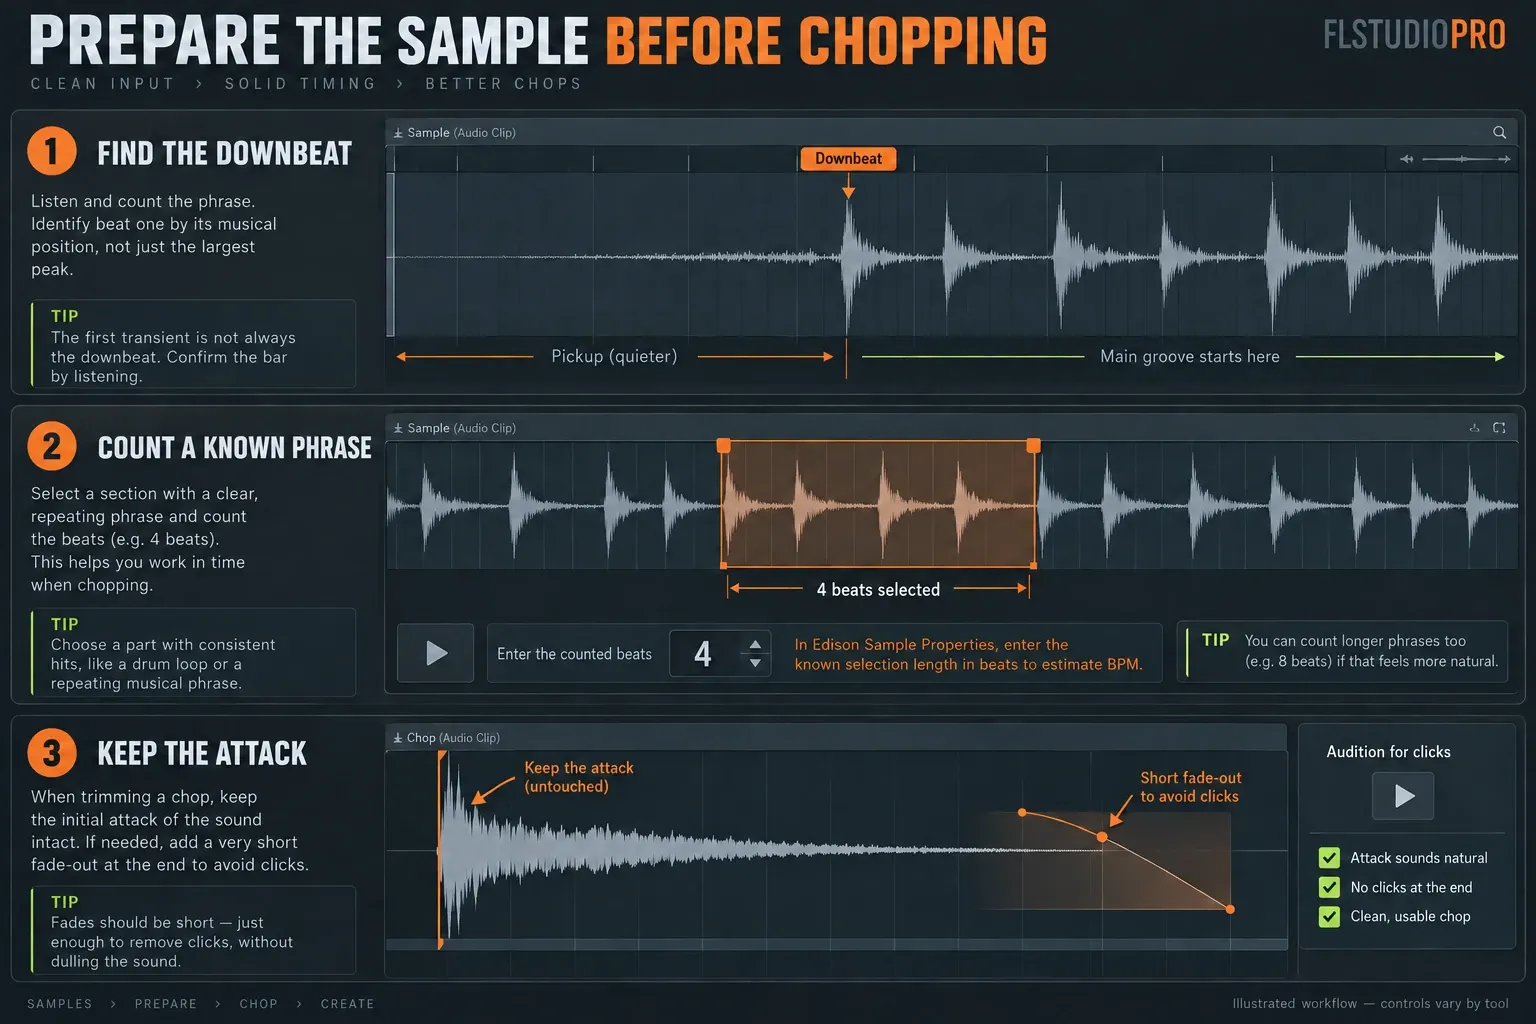
The first visible transient isn't always beat one. A pickup, breath or soft note can come before the downbeat. Listen, count the phrase and test several bars against the metronome. With a source at a steady tempo, the bar keeps landing back on the click. A live performance may really drift in tempo, and forcing one BPM on it can leave later beats wandering even when the first downbeat is right.
For an unknown tempo, select a phrase whose beat count you can hear. In Edison, click into the editor, press F2 and enter that count under Selection (beats); the Sample Properties reference explains the calculation. Four quarter-note beats in a 4/4 example means you enter 4, whatever the number of visible waveform peaks. Check another phrase, and use the BPM detection guide when the estimate comes out doubled, halved or unstable.
Embedded tempo data can be wrong too. How an Audio Clip loads depends on that data and the Read sample tempo information setting. When a file changes speed unexpectedly, check the source BPM and stretch state. Setting a new project tempo doesn't mean the source BPM is now correct.
Decide whether the project follows the sample
There are two sensible ways to handle time stretching:
- Sample-first beat: set the project near the sample’s natural tempo, establish the loop, then build drums around its feel.
- Existing project: keep the project tempo and stretch the sample to the required bar length.
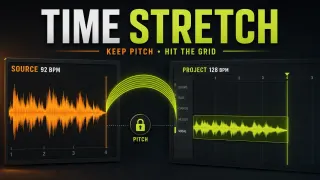
In the Audio Clip menu, Detect tempo estimates the source tempo and can offer to change the project BPM, while Fit to tempo fits the sample to the project. For a phrase of known length, the Channel Settings TIME menu also offers beat and bar values. Pick a pitch-preserving stretch method when the original pitch should stay put. Resample links playback speed and pitch. Stretch supports realtime tempo changes, but you still need to listen for artifacts in either mode.
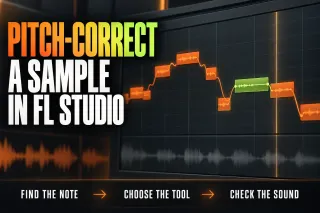
Change one thing at a time and compare with the original. The time-stretch workflow covers these controls in detail. Pitch-correcting the sample is a separate decision.
If a phrase sounds fitted in the Playlist but snaps back to its original timing in Edison or Slicex, compare the loaded source with the Playlist playback. Opening the file in another tool doesn't print its arrangement processing. When you need that processed result, consolidate the selected material to new audio, check the Insert/Master effects choices and load the checked render. Keep the source, and don't apply the same effects twice.
Chop directly in the Playlist for arrangement work
Chop in the Playlist when the edit should stay on the song timeline. Place the Audio Clip, zoom in until the waveform and grid are easy to read, pick the Slice tool and cut at the musical boundaries. Keep an untouched arrangement reference while you work, on top of the separate source-file backup.
The Clip menu’s Chop options can split audio by the grid, by detected beats or by embedded regions. Check which Clips are selected first, because chopping applies to all of them. The pieces live in the Playlist and aren't Edison markers. Audition them and remove only the ones you don't want; a tail or consonant may belong to the phrase and isn't necessarily throwaway silence.
Playlist cuts are perfect for removing a pickup, swapping two phrases, building a stutter before a transition or leaving deliberate gaps for drums. If a repeated movement needs parameter changes once the arrangement settles, use the automation workflow instead of baking every level move into a new audio file.
Use Edison when the cut needs close waveform work
Use Edit sample from the Audio Clip menu to open Edison, or whichever custom editor you've set in Tools. In Edison, isolate the useful phrase and listen to both ends. Keep the attack and any musical lead-in. The Edison trim-and-fade guide walks through precise selection and boundaries.
Edison's Drag / copy sample / move selection control moves the selection, or the whole sample when nothing is selected, to a compatible destination. Its Send sample to Playlist control also sends the selection or the whole file. Check the selection first, because right-clicking that send control replaces the selected Audio Clip or Sampler Channel instead of adding another clip.
Use cleanup conservatively and compare at similar listening levels. Denoising can damage wanted detail; normalization changes level, not the musical timing or noise-to-signal balance. Do not mistake a louder result for a better edit. Keep the original available for comparison.
Use Slicex when the chops should become notes
Load the phrase into Slicex when its regions should become playable notes. The Slicex reference explains that existing region data takes priority over automatic detection. Review those boundaries instead of assuming they were made for your beat.
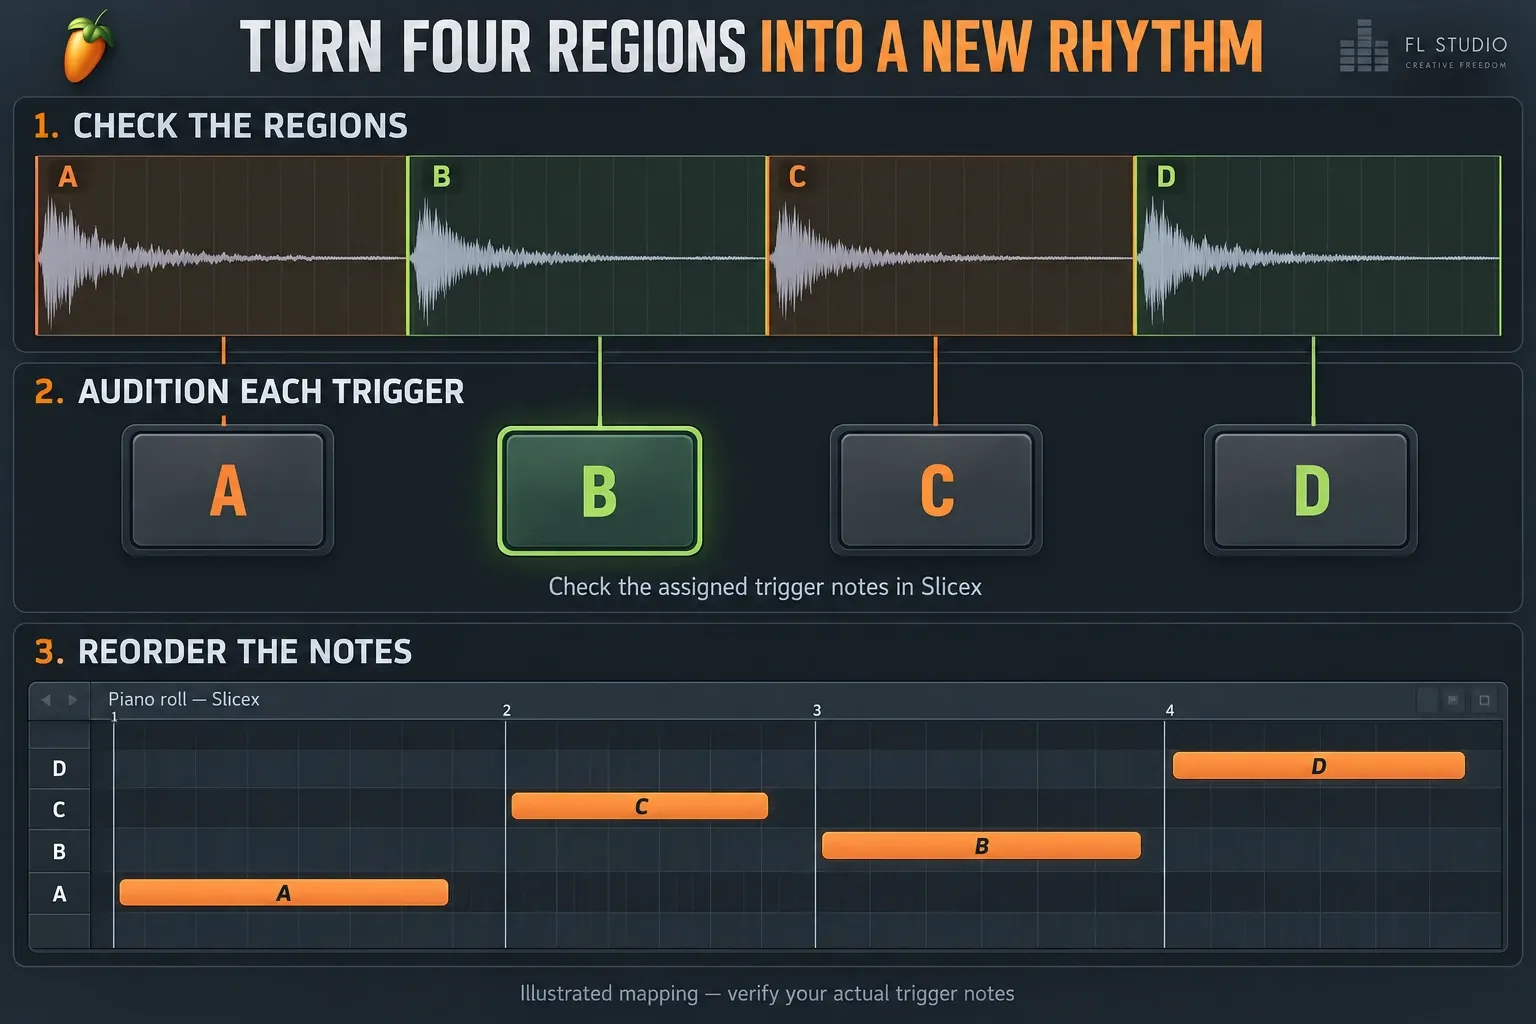
- Load the prepared phrase into Slicex and confirm the intended deck.
- Audition the regions; adjust or remove unnecessary markers without deleting useful audio.
- Check the assigned trigger notes with the keyboard panel or your controller.
- Before you record a new rhythm, check the Piano roll for an original score that was dumped automatically.
- Save a new Pattern for the note sequence and test it with the drums.
The Auto dump setting can fill Deck A's Piano roll score when a sample loads. Keep it as a reference or clear only the notes you want to replace. Slicex's small keyboard previews and assigns regions; it isn't a Step Sequencer. Right-clicking a region plays the raw audio without its articulation, so it can sound different from the played note.
A new Pattern stores another note sequence and doesn't create another Slicex instance. Changing the shared instrument's sample or region map can change older Patterns too. Use a separate Slicex Channel when the new flip needs its own source or mapping, then check its routing. The Slicex mapping guide covers that setup. Four to sixteen deliberate chops is a manageable first flip, though it's only a suggestion and Slicex has no such limit.
Use Sampler for one-shots and playable pitched sounds
For a single kick, snare, texture or syllable, start with a Sampler Channel. Adjust its start, then switch on and shape the volume envelope when note length should control playback. Without an active volume envelope, a sample can keep playing after note release; with one active, its release setting still decides how it ends.
For a playable pitched one-shot, set and check the sample's root-note mapping. It marks the MIDI key that plays back the recorded pitch, which has nothing to do with the key of your song. Pitch detection works well on a steady single-pitch sound and can't be trusted with chords or a changing phrase. Use Sampler loop points only when the sound should sustain through a held note, and check the loop boundaries for clicks.
Remove clicks without blunting the groove
A typical boundary click comes from a sudden break in the waveform. Try a quieter boundary or the Audio Clip zero-crossing edit option, which moves cuts to a nearby crossing. It can also shift the edit away from the timing you wanted, so check the transient against the beat instead of judging by the waveform alone.
When moving the cut hurts the timing, try a short fade and listen to it in context. Audio Clip fades can replace declicking at the affected end. What the visible Clip actually plays matters more than whatever the Channel setting seems to say about every slice. The fade and declick guide explains the difference. If the level still jumps, follow the Mixer routing and gain stages before adding another processor.
Build a flip, not a disguise
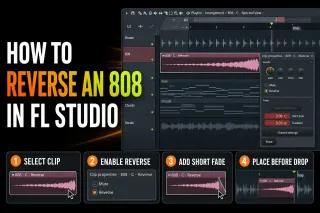
A good flip changes the function, rhythm or context of the source. Reorder regions, leave room for the kick, alternate longer and shorter phrases, or resample your own processing. A reversed 808 swell needs deliberate peak placement and clean boundaries, and reversing playback is a different thing from flipping polarity. Chopping or processing a source is a musical choice; it doesn't give you permission to release it.
Build the first drum pattern around the sample, then compare the original and processed versions at similar levels. Listen for timing and space before you reach for the stock-plugin toolkit. EQ and compression can change tone and dynamics, but they won't find the musical downbeat for you.
Save the result so the project can reopen
A project data folder gives created audio a home, but it doesn't automatically gather every external file you imported. The Project Settings reference separates those files from the Copy used samples to the project folder option. Use Copy instead of Move when older projects may still need the original path, and check the collected files.
A Zipped loop package can collect the FLP and its associated samples. It won't install required plugins or protect third-party libraries for you. Slicex can leave unedited audio on disk instead of embedding it, so keep those source files available. In a licensed setup, reopen a separate saved copy and listen to it before you remove or rename anything.
Save a reusable Edison selection under a descriptive new name and check the exported file. Don't overwrite the original just to get a shorter filename. In FL Studio Trial, saving an FLP doesn't let you reopen it before purchase, so export the audio you need while the session is open. In a licensed host, trial plugins you don't own can turn into empty slots on reopening. Unlock them before reopening to get their saved settings back, and don't resave the project while those settings are missing.
Run this sampling check before adding more layers
- The source and license are documented.
- For a rhythmic phrase, the downbeat and source tempo are checked; any real tempo drift has an intentional treatment.
- The project tempo and sample stretch decision are intentional.
- The audio lives in the right container: Playlist, Sampler, Edison or Slicex.
- Every retained chop has a musical purpose.
- Starts and ends are free of clicks; transients stay intact.
- The original file remains untouched and recoverable.
- The edited result and its source dependencies are named, collected and checked for recall within the limits of the license.
- The beat still works at a moderate monitoring level.
Use the Samples & Audio Editing hub for the next repair or timing job and the Sound Design hub to shape the result. Go back to the beginner workflow if the Channel Rack and Playlist still feel disconnected.
Frequently asked questions
What is the easiest way to sample in FL Studio?
For a loop or phrase, drag it to the Playlist as an Audio Clip, find the real downbeat, match it to the project tempo and slice it on the timeline. Use a Sampler Channel for a single playable sound, and Slicex when several chops should become notes.
Should I use Edison or Slicex for sampling?
Use Edison to select, trim, clean and export audio precisely. Use Slicex to split one source into regions you can trigger from the Piano roll or a controller. Many producers prepare the source in Edison and then play the chops in Slicex.
Why does my sample go off beat in FL Studio?
Check the downbeat, source BPM, tempo metadata and stretch settings. A live recording may also shift in tempo. Compare several phrases against the metronome, and if a rendered or stretched Playlist version differs from the editor, confirm which source file was loaded.
How do I stop sample chops from clicking?
Move the boundary toward a quiet point or zero crossing, or use a very short fade or a declicking mode. Check the transient again after cleanup so the groove hasn't gone soft.
Can I legally sample a few seconds of any song?
No fixed length makes any song safe to sample. Check the rights in both the recording and the composition, the license and the territories you have in mind. For an uncleared commercial release, get advice on the specific rights, because an edit doesn't give you permission.
Can I use Edison and Slicex in Fruity Edition?
They come with Producer Edition and above, or you can buy them separately. Having them installed doesn't prove you own them. Fruity supports up to eight Audio Clips but no audio recording; check the plugin's Trial status before relying on project recall.
Why did changing my Slicex sample change an older Pattern?
Patterns share the instrument Channel. A new Pattern gives you another note sequence, but the Slicex source and region map stay shared. Use a separate Slicex Channel when those need to differ.