FL Studio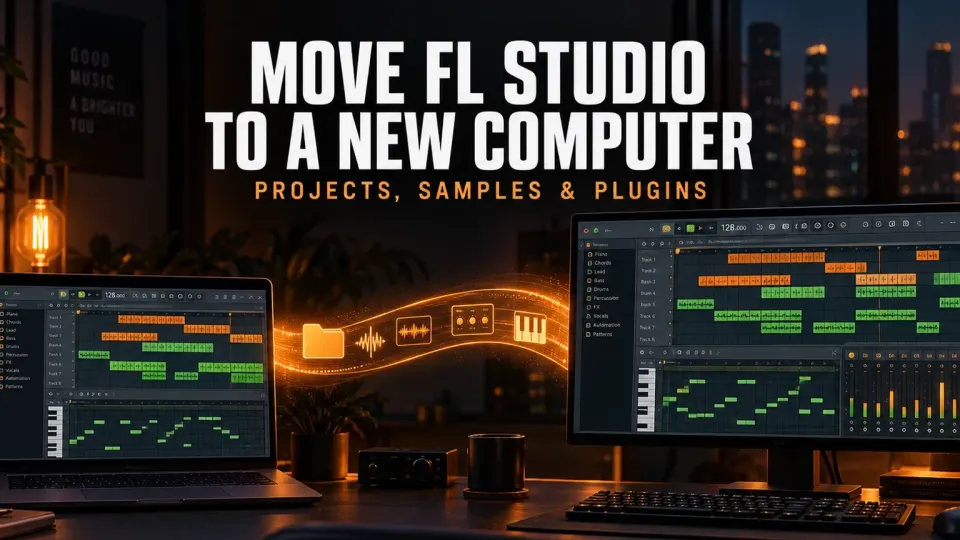
Install FL Studio fresh on the new computer, unlock it with your Image-Line account, then move projects and their audio separately. Reinstall third-party plugins from their vendors, restore sample-library paths, and open several control projects before deleting anything from the old machine. Copying the FL Studio program folder by itself is not a reliable migration.
The safe way to think about this move is as a dependency transfer. FL Studio, your license, project files, recorded audio, sample libraries, plugin binaries, plugin licenses and personal presets can live in different places. A working migration reconnects every dependency instead of treating the setup as one folder.
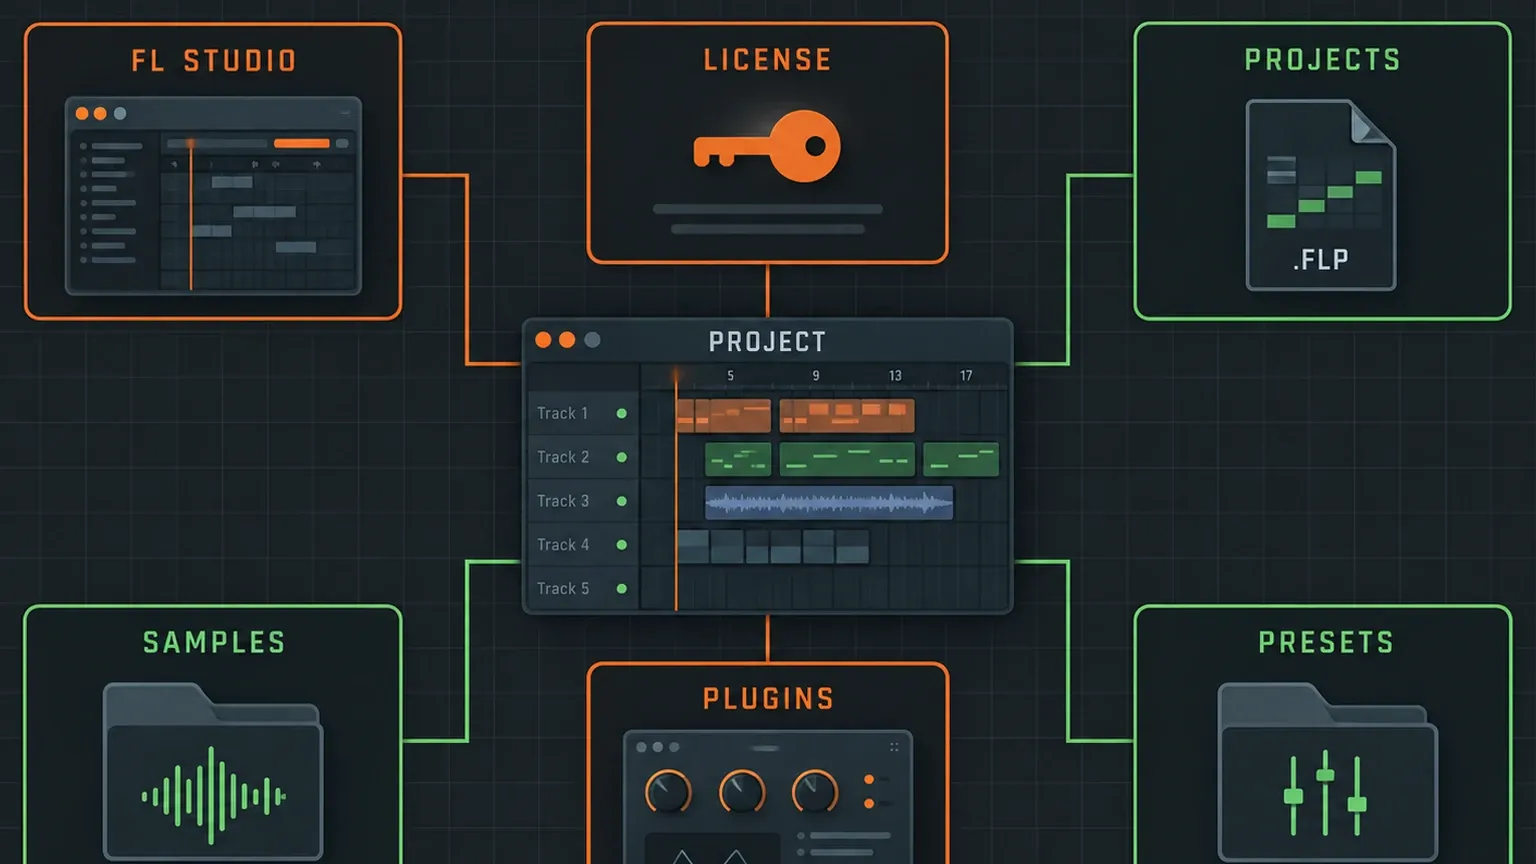
What to copy and what to install again
Install the FL Studio application on the new computer. Copy your project-owned data. Do the same with third-party plugins: install compatible versions, then move only their user presets or libraries when the vendor supports that workflow.
| Part of the setup | Best transfer method | Main failure to avoid |
|---|---|---|
| FL Studio application | Download and install on the new computer | Copying old program files and retaining broken paths |
| Image-Line license | Unlock the new installation | Assuming the copied application is already registered |
| FLP projects | Copy the project folder or a Zipped loop package | Moving only the FLP while leaving audio behind |
| Sample libraries | Copy the library and restore Browser search folders | Changing drive letters or folder names without reconnecting them |
| Third-party plugins | Install the correct build from each vendor | Using a different format, version or plugin identity |
| Presets and Plugin database | Copy from the User data folder where appropriate | Overwriting newer folders without a backup |
This separation also gives you a clean rollback. If a project opens with missing audio, you know to inspect its package and library paths. If a plugin is missing, you can investigate the format, scan path and license without copying unrelated FL Studio files again.
Inventory the old computer before moving files
Start with a short inventory while the old system still works. Record the installed FL Studio version, the User data folder location, every Browser extra search folder, plugin scan paths, audio interface and driver, and any custom Plugin database organization. Save the list beside the transfer drive.
Then identify projects that represent the full range of your setup: one recent song, one older song, one project with recorded audio, one with external sample packs, and one that uses important third-party instruments and effects. These become control projects on the new computer. A migration that opens one simple beat is not enough evidence for a large archive.
Make a second copy of irreplaceable project data before reorganizing it. The site guides on FL Studio autosave and backups and FL Cloud project backup explain recovery options, but a migration copy should remain separate from routine backup rotation.
Install and unlock FL Studio on the new computer
Download the current installer for the new operating system and complete a normal installation. Image-Line states that a personal license may be used on multiple computers and operating systems when the licensed owner is the only user. You do not have to erase the old installation just to set up the replacement computer.
Open FL Studio and unlock it through the About panel with your Image-Line account. For an offline machine, Image-Line documents an unlock-file route in its installation and update instructions. Confirm that the expected FL Studio edition and Image-Line plugins are unlocked before bringing in complex projects.
Use an FL Studio version at least as new as the version that last saved the projects. A project written by a newer release may not open correctly in an older release. Our FL Studio installation guide covers the basic installer sequence; this migration guide begins where the new installation must match existing work.
Transfer projects with their audio, not just the FLP
An FLP stores project data, but Image-Line’s project-format documentation warns that ordinary samples are not automatically stored inside it. A project can therefore arrive looking intact while Audio Clips and Sampler Channels point to files that stayed on the old disk.
For active projects, use File > Export > Zipped loop package. The package contains the FLP plus samples used by Sampler Channels and Audio Clips. Keep the resulting ZIP intact during transfer and open it from a normal local folder on the new computer. The dedicated Zipped loop package guide shows when this format is preferable to a loose project folder.
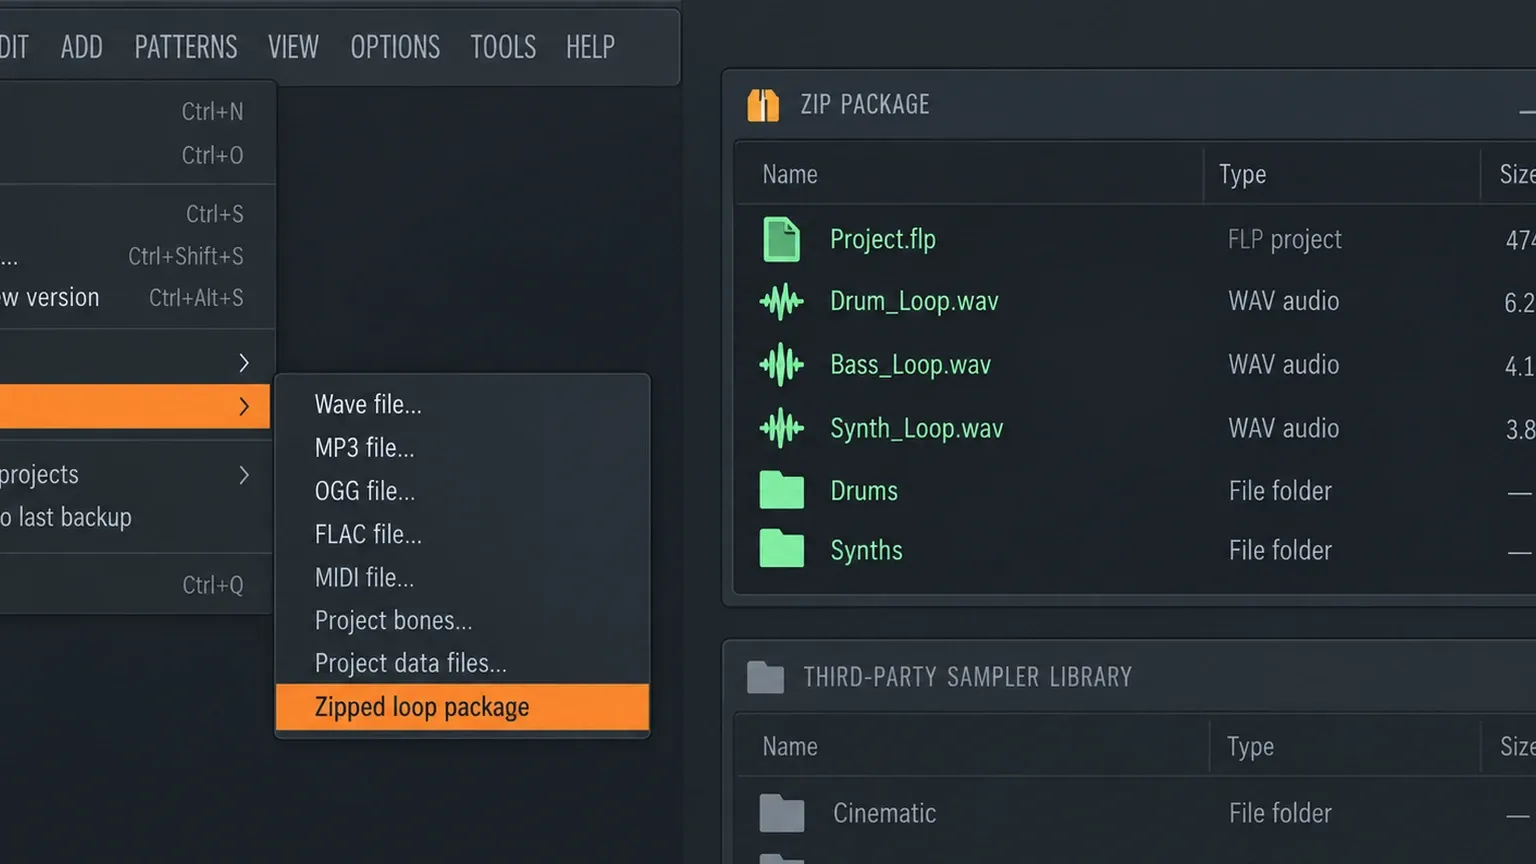
There is one important limit. Image-Line notes that samples loaded inside third-party sampler plugins may remain outside the package. Kontakt, Battery and similar instruments manage libraries through their own systems unless the plugin offers an embedded or monolithic preset format. Treat those libraries as separate transfer items and verify them inside the plugin.
Keep every project data folder attached to its project
If a project uses a Project data folder, copy that folder as a unit with the FLP. Recorded takes, renders, sliced audio and project-specific assets may live there. Moving the FLP alone can break a project even when the global sample library was copied correctly.
FL Studio can create a project folder and copy used samples into it from Project Settings. Image-Line describes this as an alternative archive method in the Project Settings manual. It is useful when you want a readable folder rather than a ZIP, especially for projects still receiving new recordings and renders.
Preserve the folder’s internal names and hierarchy during the first move. Reorganize only after the project opens cleanly on the new computer. Our guide to changing an FL Studio project folder covers that later cleanup without mixing it into the migration itself.
Restore User data and external sample libraries deliberately
Open Options > File settings on both computers and compare the User data folder and Browser extra search folders. Copy personal presets, scores, templates and Plugin database customization from the old User data location only after making a backup of the destination. A customized Plugin database can be valuable, but it does not install the plugins represented by its entries.
Copy external sample libraries to a stable folder on the new system, then add each root library folder to the Browser. The File Search and Browser settings manual documents these paths. Reusing the same drive letter and relative folder structure on a Windows-to-Windows move can reduce relinking, but the final test is whether FL Studio resolves the files, not whether the new disk looks familiar.
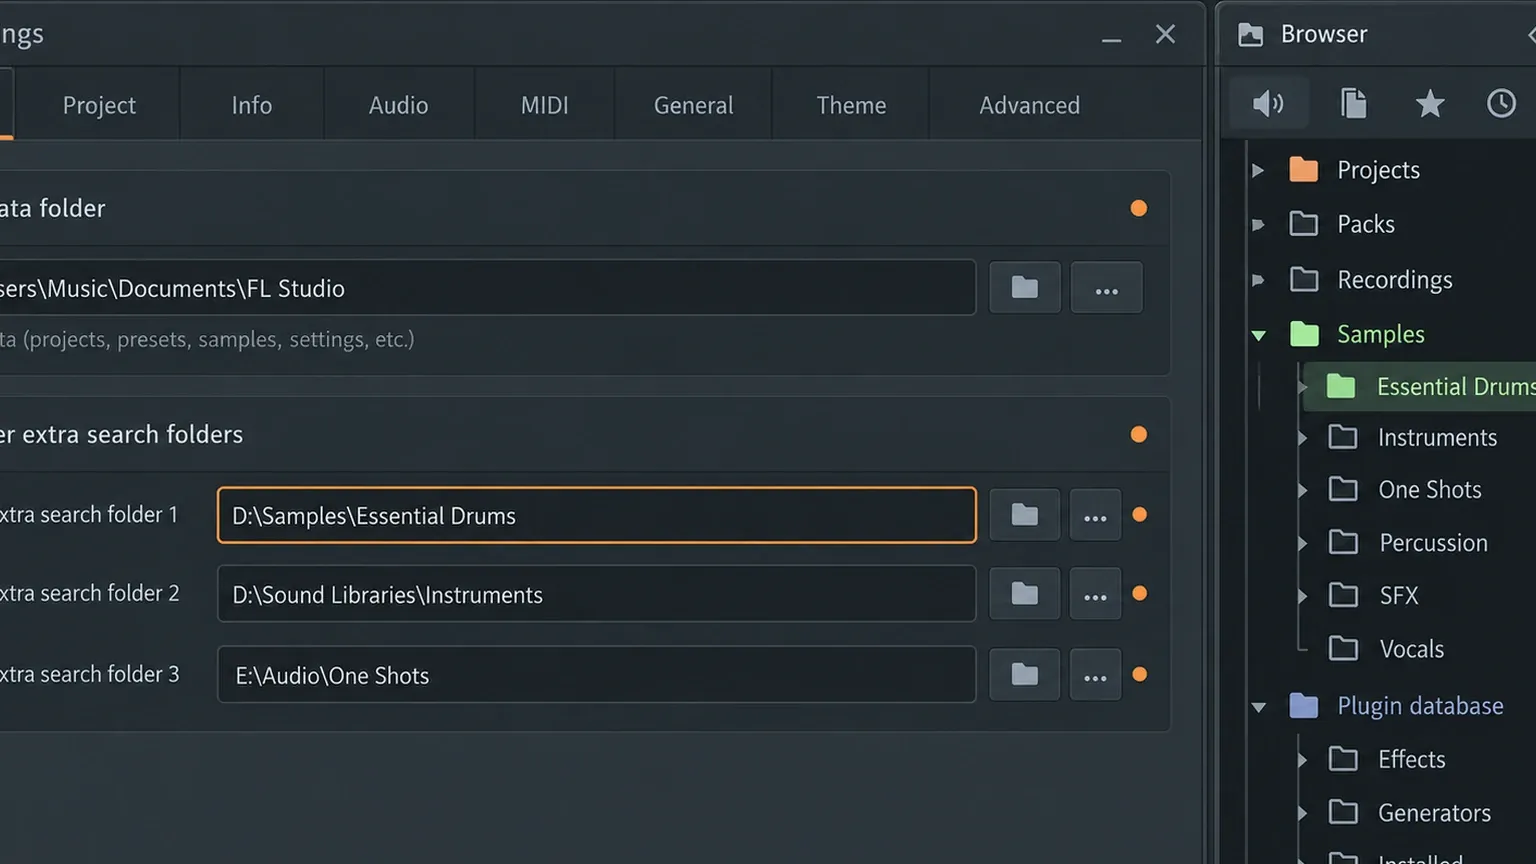
Do not leave an entire drive root as a permanent search folder. Image-Line suggests that only as a temporary recovery step because searching a whole drive can be slow. Once a missing sample is found, add its real library folder and remove the root path. The sample-pack setup guide gives a cleaner long-term Browser layout.
Check cloud-sync folders with care. Image-Line warns that real-time OneDrive, iCloud, Google Drive and Dropbox behavior can interfere with FL Studio files. Confirm that files are actually stored locally and that the User data path did not silently change. A cloud icon beside a project is not proof that every dependent file is available offline.
Reinstall third-party plugins and their licenses
Install each important plugin from its developer using the correct operating-system build. Restore its license through the vendor’s account, license manager or hardware key. FL Studio’s own registration does not activate third-party products.
Plugin identity matters as much as the product name. Image-Line’s project-sharing guidance says missing plugins should be checked for the same format, version and name. A project that used a VST2 build may not automatically substitute a VST3 build just because both carry the same marketing name.
After installation, open the Plugin Manager, confirm the intended scan folders, enable Verify plugins, and run a scan. The official plugin-installation manual explains supported formats and scan behavior. Use our plugin installation guide for the full setup and plugin-not-showing checklist when a scan succeeds but the plugin is still absent.
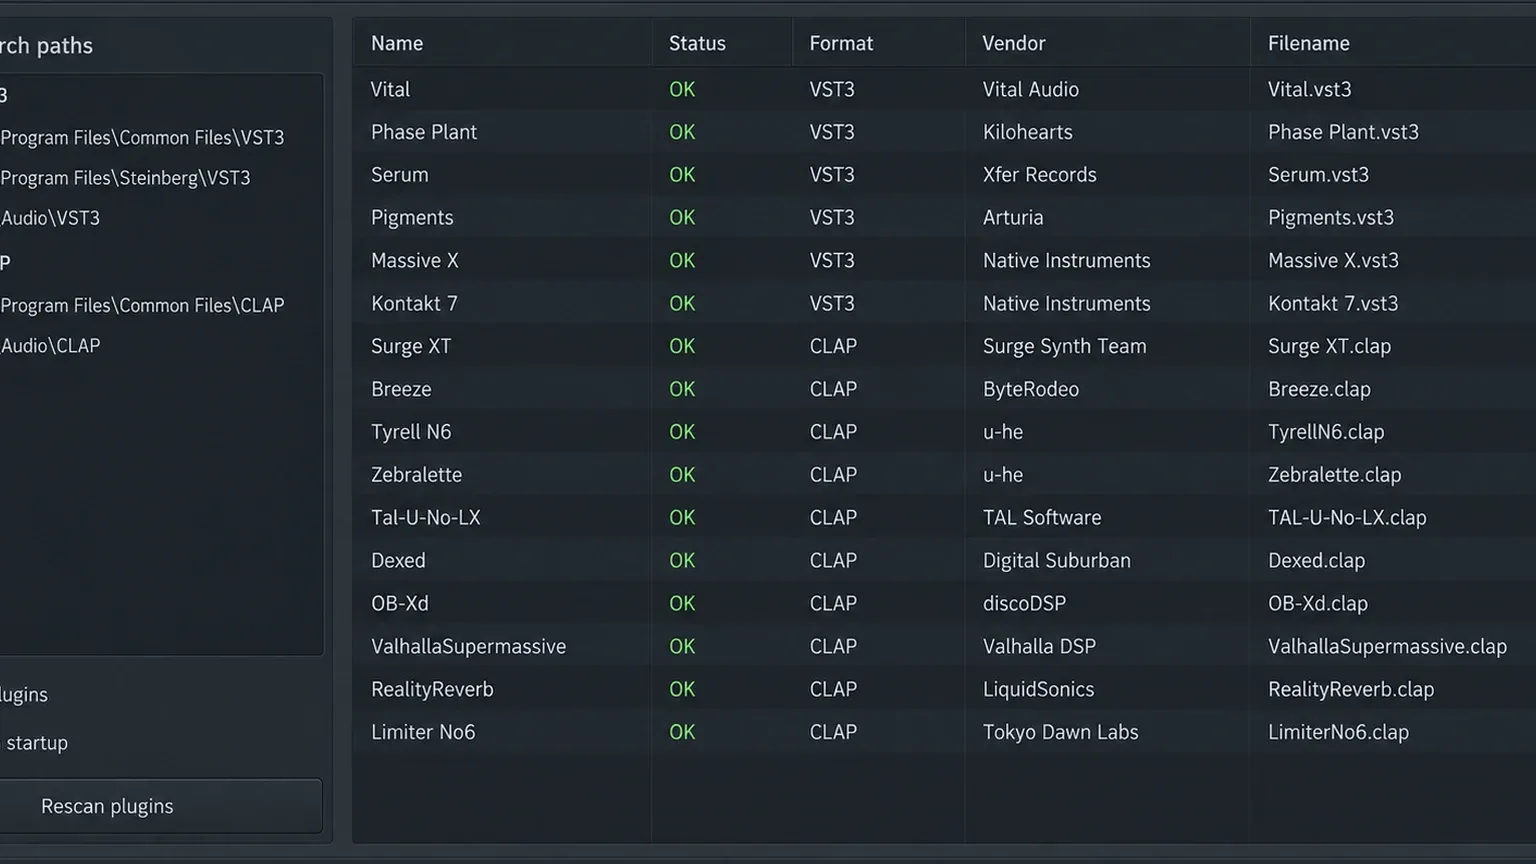
Native Access and similar managers deserve their own pass because they may control both plugin binaries and large libraries. Our Native Access setup guide covers that path. Keep any vendor-specific library relocation inside the vendor manager rather than dragging folders until the plugin loses its database.
Account for Windows-to-Mac and Mac-to-Windows differences
A same-platform move is usually simpler because plugin formats and library paths are more likely to match. A cross-platform move adds compatibility decisions. AU is a macOS-only format; a Windows computer cannot load it. VST, VST3 or CLAP can exist on both systems, but each plugin still needs the correct build for the destination OS.
Before a Windows-to-macOS or macOS-to-Windows move, list projects that rely on platform-specific or discontinued plugins. Render important parts to audio and save presets where the plugin allows it. Rendering is a safety layer, not a replacement for the editable project, but it preserves the musical result when no compatible build exists.
Apple Silicon adds another variable: a plugin may have a native build, require Rosetta, or no longer be supported. Check the developer’s current documentation and use the Apple Silicon plugin guide for the FL Studio side of that decision. Do not assume that a plugin opening on an Intel Mac guarantees the same behavior on a current Mac.
Open control projects and inspect the full signal path
Validation starts after files and plugins are present. Open the control projects chosen during inventory and wait for FL Studio to finish locating files. Read every missing-file or missing-plugin message. Press play from several points, solo important tracks, and compare obvious arrangement markers with the old system.
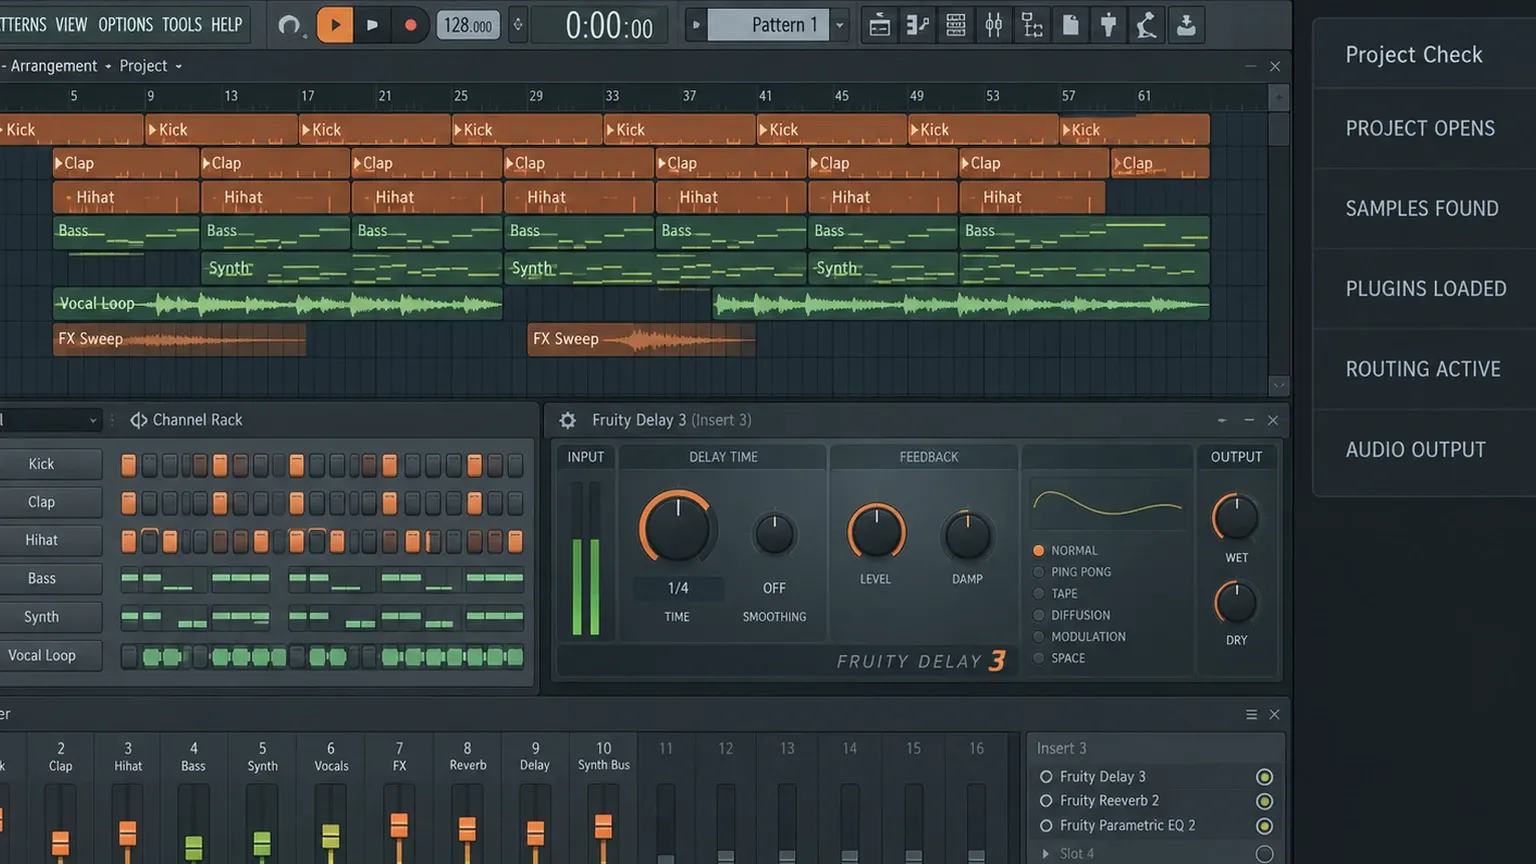
Inspect more than sound at the master output. Confirm that instruments load their intended presets, effects appear in the expected Mixer slots, automation targets still respond, sends and sidechains remain connected, and the project sample rate and audio device are correct. A silent track can come from routing or a vendor license, not only a missing WAV file.
Save a migrated copy under a new name rather than overwriting the original during the first review. If missing samples appear, follow the missing-samples recovery guide. If a project opens but the Browser or presets feel empty, compare the User data and Plugin database locations before changing the project.
Fix missing samples and plugins without hiding the cause
For a missing sample, search the old system or transfer drive for the exact filename, restore the containing library, and add the library’s real root to Browser extra search folders. Avoid replacing a missing file with a different sample merely to clear the warning; the project may play, but it is no longer the same arrangement.
For a missing plugin, check the exact format used by the project, the installed build, the scan path, Plugin Manager status and vendor license. If the original plugin no longer runs on the new system, open the project on the old computer and render the affected part while that environment is still available.
When a project depends on many obsolete plugins, keep an archival system image or retain the old computer as a playback machine. A clean new workstation and a preserved old environment can coexist. Migration does not have to force every historical project into the current plugin stack.
Erase the old computer only after the migration passes
My stop rule is strict: do not wipe, sell or repurpose the old computer until the new one has opened every control project, found its audio, loaded its important plugins, passed routing checks and saved a separate migrated copy. Also verify that the transfer drive and backup contain the source projects independently of the old machine.
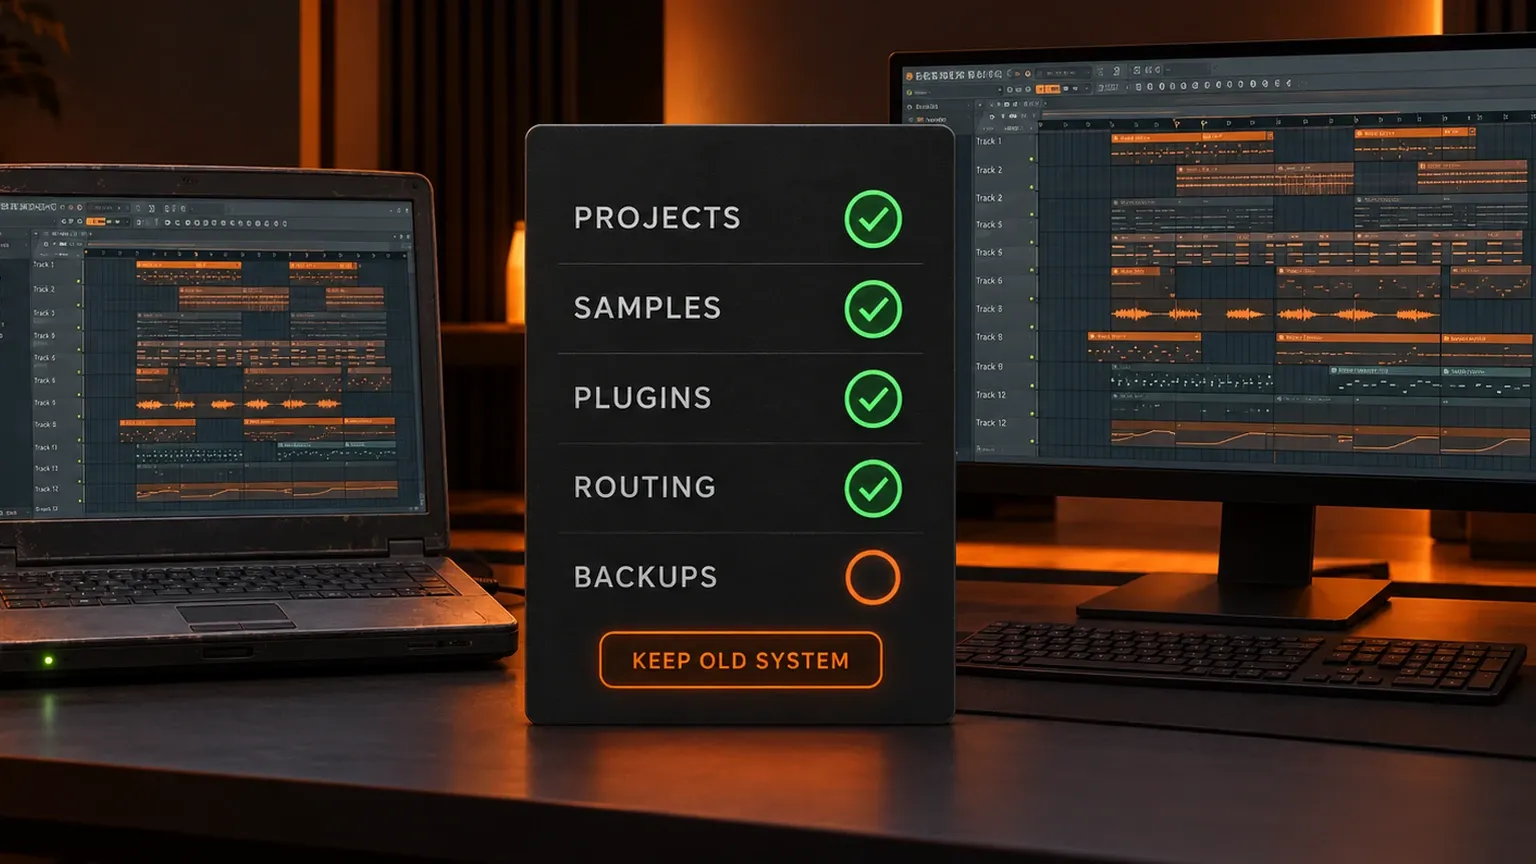
Once the checks pass, remove the Image-Line license from the old device only if you are disposing of it or giving it to someone else. Archive the inventory and note any projects that still require the old environment. That record turns a future “missing plugin” mystery into a known compatibility limit.
The move is complete when the new computer can reproduce your work without silently depending on the old disk. Fresh application installs, packaged projects, stable library paths, vendor-managed plugins and a real control-project check make that result repeatable.