FL Studio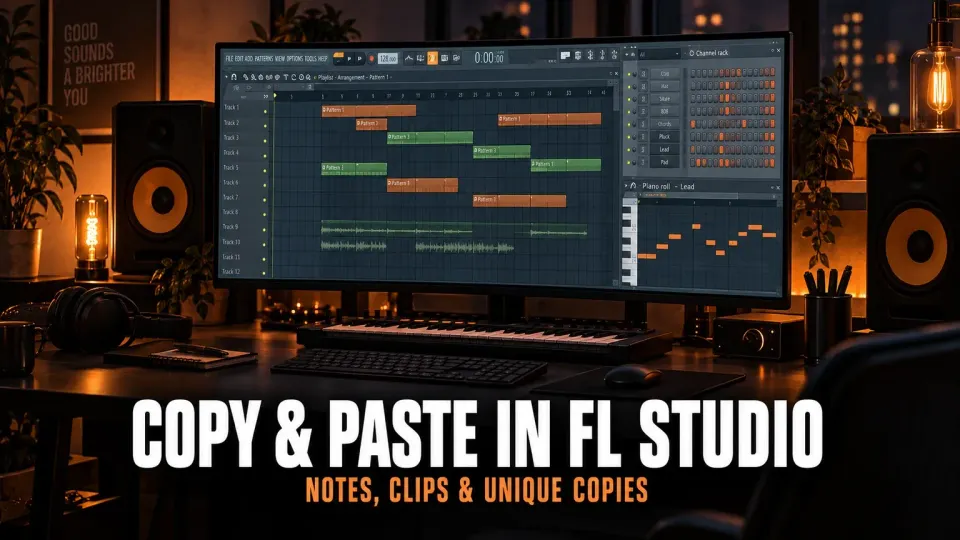
Use Ctrl+C and Ctrl+V on Windows or Cmd+C and Cmd+V on macOS after selecting the notes or Clips you want. For a fast repeat directly to the right, use Ctrl/Cmd+B. The catch is that FL Studio copies the data owned by the focused window. Piano Roll notes, Playlist Clips, Channel Rack data and automation values are different objects, so the same shortcut can produce a different result.
Before copying, answer two questions: what is selected, and should the copy stay linked to the original? Those checks prevent most “FL Studio pasted in the wrong place” and “editing one part changed every copy” problems.
Know what FL Studio is copying
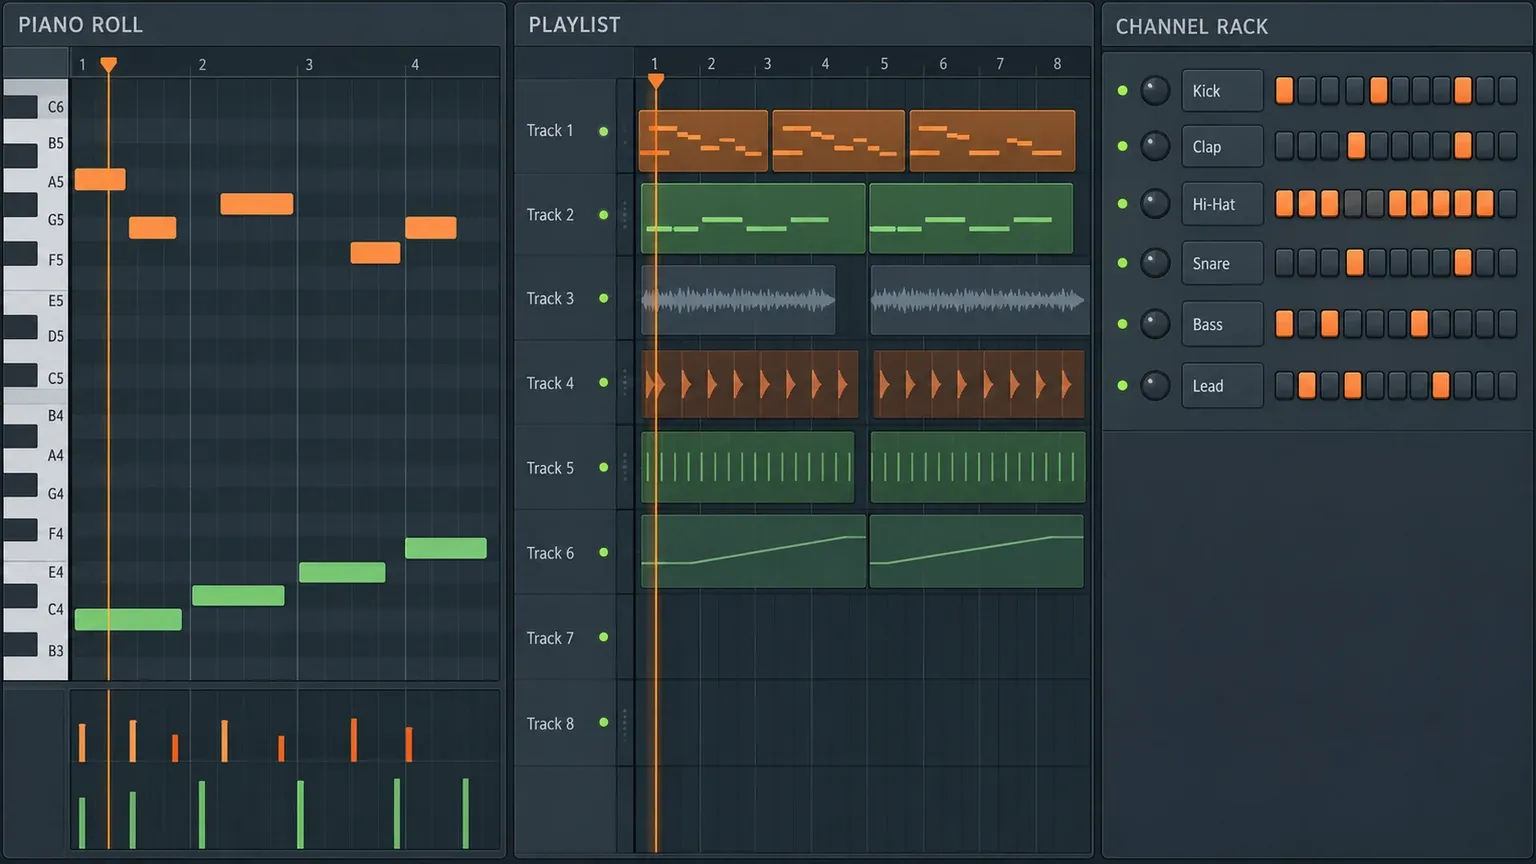
FL Studio does not have one universal musical object called a “part.” A melody can exist as notes inside a Pattern, that Pattern can appear as several Pattern Clips in the Playlist, and the instrument playing it exists as a Channel. Copying at each level solves a different job.
| If you want to copy | Work in | Best starting action |
|---|---|---|
| Selected notes or slides | Piano Roll | Ctrl/Cmd+C, then Ctrl/Cmd+V |
| A phrase repeated immediately | Piano Roll or Playlist | Ctrl/Cmd+B |
| One or more arranged Clips | Playlist | Shift-drag or clipboard commands |
| An independent variation | Playlist Clip menu | Make unique |
| An instrument with its settings | Channel Rack | Clone Channel |
| A complete musical Pattern | Pattern selector/menu | Clone Pattern |
| One exact automation level | Parameter or control-point menu | Copy value, then Paste value |
If a shortcut appears to do nothing, click the window that owns the data and reselect it. The focused plugin, Browser search field or another editor may be receiving the command instead. Our FL Studio shortcuts guide explains the broader context rules, but the practical fix here is simple: return to the correct editor before copying.
Copy and paste notes in the Piano Roll
Open the destination instrument’s Piano Roll and select the notes. Use Ctrl/Cmd+C, move the view so the intended destination bar is at the left edge, then press Ctrl/Cmd+V. Image-Line’s Piano Roll menu documentation specifies that pasted notes begin at the leftmost bar visible in the Piano Roll window.
That placement rule explains the common “paste jumped several bars away” complaint. The playhead is not the only reference. If bar 17 is the first visible bar, the pasted phrase begins from that visible position. Zoom or scroll first, paste second, then drag the result only if it needs a final adjustment.
The note selection carries pitch, timing, length and note properties. Slides are included when selected. It does not create a new instrument or a new Pattern by itself; it places copied note data in the Piano Roll you currently opened. Check the channel name at the top before pasting into a different instrument.
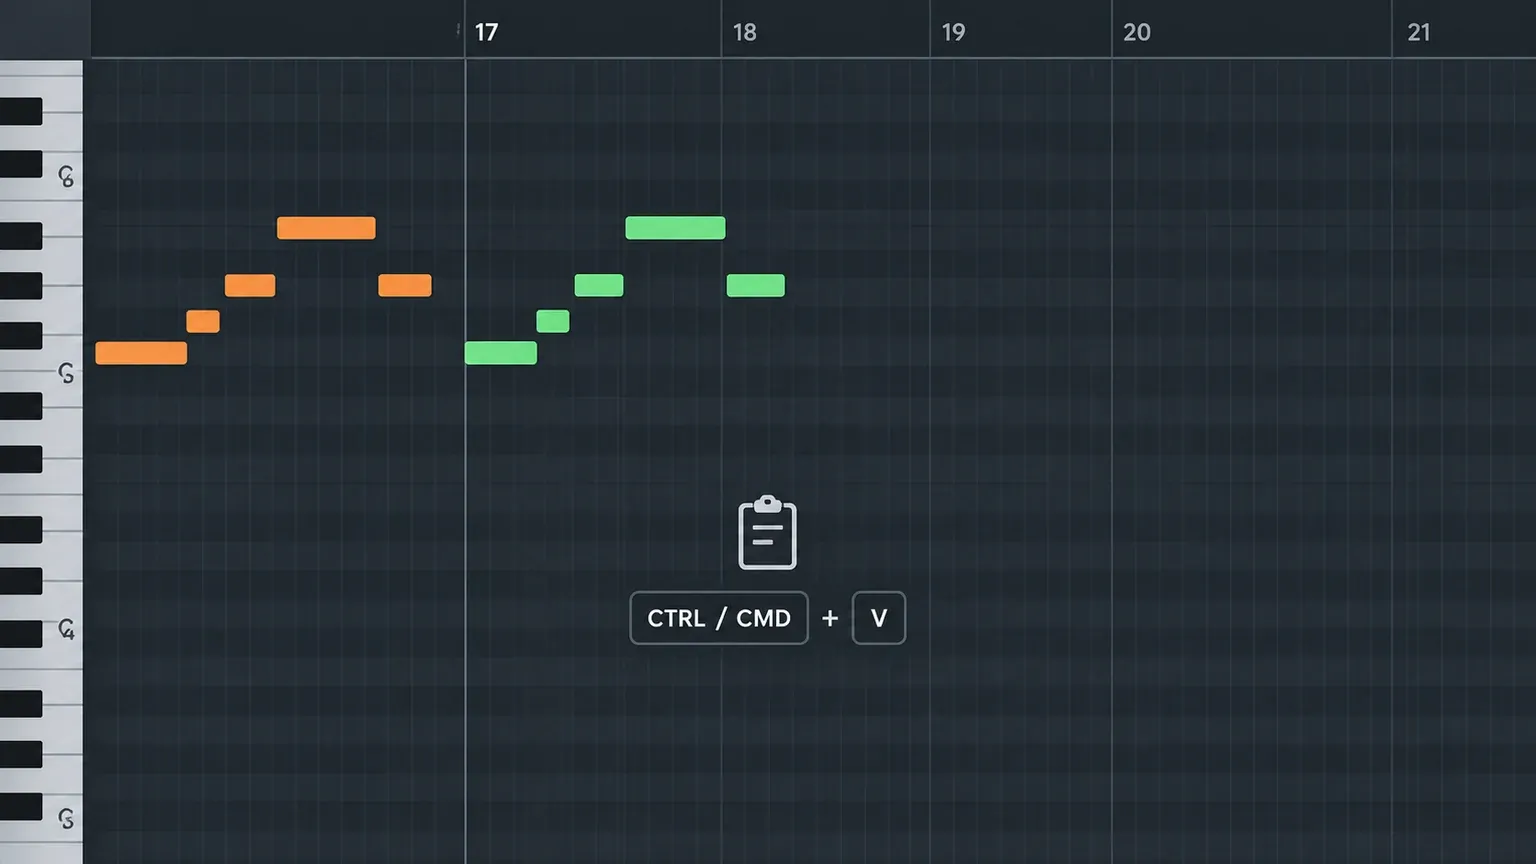
Use Ctrl or Cmd+B when you want a repeat to the right
Ctrl/Cmd+B is faster than copy and paste when the goal is a consecutive repetition. In the Piano Roll it duplicates the selected notes to the right. In the Playlist it duplicates selected Clips to the right. The command is positional: it extends the existing phrase rather than asking you to choose a separate paste location.
Selection still matters. The official Piano Roll manual notes that note selection decides what is duplicated, while a timeline selection can define the repeated interval. If no notes are selected, Ctrl/Cmd+B can duplicate all notes. Undo immediately if the entire score repeats when you expected only one chord.
I use Ctrl/Cmd+B for drums, ostinatos and phrases that must remain adjacent. Clipboard paste is better when the destination is farther away or in another Pattern. That distinction keeps a quick arrangement command from becoming a positioning chore.
Copy Clips in the Playlist
Select the Pattern, Audio or Automation Clips you need. Ctrl/Cmd+C and Ctrl/Cmd+V work for clipboard placement, while holding Shift and dragging makes a quick copy under the mouse. The Playlist manual also documents Ctrl/Cmd+B for repeating selected Clips to the right.
Use Shift-drag when you can see the destination and want to preserve the Clip’s track relationship. Use Ctrl/Cmd+B for a consecutive repeat. Use clipboard paste when moving material to another visible area. These methods can produce visually similar blocks, but they do not automatically make the musical data independent.
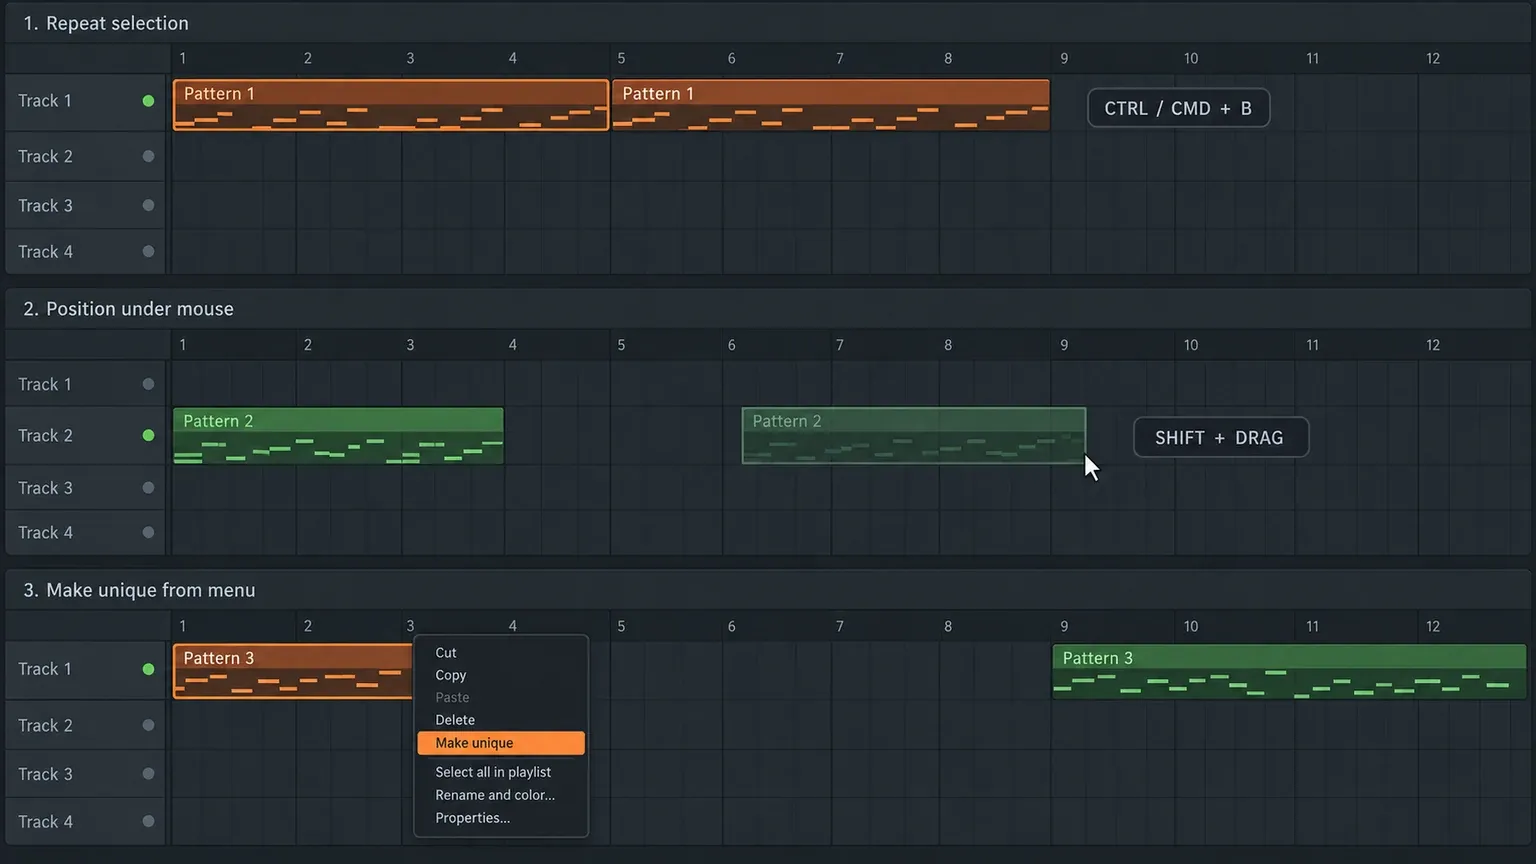
Understand linked copies before editing
Several Playlist instances can point to the same Pattern, Audio Clip or Automation Clip source. Move, trim or arrange an instance and the other instances stay where they are. Edit the underlying Pattern notes or Automation Clip curve, however, and every instance using that source reflects the change.
This shared-source model is efficient. A four-bar drum Pattern can appear throughout the arrangement without storing separate note data for every chorus. It becomes a problem only when one repeat should contain a fill, different chord or changed automation curve.
Open the Clip menu and choose Make unique before editing that variation. FL Studio creates an independent Clip source, so changes to it no longer alter the other instances. The deeper FL Studio Playlist guide covers track organization; the rule to remember here is that moving a copy is independent, while editing shared source data is not.
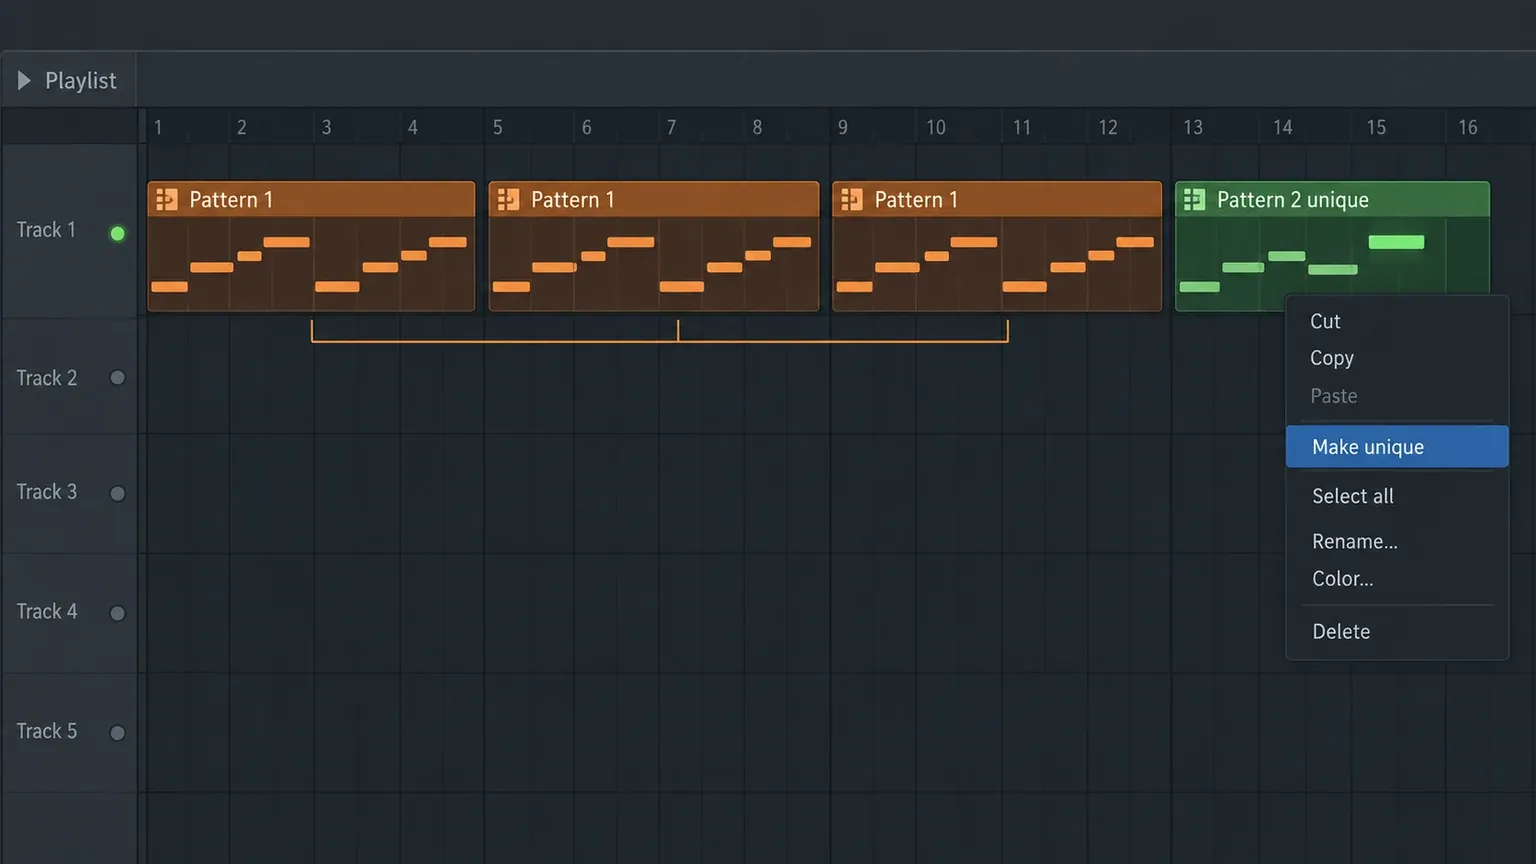
Choose Make unique or Make unique as sample
For Pattern Clips and Automation Clips, Make unique is the usual choice. It separates the editable musical or automation data. For an Audio Clip, Make unique creates a separate Clip configuration but continues to reference the same audio file.
Choose Make unique as sample only when the audio file itself must become a separate file on disk. Image-Line describes this command as cloning both the Audio Clip and the sample file. It is appropriate before destructive sample editing or when one version must point to independently rendered audio. It also creates another file to manage, so it is unnecessary for simple Playlist arrangement changes.
A useful test is: “Will I alter the waveform data outside the normal Clip settings?” If no, Make unique is usually enough. If yes, Make unique as sample protects the original file relationship.
Move note or step data between Channel Rack instruments
Channel Rack copy and paste transfers Pattern data between Channels. Select the source Channel, copy, select the destination Channel, and paste. According to Image-Line’s Edit menu reference, pasting begins with the uppermost selected Channel. Automation events are not included by that command.
This is useful when a melody should be auditioned through another instrument. Create or select the destination Channel first, then paste the note data into it. Do not assume that copying notes also copies the source plugin, preset or mixer routing. Those belong to the Channel, not the score.
When the destination already has notes, inspect the result before continuing. A paste can combine data in a way that is technically valid but musically unintended. The Channel Rack guide explains channel selection and grouping when the rack itself is the confusing part.
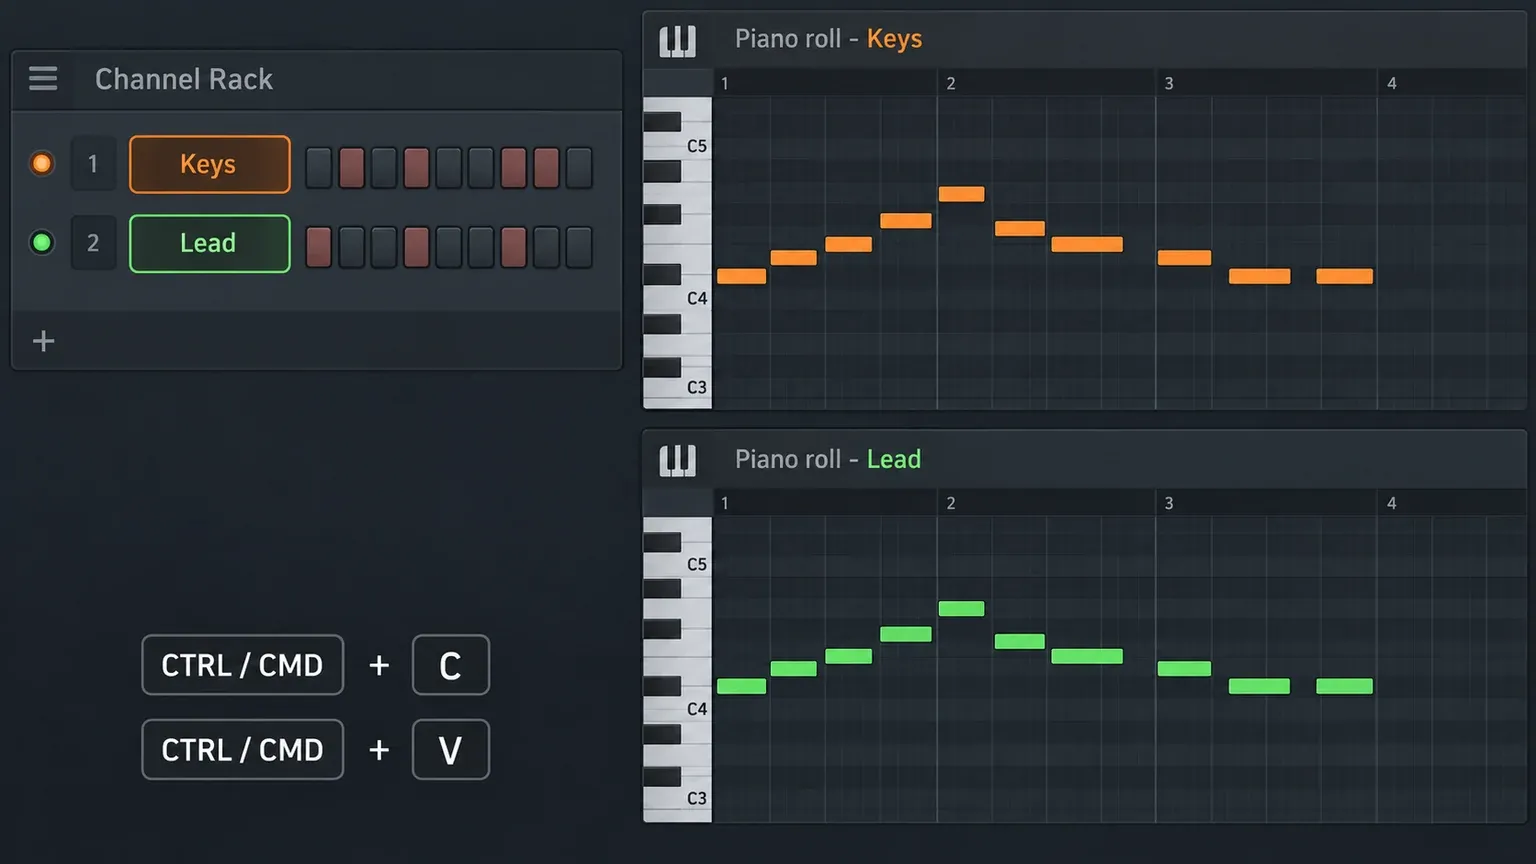
Clone a Channel and clone a Pattern for different jobs
Clone Channel duplicates the generator and its settings. The Channel Rack manual states that the cloned Channel does not contain the original notes and events. Use it when you need a second instance of an instrument or sample configuration, then copy or write the score separately.
Clone Pattern duplicates the Pattern’s musical data so you can create a variation without changing the original Pattern. Use that for a verse-to-chorus variation, drum fill or alternate bass line. A Pattern can contain data for several Channels, so cloning it is broader than copying one instrument’s Piano Roll notes.
The names sound similar because both create another object. Their ownership is different: Channel clone means another sound source; Pattern clone means another container of musical events.
Copy Automation Clips and exact values separately
Copying an Automation Clip in the Playlist duplicates its arranged instance. If one curve should change without affecting its repeated siblings, use Make unique before editing the control points. Image-Line’s Automation Clip documentation treats cloning the Clip and making its data unique as separate steps.
Copy value and Paste value solve a smaller task. They transfer one exact parameter or control-point value, which is useful when two points must match precisely. They do not copy the complete curve or the Playlist placement. Use the value commands for levels; use Clip duplication for shapes and timing.
Channel Rack clipboard commands also exclude automation events. If automation appears missing after a note-data transfer, return to the Automation Clip or event editor instead of repeating the same paste.
Fix the most common copy and paste failures
The paste lands in the wrong bar: in the Piano Roll, scroll so the intended destination is the leftmost visible bar. In the Playlist, position and zoom the visible area before pasting.
Every repeated part changes: the instances share source data. Undo the edit, choose Make unique on the intended variation, then edit it again.
The wrong instrument receives notes: open the destination Channel’s Piano Roll or select the destination Channel before pasting. The notes follow the active data editor, not the sound you happen to hear.
Automation does not come with the notes: copy the Automation Clip or automation events through their own editor. Channel Rack copy is not a complete project-object clone.
The shortcut does nothing: click the Piano Roll, Playlist or Channel Rack, reselect the data and retry. A focused plugin or text field may have intercepted the command. On macOS use Cmd where Windows instructions show Ctrl.
A reliable order for any FL Studio copy
Start by naming the object: notes, Clip, Channel, Pattern or value. Open the editor that owns it and make a visible selection. Choose Ctrl/Cmd+B for an adjacent repeat, Shift-drag for direct Playlist placement, clipboard commands for a chosen destination, or a Clone command for a new Channel or Pattern.
Before changing the result, decide whether it should share source data. Keep linked instances when every repeat should stay identical. Use Make unique for one musical or automation variation. Use Make unique as sample only when an Audio Clip needs its own file.
That sequence is slower by a few seconds and faster across the whole arrangement. It prevents accidental global edits, mystery paste positions and instrument clones with missing notes—the three failures that make a simple copy command feel unreliable.